DAP-400P Quick Installation Guide
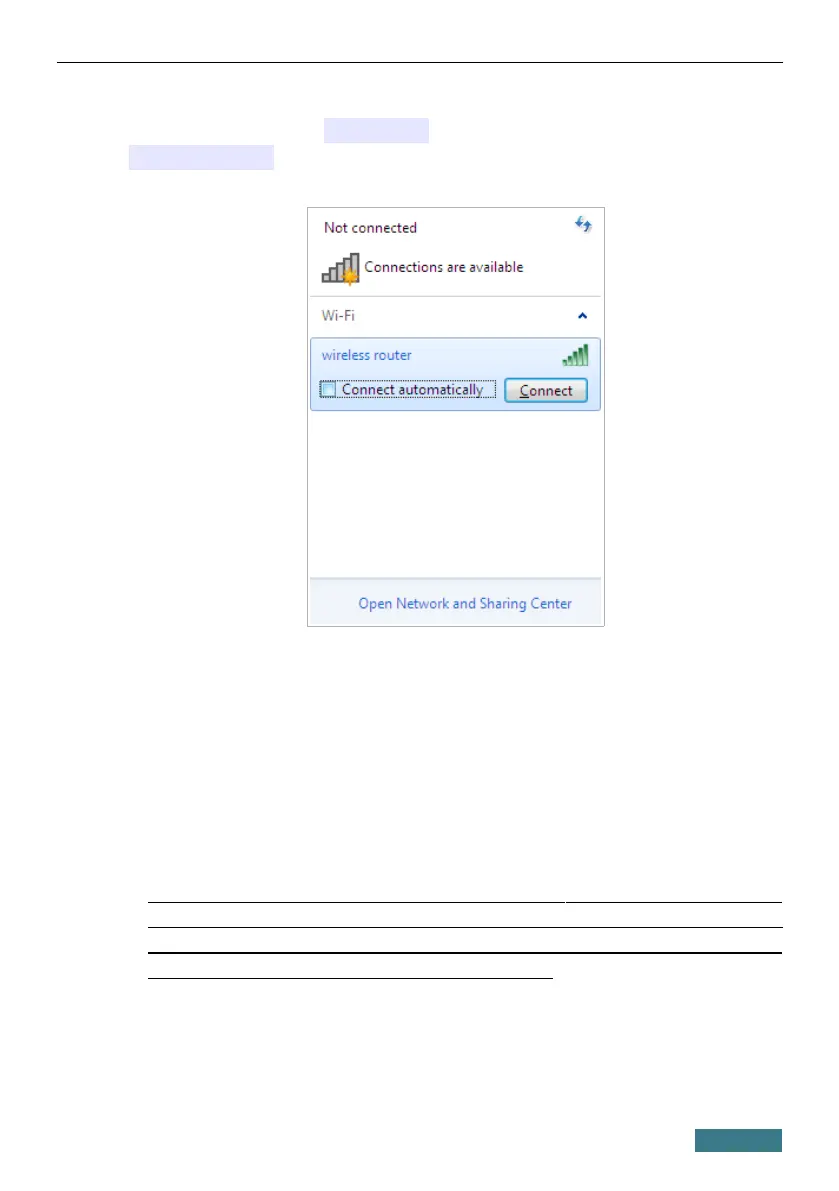
9. In the opened window, in the list of available wireless networks, select
the wireless network DAP-400P (for operating in the 2.4GHz band) or
DAP-400P-5G (for operating in the 5GHz band) and click the Connect
button.
10. In the opened window, enter the network key (see WPS PIN on the
barcode label on the bottom panel of the device) in the Security key
field and click the OK button.
11. Wait for about 20-30 seconds. After the connection is established, the
network icon will be displayed as the signal level scale.
Now you can connect to the web-based interface of DAP-400P for configuring
all needed parameters. To gain access to an external network (to the Internet),
you also need to specify the default gateway and the addresses of DNS servers.
!
If you perform initial configuration of the access point via Wi-Fi
connection, note that immediately after changing the wireless default
settings of the access point you will need to reconfigure the wireless
connection using the newly specified settings.
13