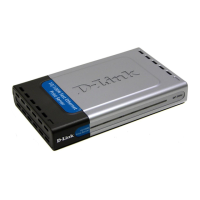
2
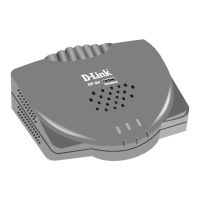
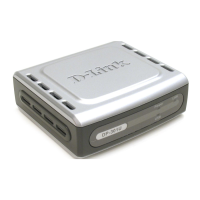
First, insert one end of a straight-through CAT5 Ethernet RJ-45 cable
into the “Network Port” (shown below.) Connect the other end of the
cable to the LAN port of the gateway or switch. Note: Do not con-
nect the power cord to the DP-301U until you are advised to do
so.
Next, make sure that the Printer is turned OFF.
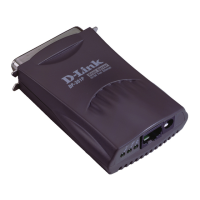
Using the USB cable, connect one end of the cable to the USB port
of the DP-301U (shown below) and the other end to the USB port of
the printer.
Turn ON the printer.
Then, plug one end of the power adapter into the DP-301U and the
other end into your electric outlet. The DP-301U will turn on and begin
a self-test.
Connecting The DP-301U To Your
Network
For Mac OS printing, please refer to manual (.pdf) located on the CD-ROM.
Receptor for
AC Power
Adapter
Network Port
USB Port
Warning! Only a USB printer may be connected to the USB port of the DP-301U.
Do not connect any other USB device to the USB port; to do so may damage the
unit, voiding the warranty for this product.
 Loading...