EasyManuals Logo

D-Link DSR-150 Quick Installation Guide

D-Link DSR-150
56 pages
To Next Page IconTo Next Page
To Previous Page IconTo Previous Page
Page #4 background imageLoading...
Page #4 background image
4 D-Link Unied Services Router
ENGLISH
To access the device with the WebUI:
1. Connect your workstation on the port labeled
LAN (1-8), which is pre-allocated to the LAN.
2. Ensure your workstation is DHCP Client
enabled or congured with a static IP address
in the 192.168.10.0/24 subnet.
Disable pop-up blocking software
or add the management IP address
http://192.168.10.1 to your pop-up blocker’s
allow list.
3. Launch your browser; enter the IP address
for the LAN interface. (The factory default IP
address is , then press
.
4. Log on the Services Router Web Interface The
default log on information is:
admin
admin


DSR-150 preinstall services router software and
is ready to be further congured after startup
completion. Although the device has precongured
with factory default settings allowing you to
initialize connections to the device, we still highly
recommend you to customized congurations for
your specic network requirements.

To use the Web User Interface (WebUI) to manage
DSR-150, the workstation from which you manage
the device must be in the same subnet as the
device.



 
Microsoft Internet
Explorer
6.0 and Later
Mozilla Firefox 3.5 and Later
Netscape Navigator 9.0 and Later
Apple Safari 4.0 and Later
Google Chrome 3.0 and Later
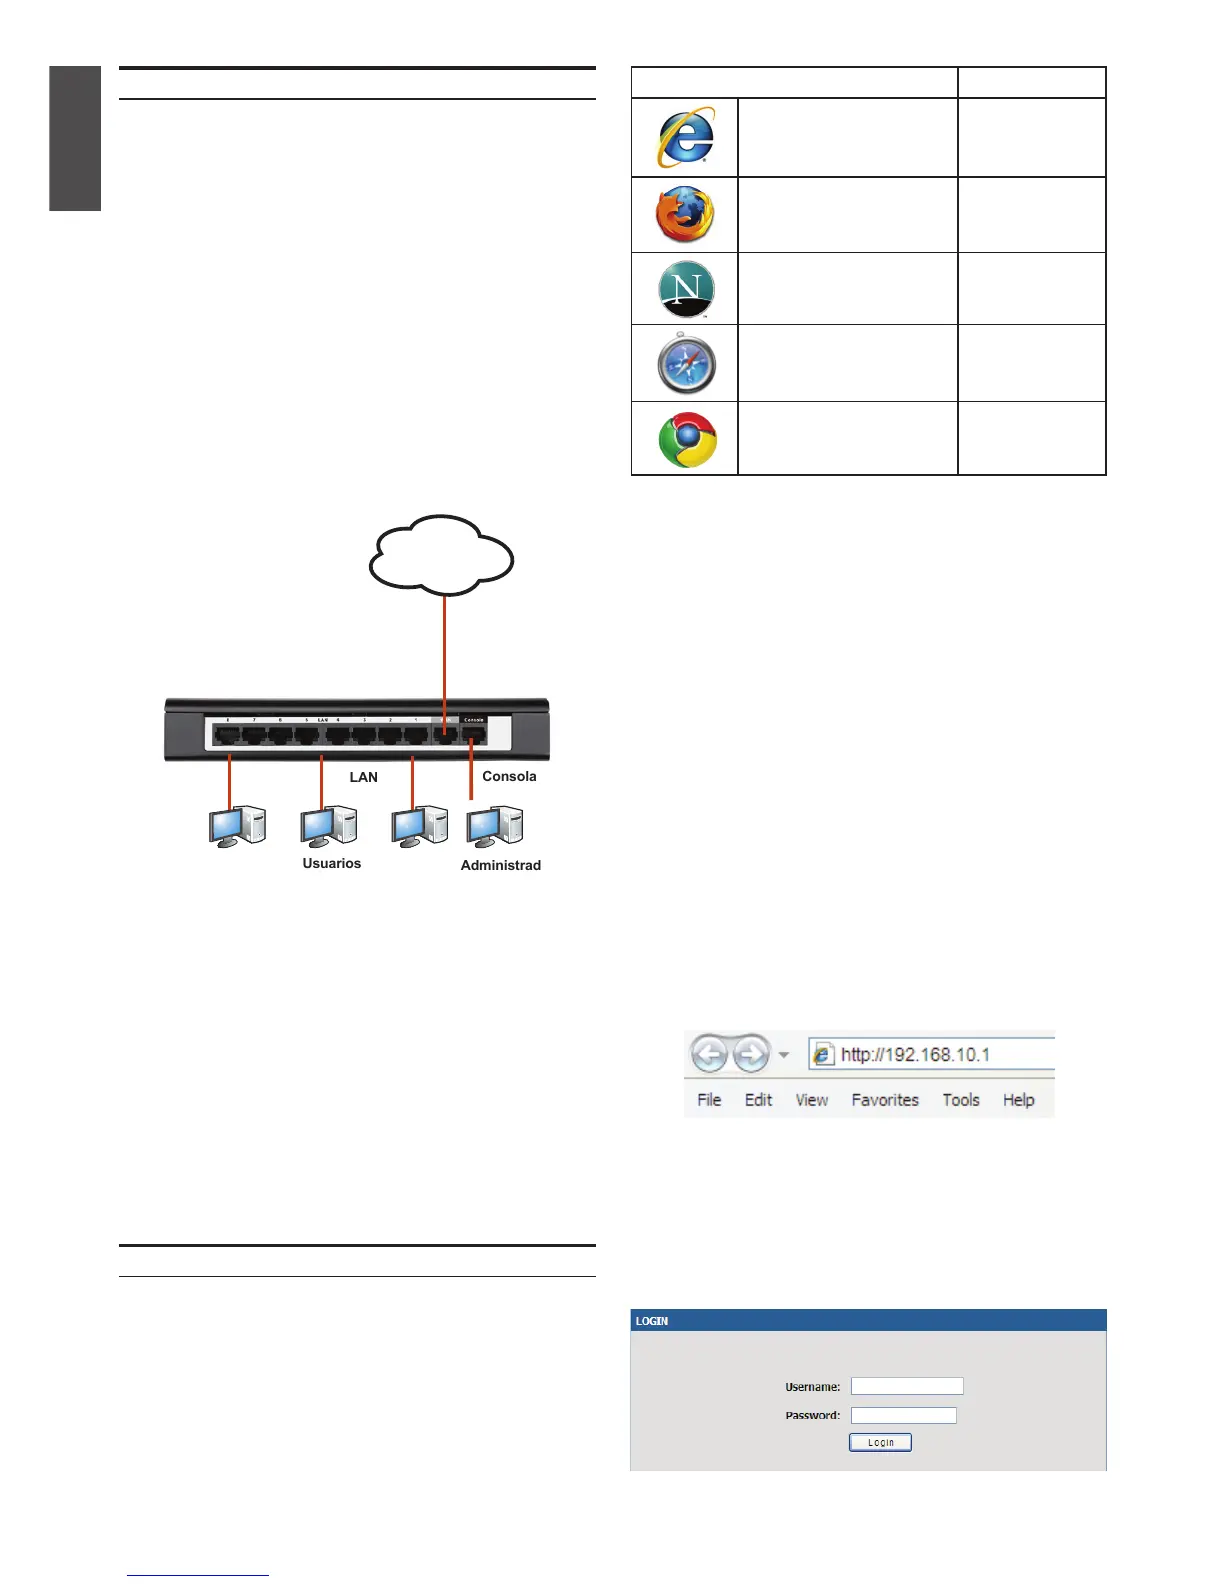
This section provides basic knowledge of how to
connect DSR-150 to network.
Necessary connecting cables and steps are
shown below.
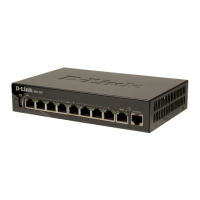
1. Connect an RJ-45 cable from the port labeled
WAN to the external router. The port WAN is
pre-allocated to the WAN network segment.
2. Connect an RJ-45 cable from the port labeled
LAN (1-8) to a switch in the LAN network
segment.
3. Connect an RJ45-to-DB9 cable from the
console port for CLI (Command Line Interface)
management access.

WAN
LAN
Consola
Internet
Usuarios
Administradores

Other manuals for D-Link DSR-150

Questions and Answers:

Question and Answer IconNeed help?

Do you have a question about the D-Link DSR-150 and is the answer not in the manual?

D-Link DSR-150 Specifications

General IconGeneral
Ethernet LANYes
Cabling technology10/100Base-T(X)
Networking standardsIEEE 802.1Q, IEEE 802.3, IEEE 802.3u
Ethernet LAN data rates10, 100 Mbit/s
Ethernet interface typeFast Ethernet
PC in (D-Sub)No
USB ports quantity0
Ethernet LAN (RJ-45) ports8
Supported network protocolsIPSec, PPTP, L2TP
Security algorithms3DES, DES, SSL/TLS
VPN tunnels quantity21
Filtering descriptionKeyword
MAC address filtering-
SafetycUL, LVD (EN60950-1)
CertificationWEEE
Electromagnetic compatibilityFCC Class B, CE Class B, C-Tick, IC
Mean time between failures (MTBF)240000 h
Input current1.5 A
AC input voltage100 - 240 V
AC input frequency50 - 60 Hz
Power consumption (typical)7.44 W
Storage temperature (T-T)-20 - 70 °C
Operating temperature (T-T)0 - 40 °C
Operating relative humidity (H-H)5 - 95 %
Product colorBlack
Input voltage12 V
Ports quantityThe number of ports or external interfaces to which other equipment can be connected.
Management platformHTTP, HTTPS, CLI, SNMP v1/v2c/v3
Connectivity technologyWired
Compliance industry standardsRoHS
Weight and Dimensions IconWeight and Dimensions
Depth118 mm
Width208 mm
Height35 mm
Weight- g

Related product manuals