3. VCR DECK ADJUSTMENTS
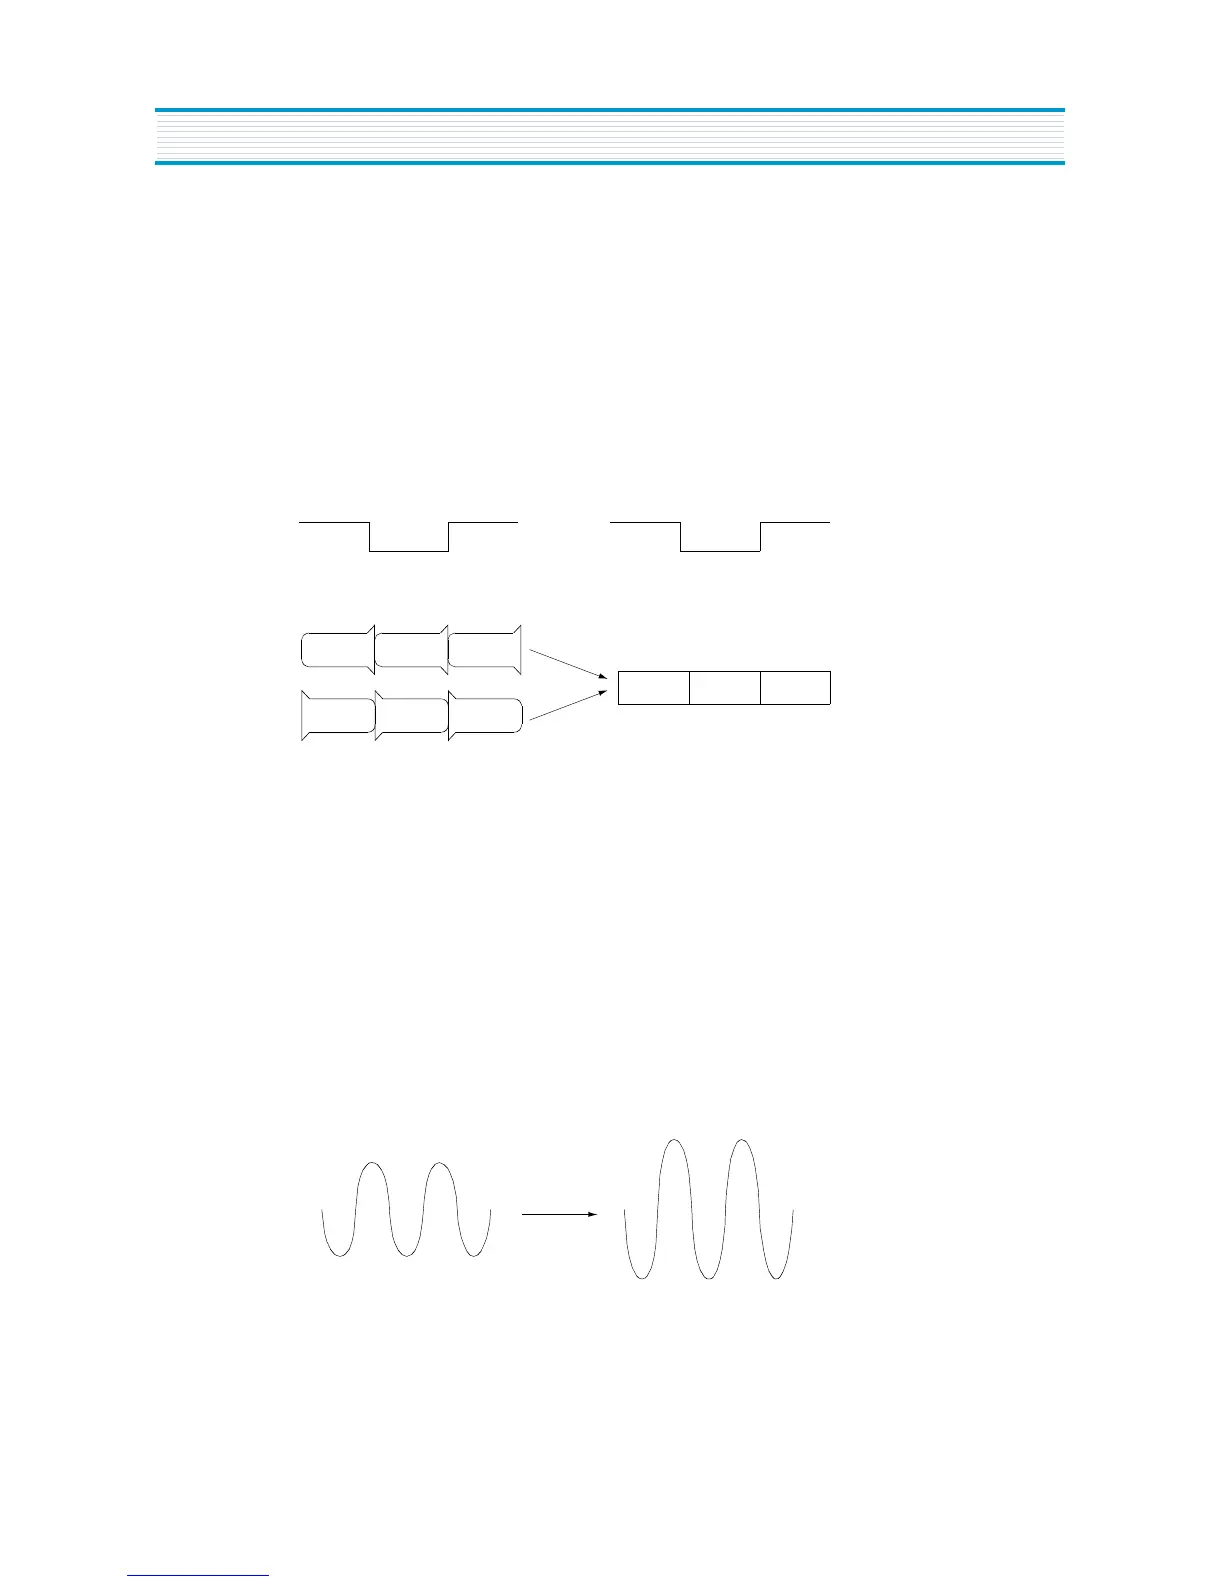
1) X-DISTANCE & P2,P3 ADJUSTMENT(S10)
Connect Path JIG to connector PS04, Playback the test tape (DN-2,7KHz)
Connect oscilloscope CH1 to V.SW(PS04 #2),CH2 to PB RF(PS04 #1) and trigger on CH1.
Enter the service mode and select service adjustment S10
Use the VOL up(
U
) button to set ATK Off CEN.
Turn the X-distance screw to maximum of PB-RF.
Use the VOL up(
U
) button to set ATK Off MIN and MAX.
If PB-RF is not smooth, adjust P2,P3.
❁
P2, P3
VH SW
RF
2) P.G ADJUSTMENT(S11)
Playback the test tape (DN-2,7KHz)
Enter the service mode and select service adjustment S11
Push the "REC" KEY once, P.G Adjustment is Automatically.
Connect oscilloscope CH1 to V/SW(PS04 #2),CH2 to CVS(PS04 #5) and trigger on CH1,
Confirm The P.G is 6.5H(412msec).
3) AUDIO AZIMUTH ADJUSTMENT
Playback the test tape (DN-2,7KHz)
Connect oscilloscope and level meter to Aout(PS04 #4).
Turn the azimuth screw to maximum 7KHz level.
4) FACTORY OUTGOING MODE(S12)
If you select the S12, then the set becomes factory outgoing status.
You can see the channel to "02" or if the set playback you can see the OSD "AUTO TRACKING"
ALIGNMENT INSTRUCTIONS
 Loading...