16
(1) Remove the gasket door(A06) from door painting ass’y (A04)
(2) Remove the barrier screen inner(A05) from door painting ass’y(A04).
(3) Remove the hook spring(A08) and the hook(A07).
(4) Remove the hinge stopper top ass’y(A03).
(5) Remove the door frame(A01) from door painting ass’y(A04).
(6) Remove the barrier screen outer(A02).
(7) Reverse the above steps for reassembly.
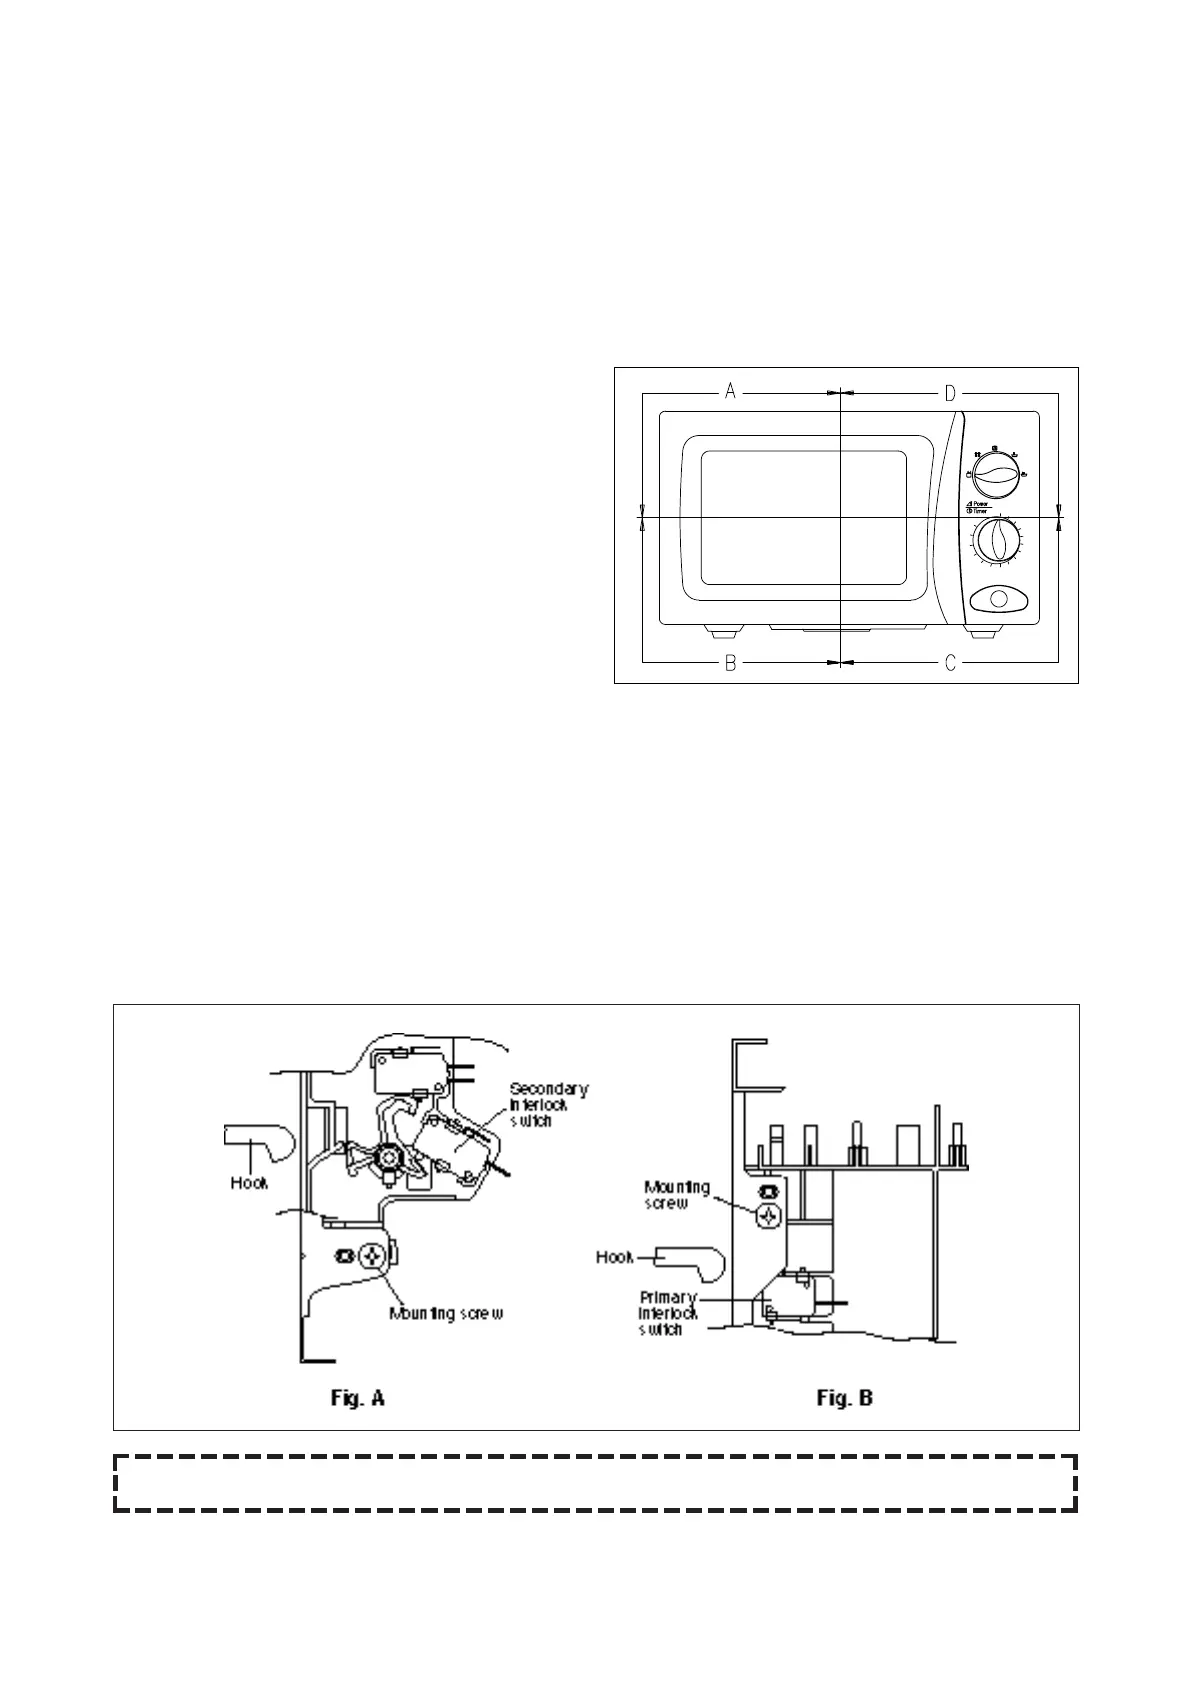
4. Method to reduce the gap between the door seal and the oven front surface.
(1) To reduce gap located on part ‘A’
1) Loosen two screws on the top hinge stopper,
and then push the door to contact the door seal
to oven front surface.
2) Tighten two screws.
(2) To reduce gap located on part ‘B’.
1) Loosen three three screws on bottom hinge, and then the door to contact the door seal to oven front
surface.
2) Tighten three screws.
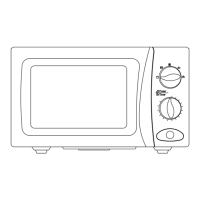
(3) To reduce gap locatated on part ‘C’. (See Fig. A)
1) Loosen a screw on the interlock switch assembly located at the bottom of the oven body.
2) Draw the interlock switch assembly inward as possible to engage with hook on the door bottom.
3) Tighten a screw.
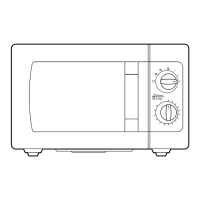
(4) To reduce gap located on part ‘D’. (See Fig. B)
1) Loosen a screw on the interlock switch assembly located at the top of the oven body.
2) Follow step (3) 2) and 3).
NOTE: A small gap may be acceptable if the microwave leakage does not exceed 4m W/cm
2
.
 Loading...