EasyManua.ls Logo

Daewoo KQG-8B7R5SSC User Manual

Daewoo KQG-8B7R5SSC
37 pages
To Next Page IconTo Next Page
Page #1 background imageLoading...
Page #1 background image
Service Manual
Microwave Oven
Model: KQG-8B7R5SSC
S/M No. :
Feb. 2013
āœ” Caution
: In this Manual, some parts can be changed for improving,
their performance without notice in the parts list. So, if you
need the latest parts information, please refer to PPL(Parts
Price List) in Service Information Center (http://svc.dwe.co.kr).
Question and Answer IconNeed help?

Do you have a question about the Daewoo KQG-8B7R5SSC and is the answer not in the manual?

Daewoo KQG-8B7R5SSC Specifications

General IconGeneral
Microwave Power800 W
Grill Power1000 W
ColorStainless Steel
Voltage230 V
Frequency50 Hz
Cooking Levels5
Pre-set MenuYes
Defrost FunctionYes
Child LockYes
Microwave TypeGrill
Capacity23 liters

Summary

Safety and Precautions

1. For Safe Operation

Safety guidelines for using the microwave oven.

2. For Safe Service Procedures

Guidelines for servicing the microwave oven safely.

Specifications

External View - Dimensions

1. Outer Dimension

Physical dimensions of the microwave oven.

External View - Features Diagram

2. Features Diagram

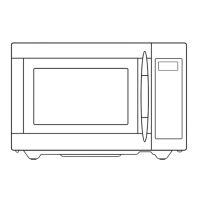
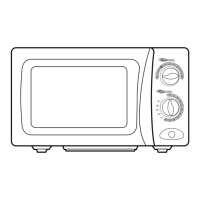
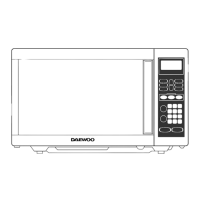
Diagram showing the main parts of the microwave oven.

External View - Control Panel

3. Control Panel

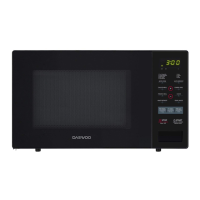
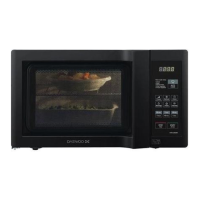
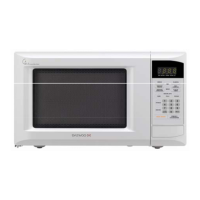
Explanation of the control panel buttons and display.

Installation

Operations and Functions

Disassembly and Assembly - Overview

Disassembly and Assembly - Cabinet and Door

1. To Remove Cabinet

Steps to remove the outer cabinet.

2. To Remove Door Assembly

Steps to remove the door.

Disassembly and Assembly - Door Parts

3. To Remove Door Parts

List of parts for the door assembly with an exploded view.

Disassembly and Assembly - Door Seal Adjustment

Disassembly and Assembly - Control Panel Parts

5. To Remove Control Panel Parts

Steps to remove components of the control panel.

Disassembly and Assembly - High Voltage Components

6. To Remove High Voltage Capacitor

Steps to remove the high voltage capacitor.

7. To Remove Magnetron

Steps to remove the magnetron.

Disassembly and Assembly - Motors and Transformer

8. To Remove Wind Guide Assembly

Steps to remove the wind guide assembly.

9. To Remove H.V. Transformer

Steps to remove the high voltage transformer.

Disassembly and Assembly - Motors and Heaters

10. To Remove Tray Motor

Steps to remove the tray motor.

11. To Remove Heater Assembly

Steps to remove the heater assembly.

Interlock Mechanism and Adjustment

Troubleshooting Guide - General

Troubleshooting Guide - Operation

Troubleshooting Guide - Oscillation and Display

Troubleshooting Guide - Touch Control

Measurement and Test - Power Output

1. Measurement of the Microwave Power Output

Procedure to measure the oven's microwave power output.

Measurement and Test - Radiation

2. Microwave Radiation Test

Procedure to test for microwave leakage.

Measurement and Test - Component Testing

3. Component Test Procedure

Testing procedures for individual oven components.

Wiring Diagram

Printed Circuit Board - Circuit Check

1. Circuit Check Procedure

Procedures for checking the main circuit board.

Printed Circuit Board - Voltage Check

2. Voltage Check

Checking voltages at key points on the circuit board.

Printed Circuit Board - Troubleshooting

3. When there is no microwave oscillation

Troubleshooting steps for no microwave output.

4. When there is no grill oscillation

Troubleshooting steps for no grill function.

5. When the door is opened during operation, the count down timer does not stop

Troubleshooting for timer not stopping when door opens.

6. When the digital clock does not operate properly

Troubleshooting for digital clock issues.

Printed Circuit Board - PCB Diagram

2. PCB Circuit Diagram

Detailed circuit diagram of the printed circuit board.

Printed Circuit Board - Location

Exploded View and Parts List - Assemblies

1. Door Assembly

Exploded view and parts for the door assembly.

2. Control Panel Assembly

Exploded view and parts for the control panel.

3. Total Assembly

Complete exploded view of the oven.

Exploded View and Parts List - Part Details

Exploded View and Parts List - Part Details

Exploded View and Parts List - Part Details

Related product manuals