Step 2
Insert 3 expansion bolts from the accessories bag into the bottom holes and lock them firmly, adjust
the position of device installation pedestal and pull the cable through the cable exit hole on the
installation surface.
Step 3
Aim 3 screw fixed holes on the installation chassis to 3 plastic expansion bolt fixed holes on the
installation surface, then tighten 3 ST3 self-tapping screws into 3 plastic expansion bolts and fasten
them firmly, fix the installation chassis on the installation surface.
Step 4
When installing dome body, find the little gap on the dome body and make it corresponding to the
“TOP” direction on the installation chassis, rotate the dome body in clockwise direction and secure it
firmly. So far, installation is completed.
Note:
Please refer to Micro SD card installation steps if you need to install Micro SD card, and operate step 4
after the installation.
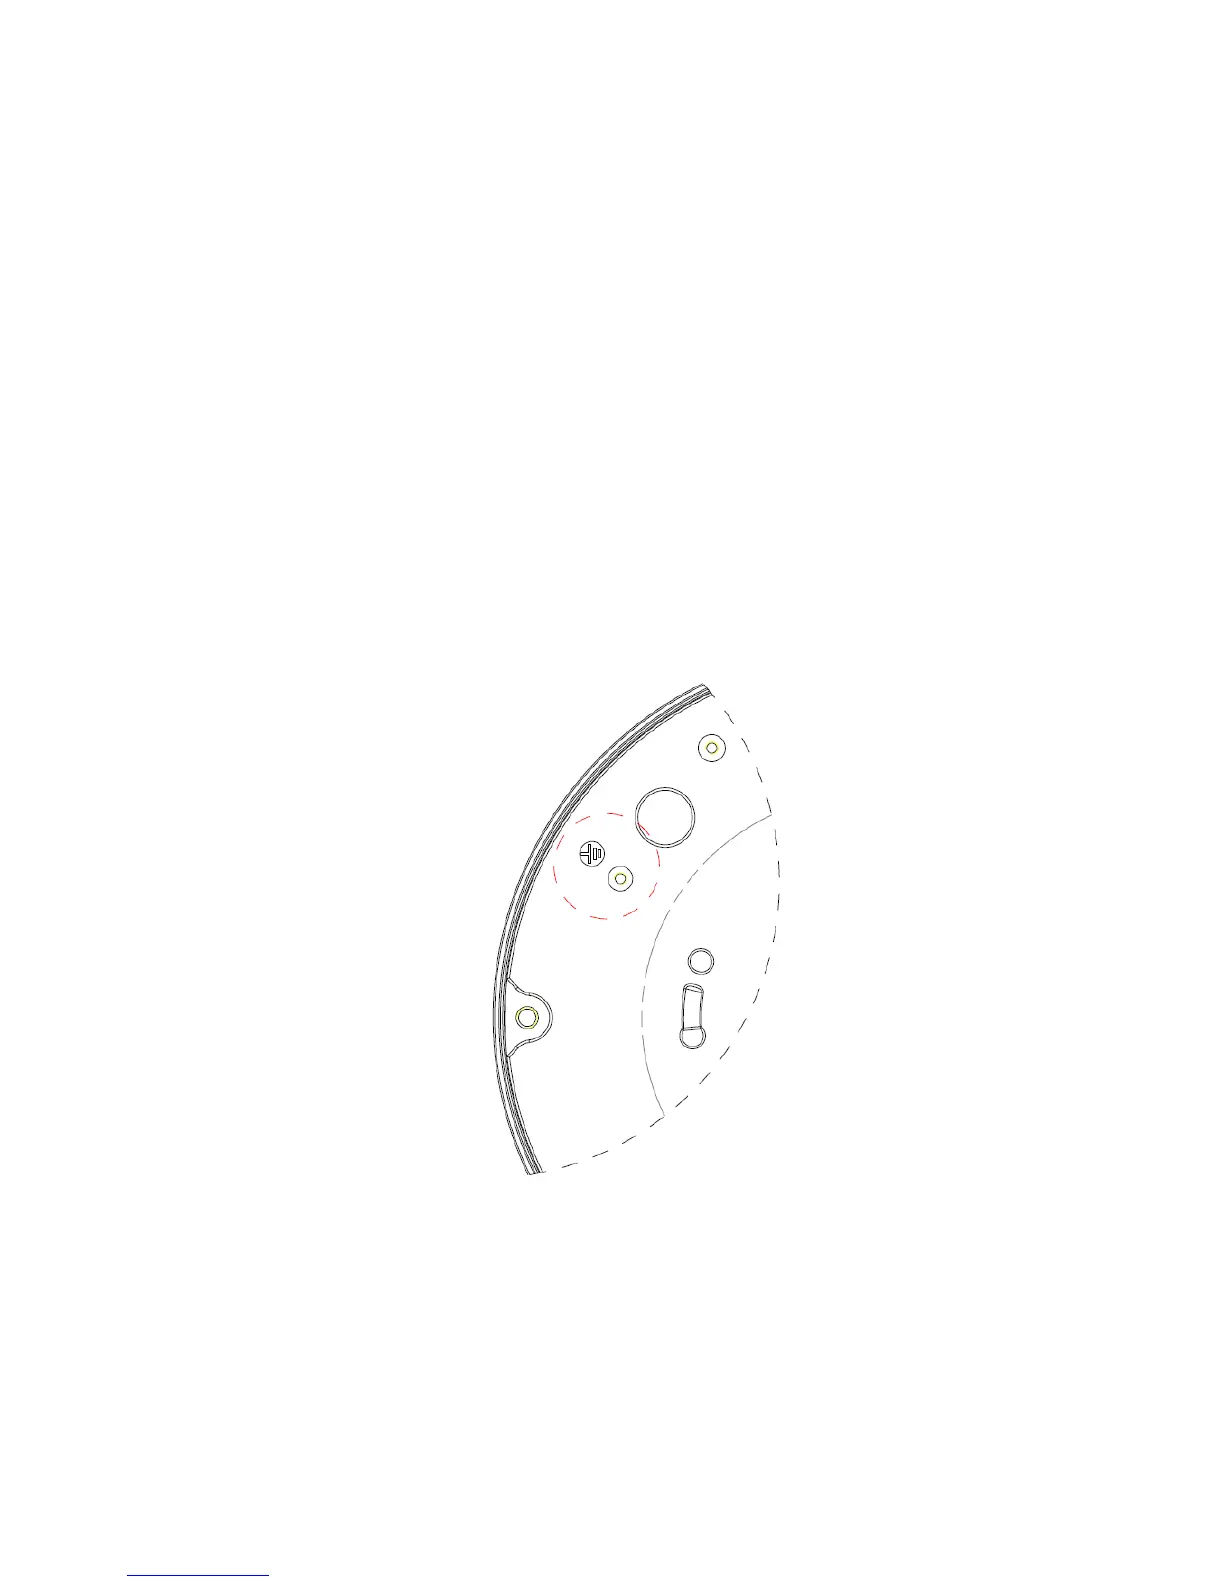
Note: If connect the host GND to ground lead, may improve device reliability. The
GND locates next to exit hole on the rear side of the chassis and the GND screw is
M3.
Figure 2- 2
2.3 Micro SD Card Installation
Use the inner hex wrench from the accessories bag to unfasten the 3 inner hex screws on the dome
camera enclosure, find the Micro SD card slot position according to the following figure then fasten
back the 3 screws on the dome camera enclosure after the Micro SD card is inserted.
Note:
5
 Loading...