Do you have a question about the Dahua IPC-A22EP-S2 and is the answer not in the manual?
This document serves as a Quick Start Guide for the IPC-A22EP-S2 Network Camera, detailing its functions, operation, and installation procedures. The camera is designed for network connectivity, allowing users to monitor and manage it remotely through a dedicated mobile application.
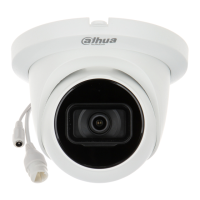
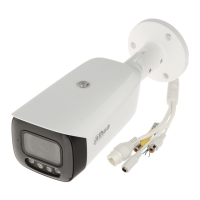
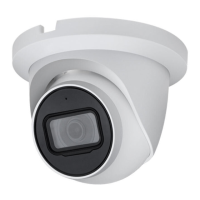
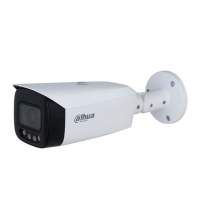
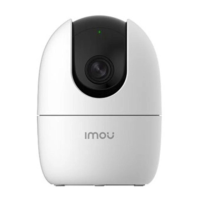
The IPC-A22EP-S2 Network Camera is a versatile surveillance device equipped with a lens, a built-in microphone, and an LED indicator. It supports network connectivity, enabling real-time monitoring and recording. The camera features a Micro SD Card Slot for local storage, a Reset Button for device management, a Built-in Speaker for audio output, an Ethernet Port for wired network connection, and a Power Port for power supply.
The LED indicator provides crucial status feedback to the user. When the LED is off, it indicates that the device is powered off or the LED is turned off. A red light signifies that the device is booting up or experiencing a malfunction. A flashing red light indicates that the network connection has failed. A green light means the device is operating properly. A flashing green light suggests that the device is waiting for network connection. If both green and red lights flash alternately, it indicates that the firmware is updating. A red light that turns off after a reset signifies that the device is rebooting.
The primary method of interacting with the IPC-A22EP-S2 Network Camera is through the Imou App. This application facilitates the initial setup and ongoing management of the camera.
To begin, users need to download and install the Imou App from Google Play or the App Store. If the app is already installed, it should be updated to the latest version to ensure optimal performance and access to all features. After installing the app, users must register an account for first-time use.
The camera is powered by connecting it to a power source using the provided power adapter. Once powered on, the camera will boot up, and the LED indicator will flash green, signaling that it is ready for network configuration.
To add the camera to the Imou App, the user's smartphone must be connected to a 2.4 GHz Wi-Fi network. Within the app, the user can initiate the "Add Device" process. The app will guide the user through scanning a QR code on the camera or manually adding the device. After successful setup, the camera's live view will be accessible through the app.
The Imou App allows for the addition of multiple devices, enabling users to manage several cameras from a single interface. If the Wi-Fi network changes or the camera's indicator status becomes abnormal, the camera can be reset by pressing and holding the reset button for 10 seconds. After resetting, the device can be re-added to the app following the same procedure.
The manual emphasizes several points regarding the maintenance and general use of the device. Users are advised to ensure that all components are included in the package upon opening and to contact their local retailer if any part is broken.
For installation, it is crucial to select a mounting surface that is strong enough to support at least three times the camera's weight. The installation process involves drilling screw holes on the mounting surface according to a positioning map, inserting expansion bolts, attaching the mounting plate with self-tapping screws, and finally, attaching the camera to the mounting plate. After powering up the camera, the lens can be adjusted to the desired angle.
The manual itself serves as a reference, with a disclaimer that the actual product prevails in case of inconsistencies. The manufacturer is not liable for losses resulting from operations that do not comply with the manual. The manual is subject to updates based on laws and regulations, and users are encouraged to refer to the latest electronic version or official website for detailed information. Designs and software are subject to change without prior notice, and product updates may introduce differences from the manual. For the latest program and documentation, users should contact customer service. Any technical data, functions, or operational descriptions, or print errors, should be clarified by referring to the final explanation. If the PDF manual cannot be opened, users are advised to upgrade their reader software or try other mainstream readers. All trademarks and company names mentioned in the manual are the properties of their respective owners.
Users are encouraged to visit the manufacturer's website or contact customer service for any problems encountered with the device. In cases of uncertainty or controversy, the final explanation from the manufacturer should be referenced. The reset button is a key maintenance feature, allowing users to restore the device to its default settings, which can be useful for troubleshooting network issues or reconfiguring the camera. The LED indicator system is also a vital diagnostic tool, providing immediate visual feedback on the camera's operational status, aiding in quick identification of issues such as network connection failures or firmware updates.
| Lens Focal Length | 3.6 mm |
|---|---|
| Field of View (Horizontal) | 93° |
| Field of View (Vertical) | 48° |
| Field of View (Diagonal) | 115° |
| Digital Zoom | 16x |
| Built-in Mic | Yes |
| Built-in Speaker | Yes |
| Frequency | 2.4 GHz |
| Lens Type | Fixed |
| Max. Aperture | F2.0 |
| Network Interface | Wi-Fi |
| Sensor Type | CMOS |
| Resolution | 1920x1080 |
| Effective Pixels | 1920 (H) x 1080 (V) |
| Video Compression | H.264 |
| Audio Compression | AAC |
| Micro SD Card Slot | Up to 256 GB |
| Power Supply | DC 5V/1A |
| Operating Temperature | -10°C to +45°C |
| Weatherproof Rating | No |
| Minimum Illumination | 0 Lux (IR on) |
| Operating Conditions | -10°C to +45°C (+14°F to +113°F), <95% RH |
| Image Sensor | 1/2.7" CMOS |
| Frame Rate | Up to 25/30fps |
| IR Distance | 10 m (33 ft) |