Si121175 Removal of Coils / Thermistors
Removal Procedure 23
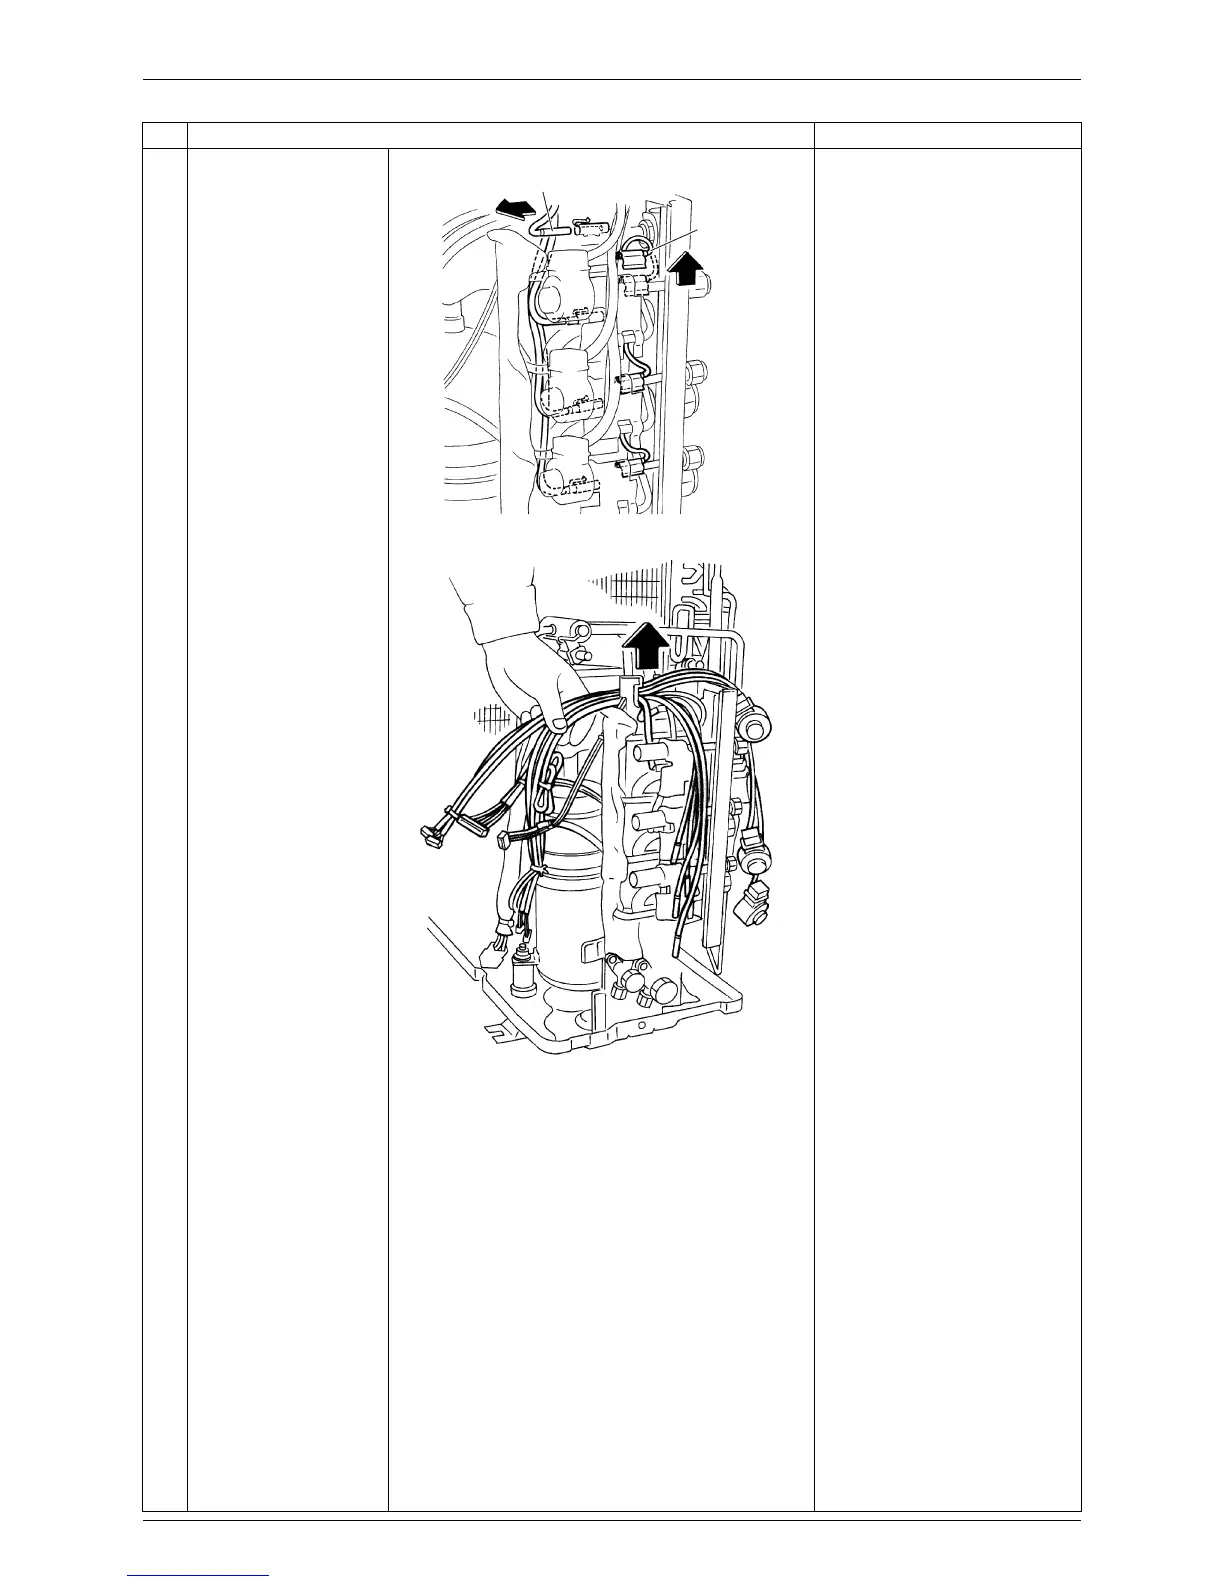
5
Peel off the putty and
pull out the thermistors.
Place the thermistor so that
its end comes up to the end
of the fixture.
Be careful not to lose the clip
or fixtures for the liquid and
gas pipe thermistor.
6
Remove the wire
harness.
[S90]:
Outdoor temperature thermistor
(Blue)
Heat exchanger thermistor
(Gray)
Discharge pipe thermistor
(Black)
[S92]: Gas pipe thermistor
Room A (Black)
Room B (Gray)
Room C (Brown)
[S93]: Liquid pipe thermistor
Room A (Black)
Room B (Gray)
Room C (Yellow)
Step
Procedure Points
(R2198)
Gas pipe thermistor
Liquid pipe
thermistor
(R2199)
 Loading...