D
Dennis BeardSep 10, 2025
What does OD CTRL FAIL1 mean on my Daikin Air Conditioner?
- WwhitekimSep 12, 2025
If your Daikin Air Conditioner displays 'OD CTRL FAIL1', it may be due to high electrical noise. If necessary, replace the control board.
What does OD CTRL FAIL1 mean on my Daikin Air Conditioner?
If your Daikin Air Conditioner displays 'OD CTRL FAIL1', it may be due to high electrical noise. If necessary, replace the control board.
What does HPS OPEN mean on my Daikin DX17VSS601AA Air Conditioner?
If your Daikin Air Conditioner displays 'HPS OPEN', the high-pressure switch (HPS) might be inoperable. Check the resistance on the HPS to verify its operation and replace it if needed.
What to do if my Daikin Air Conditioner shows NO COOLING TEST?
If your Daikin Air Conditioner is showing 'NO COOLING TEST', it means that heat is being provided by a secondary heating source. Turn off any furnace or heater using the thermostat before operating the air conditioner.
| SEER | Up to 17 |
|---|---|
| HSPF | 9.0 |
| Stages | Variable Speed |
| Refrigerant | R-410A |
| Voltage | 208/230 V |
| Phase | 1 |
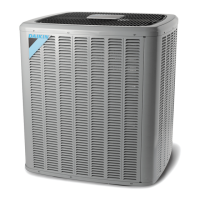
| Type | Split System |
| Cooling Capacity | 60000 BTU/h |
| Heating Capacity | 60000 BTU/h |
| Dimensions (Indoor Unit) | Varies with model |
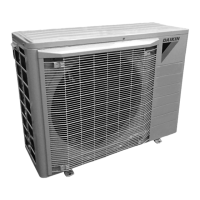
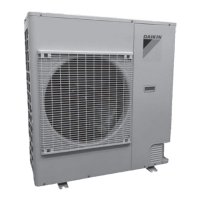
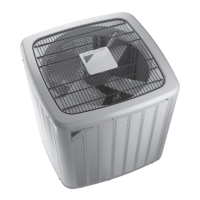
| Dimensions (Outdoor Unit) | 35 x 31 x 29 inches |
| Indoor Unit Noise Level | Varies with model |
Disconnect all power before servicing to prevent property damage, personal injury or death.
Only trained personnel should service the equipment to prevent injury or damage.
Guidelines for choosing a suitable installation location to ensure proper operation and minimize nuisance.
Check ground strength, use foundation bolts securely, and ensure unit is level.
Safety precautions for handling refrigerants to avoid injury, explosion, or death.
Guidelines for using service cylinders safely to prevent explosion.
Precautions to prevent explosions when handling refrigerant cylinders.
Critical warnings against improper grounding to prevent shock, leaks, or explosions.
Emphasizes that only qualified personnel should perform installation work.
Precautions for brazing, torque specs for valves and ports.
Procedures and safety warnings for leak testing.
Critical warnings and cautions related to refrigerant pressure, suction valves, and refrigerant certification.
Warnings about high voltage, proper conductor material, and grounding.
Precautions against phase-advancing capacitors and altering protection devices.
Warnings against improper grounding and connecting ground wire to unsuitable points.
Ensuring correct voltage and a dedicated power circuit for unit connection.
Precautions for wiring to terminal blocks, including shielding plate and crimp terminals.
Cautions to open liquid valve first, avoid leaks, and ensure valves are open.
Notice that E11 code signals the need to run an initial system test.
Note stating that the system test must be run for all installations.
Formula for calculating subcooling and table for adjusting charge.
Configuration of BOOST MODE temperature and enabling CHARGE MODE.
Mandatory system verification test for functional check and stop valve position.
Adjustments for cooling airflow trim, profiles, and delays.
Overview of the diagnostics menu for accessing recent faults.
Overview of status items like Time Stamp, Mode, and Compressor Reduction Mode.
Configuration of BOOST MODE, BOOST TEMP, NIGHT MODE, and Noise Down Level.
Enters CHARGE MODE for refrigerant charging, runs for 1 hour.
Mandatory 10-15 minute test required after installation.
Settings for ON/OFF delays and enabling/disabling dehumidification.
High voltage warning: disconnect power before servicing to prevent shock or fire.
General wiring safety warnings, including using copper conductors and proper connections.
Warning to avoid contact with charged areas and to measure residual voltage.
Chart correlating possible causes with cooling performance indicators.
Headers for fault codes, PCB LEDs, thermostat messages, probable causes, and corrective actions.
Indicates startup test required; installer must navigate to run System Test.
Troubleshooting communication issues within the ComfortNet system network.
Instructions for navigating between different display screens (0-4) using buttons.