7 | Unit installation
Installer reference guide
56
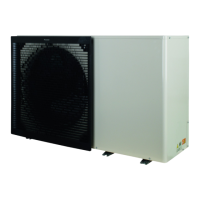
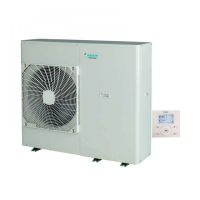
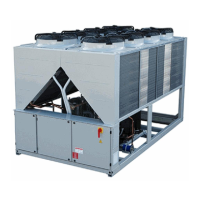
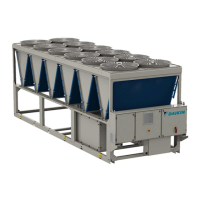
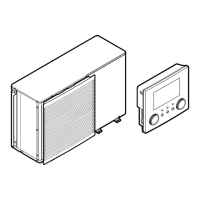
EWAA011~016DA + EWYA009~016DA
Packaged air-cooled water chillers
and packaged air to water heat pumps
4P620242-1 – 2020.06
a Snow cover or shed
b Pedestal
c Prevailing wind direction
d Air outlet
In any case, provide at least 150 mm of free space below the unit. Additionally,
make sure the unit is positioned at least 100 mm above the maximum expected
level of snow. See "7.2Mounting the outdoor unit"[456] for more details.
In heavy snowfall areas it is very important to select an installation site where the
snow will NOT affect the unit. If lateral snowfall is possible, make sure that the heat
exchanger coil is NOT affected by the snow. If necessary, install a snow cover or
shed and a pedestal.
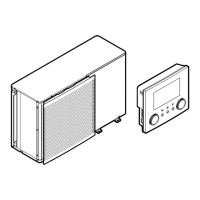
7.2 Mounting the outdoor unit
7.2.1 About mounting the outdoor unit
When
You have to mount the outdoor unit before you can connect the water piping.
Typical workflow
Mounting the outdoor unit typically consists of the following stages:
1 Providing the installation structure.
2 Installing the outdoor unit.
3 Providing drainage.
4 Installing the discharge grille.
5 Protecting the unit against snow and wind by installing a snow cover and baffle
plates. See "7.1Preparing the installation site"[453].
7.2.2 Precautions when mounting the outdoor unit
INFORMATION
Also read the precautions and requirements in the following chapters:
▪ "2General safety precautions"[49]
▪ "7.1Preparing the installation site"[453]
 Loading...