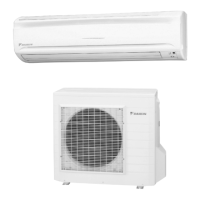
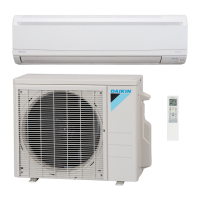
Check the following parts
n Installation Procedure
n Before installation
Name
Quantity
Louver
1piece
Truss tapping screw
M4x4screws(max.7.5kW class)
M5x4screws(8.0/9.0kW class)
Installation manual
1piece
Shape
Selection of Installation Location
Installation of Louvers
Space Needed for Installation
Use when installing in a location that meets the following conditions.
!
When installing near the border to a neighbor's house
!
If exhaust blows directly on passers-by because outdoor unit is instal-
led facing a road.
!
If exhaust blows directly on vegetation
!
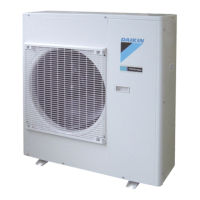
A minim
um of 4”(100mm) is required
between the back of the outdoor
unit and any obstructions
(walls, etc.)
more than100
Attach the louvers overlapping the standard grille.
Installing the louvers without the grille enables hands inside the fan area,
which is dangerous, so be sure to install the standard grille.
Caution
When pointing up When pointing down
(1) Remove the 4 attachment screws from
the standard grille.
Remove the 4 attachment screws from
the standard grille.
(2) Install the louver pointed up.
!
!
Overlap the standard grille and
screw both in together.
The attachment screws
are in the louvers.
Install the louver pointed down.
Overlap the standard grille and
screw both in together.
The attachment screws
are in the louvers.
(3)
(1)
(2)
!
!
(3)
Installation complete Installation complete
 Loading...