6 | Unit installation
Installer reference guide
30
CVXM-A, FVXM-A, CVXM-A9, FVXM-A9, FVXTM-A
Split system air conditioners
4P625991-1F – 2022.09
10 Drill a wall hole, depending on which side piping is taken out. See "6.3.2 To
drill a wall hole"[432].
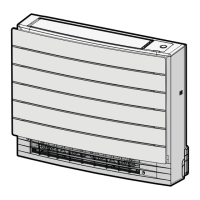
11 Open the front panel and remove the front grille.
12 Remove the slit portions using nippers. See "6.3.3 To remove the slit
portions"[432].
13 If necessary for the skirting board, remove the slit portion on the bottom
frame.
a Bottom frame
b Slit portion
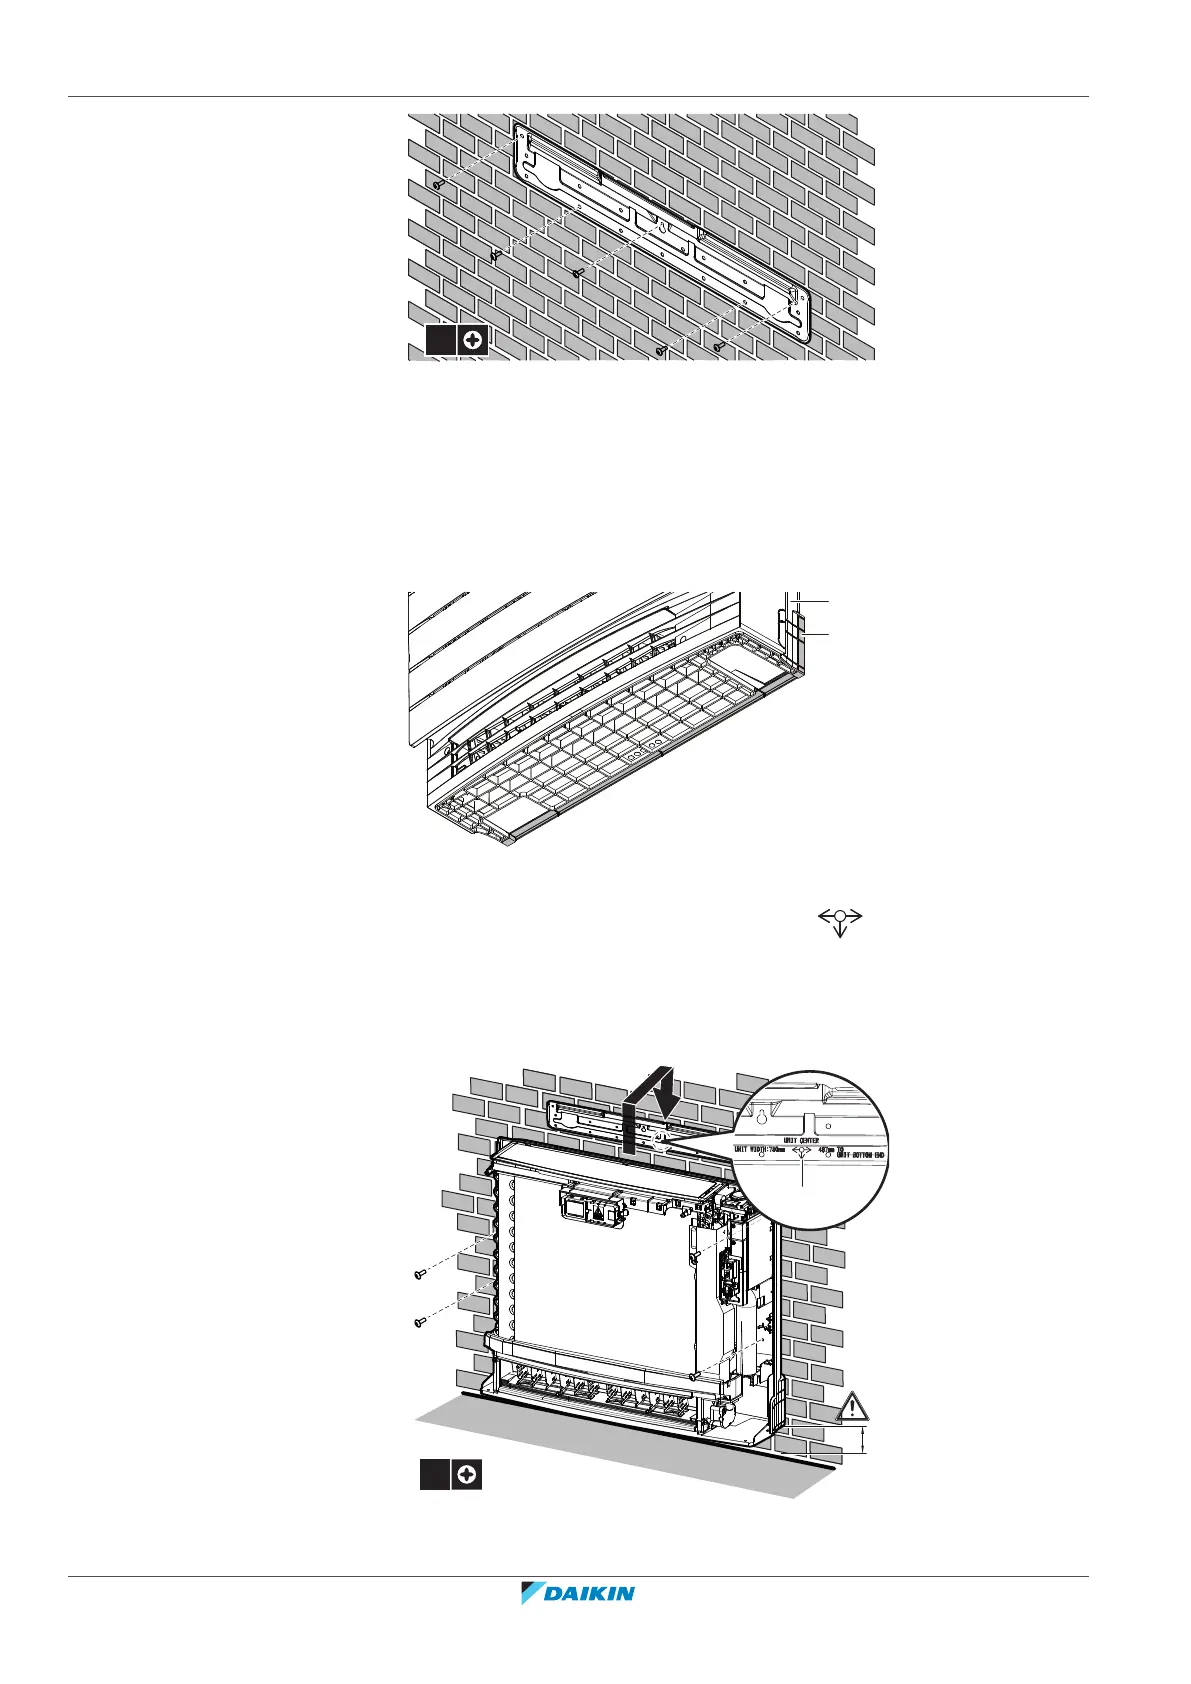
14 Align the unit using the alignment symbol on the mounting plate:
375 mm from the alignment symbol to the each side (unit width 750 mm),
487mm from the alignment symbol to the bottom of the unit.
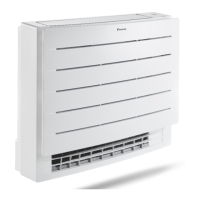
15 Hook the unit on the mounting plate and secure the unit to the wall using 4
screws M4×25L (field supply).
a Alignment symbol
 Loading...