
V
Valerie BrownJul 29, 2025
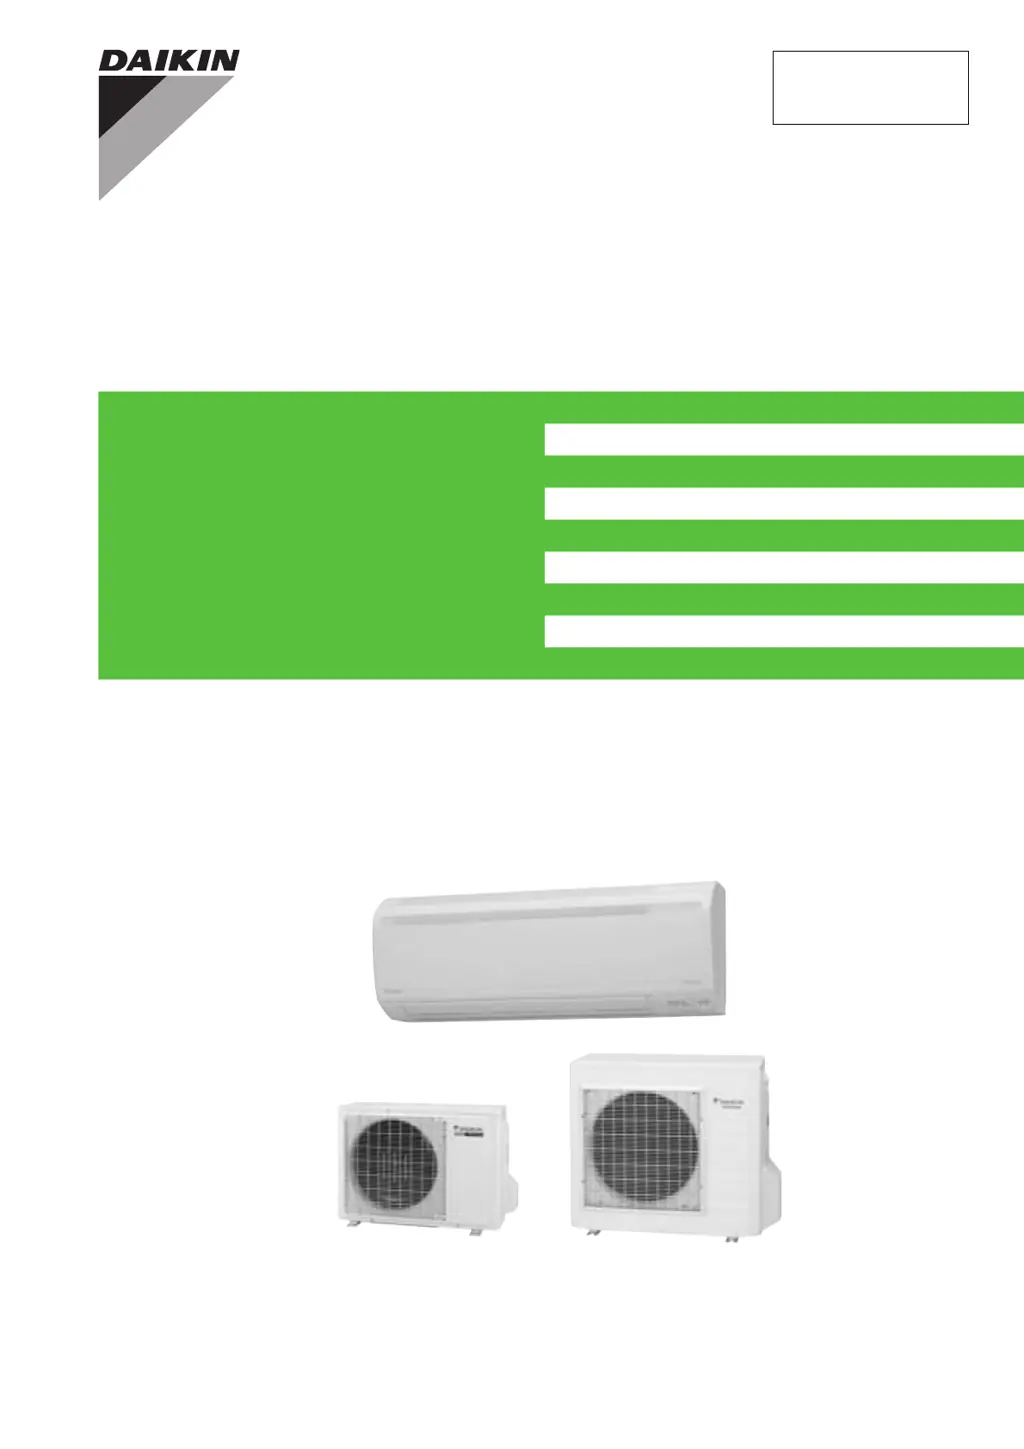
What to do if a signal transmission error occurs between indoor and outdoor units of Daikin Heat Pump?
- AandersonyvonneJul 29, 2025
If you are experiencing a signal transmission error between the indoor and outdoor units of your Daikin Heat Pump, you should conduct the diagnostic procedure described in the following pages.