ESIE17-08 | Part 3. Repair 3.3. Unit specific repair procedures
Page 90 15/11/18 | Version 1.1
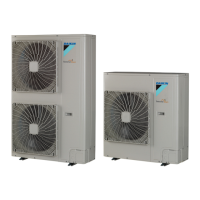
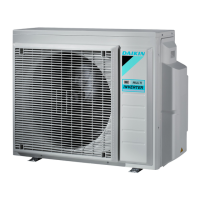
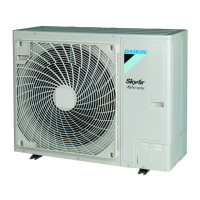
R32 Sky-Air RZAG-M
Installation
1. Wrap a wet rag around the pressure sensor.
2. Proceed in reverse order.
3.3.2.14. Replacing inverter PCB
The inverter is integrated in the main PCB, see "Replacing main PCB" on page 92.
3.3.2.15. Replacing low pressure switch
PRELIMINARY ACTIONS
1. Switch off the Daikin unit via the user interface.
2. Switch off the Daikin unit with the field supplied circuit breaker.
3. Remove plate work when required (refer to "Basic removal" on page 67).
4. Recover the refrigerant (refer to "Refrigerant repair procedures" on page 61).
5. Connect a nitrogen hose to the outdoor suction service port.
6. Attach a hose with core-depressor to allow the release of the nitrogen.
PROCEDURE
Removal
1. Unplug the low pressure switch connector on the main PCB.
2. Cut the tie wrap that fixes the low pressure switch wiring.
3. Cut the low pressure switch pipe.
4. Remove the low pressure switch (2).
5. Supply nitrogen to the piping circuit.
6. Heat the low pressure switch pipe using an oxygen acetylene torch.
7. When the solder is liquid, pull the low pressure switch pipe.
8. Cut the nitrogen supply when the piping has cooled down.
CAUTION
Overheating the high pressure sensor will damage or destroy it.
CAUTION
The maximum applied Nitrogen pressure must not exceed 0.02 MPa.
 Loading...
