7 | Piping installation
Installer reference guide
35
RXTJ-A_RXTA-C_RXTM-A_RXTP-A
R32 split series
4P728168-1 – 2023.03
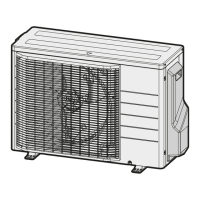
a Torque wrench
b Spanner
c Piping union
d Flare nut
Piping size (mm) Tightening torque
(N•m)
Flare dimensions
(A) (mm)
Flare shape (mm)
Ø6.4 15~17 8.7~9.1
Ø9.5 33~39 12.8~13.2
7.2.4 Pipe bending guidelines
Use a pipe bender for bending. All pipe bends should be as gentle as possible
(bending radius should be 30~40 mm or larger).
7.2.5 To flare the pipe end
CAUTION
▪ Incomplete flaring may cause refrigerant gas leakage.
▪ Do NOT re-use flares. Use new flares to prevent refrigerant gas leakage.
▪ Use flare nuts that are included with the unit. Using different flare nuts may
cause refrigerant gas leakage.
1 Cut the pipe end with a pipe cutter.
2 Remove burrs with the cut surface facing down so that the chips do NOT enter
the pipe.
a Cut exactly at right angles.
b Remove burrs.
3 Remove the flare nut from the stop valve and put the flare nut on the pipe.
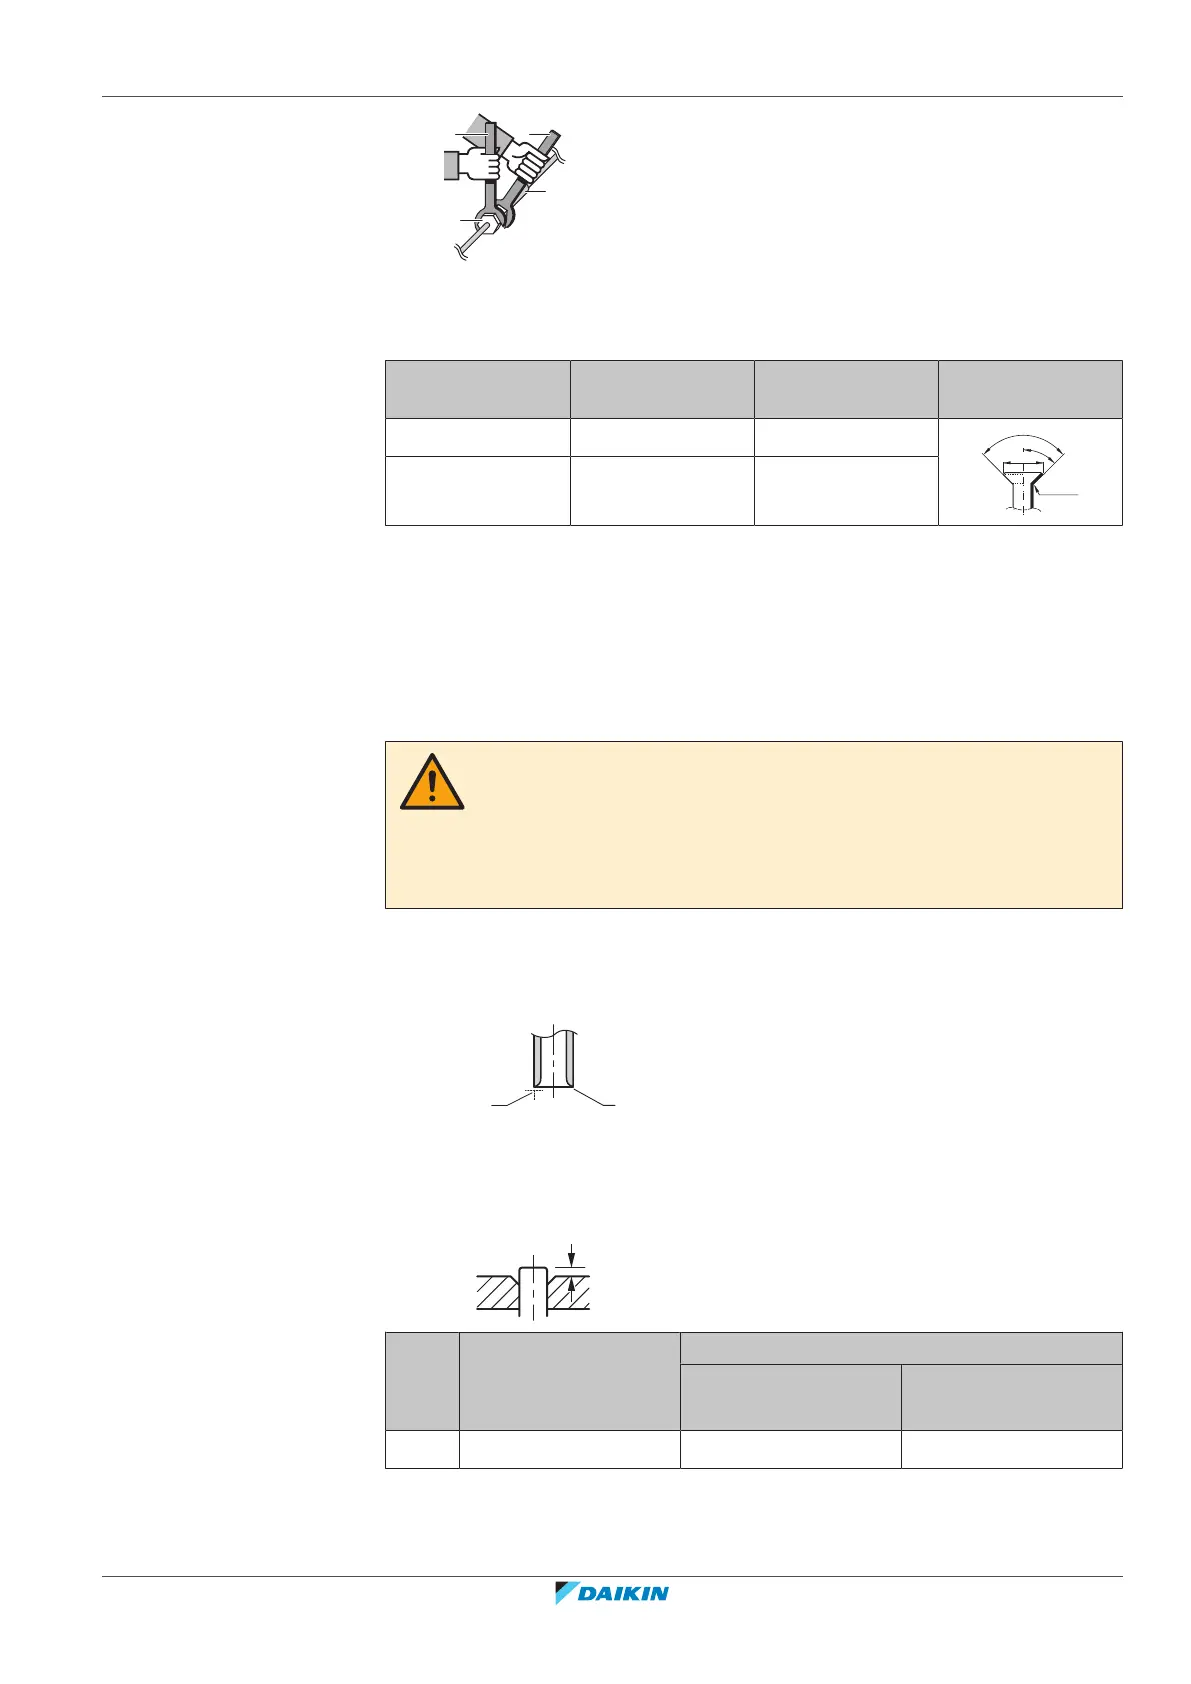
4 Flare the pipe. Set exactly at the position as shown in the following figure.
Flare tool for R32
(clutch type)
Conventional flare tool
Clutch type
(Ridgid-type)
Wing nut type
(Imperial-type)
A 0~0.5mm 1.0~1.5mm 1.5~2.0mm
5 Check that the flaring is properly made.