7 | Piping installation
Installer reference guide
37
RXTJ-A_RXTA-C_RXTM-A_RXTP-A
R32 split series
4P728168-1 – 2023.03
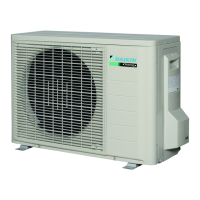
To open/close the stop valve
1 Remove the stop valve cover.
2 Insert a hexagon wrench (liquid side: 4 mm, gas side: 6 mm) into the valve
stem and turn the valve stem:
Counterclockwise to open
Clockwise to close
3 When the stop valve CANNOT be turned any further, stop turning.
4 Install the stop valve cover.
Result: The valve is now open/closed.
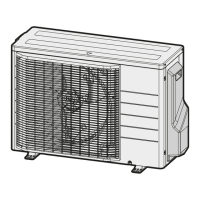
To handle the stem cap
▪ The stem cap is sealed where indicated with the arrow. Do NOT damage it.
▪ After handling the stop valve, tighten the stem cap, and check for refrigerant
leaks.
Stem cap Width across flats (mm) Tightening torque (N∙m)
Liquid side 17 15~17
Gas side 22 21~28
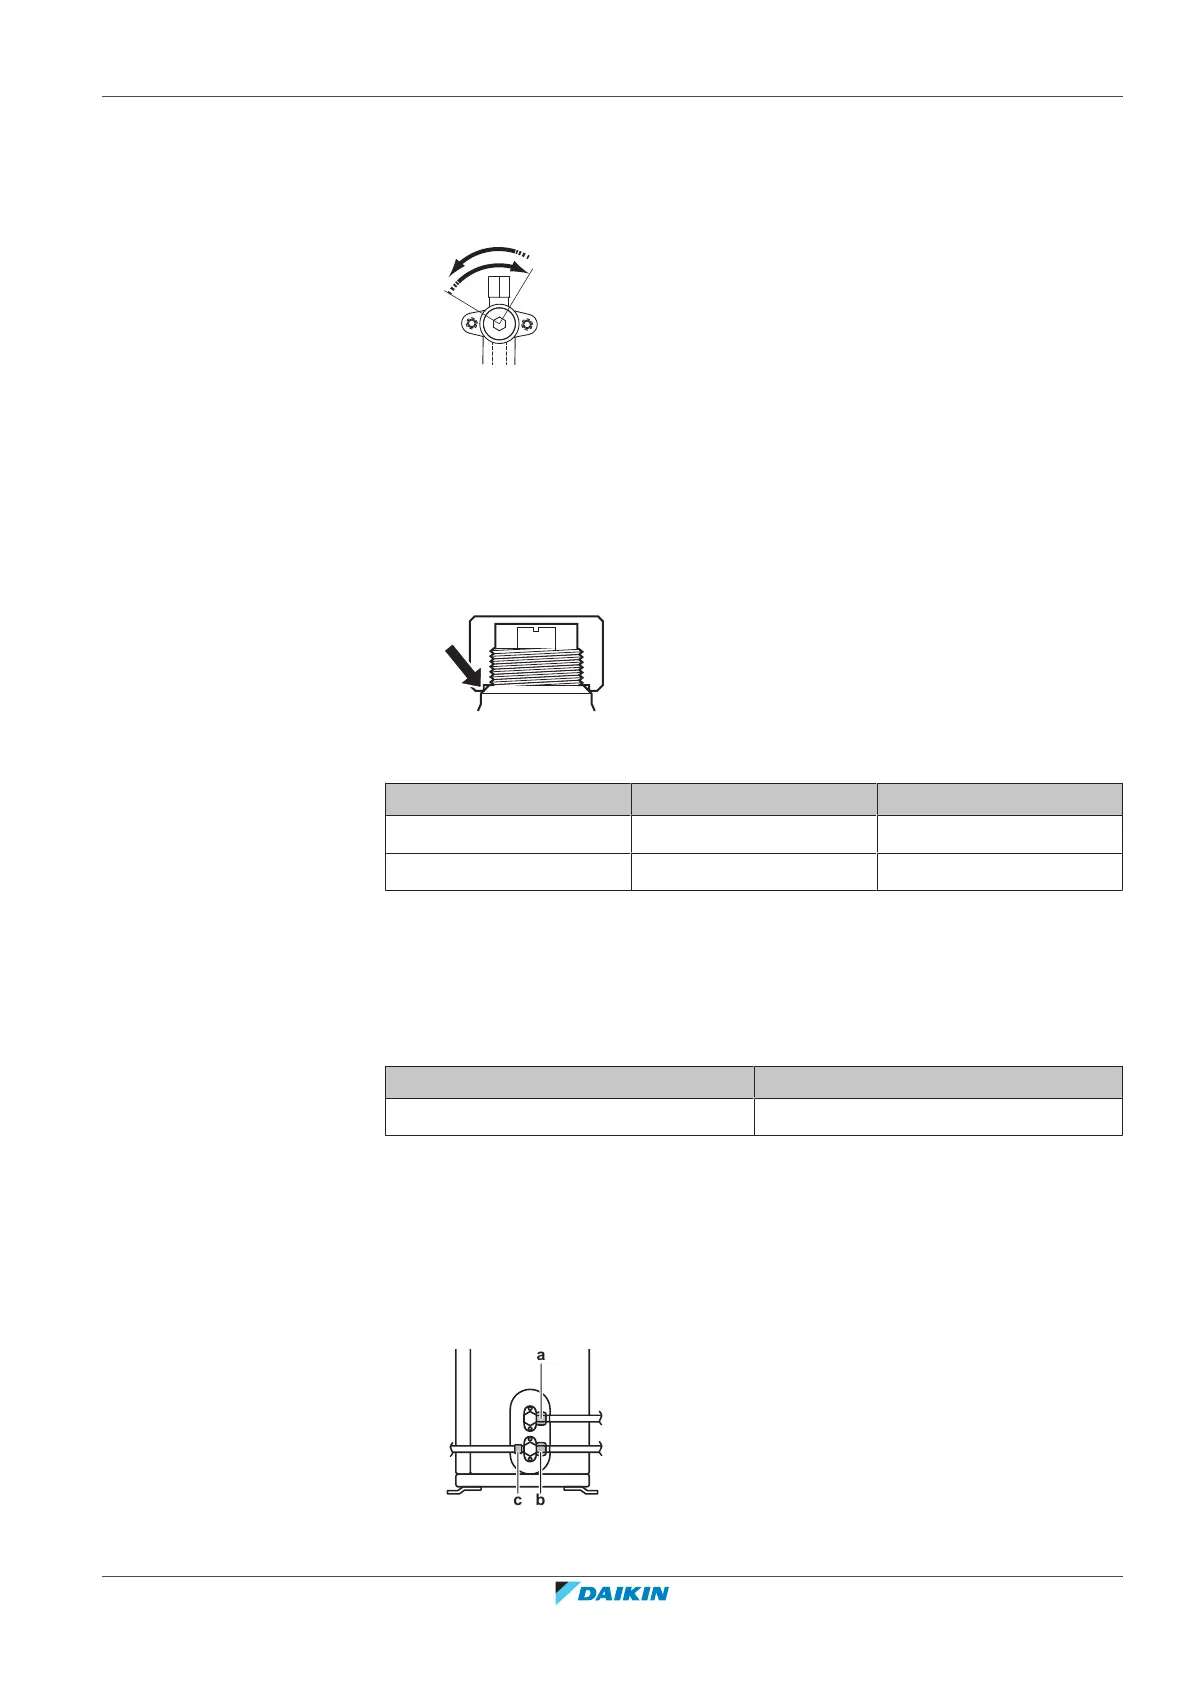
To handle the service cap
▪ ALWAYS use a charge hose equipped with a valve depressor pin, since the service
port is a Schrader type valve.
▪ After handling the service port, tighten the service port cap, and check for
refrigerant leaks.
Item Tightening torque (N∙m)
Service port cap 11~14
7.2.7 To connect the refrigerant piping to the outdoor unit
▪ Piping length. Keep field piping as short as possible.
▪ Piping protection. Protect the field piping against physical damage.
1 Connect the liquid refrigerant connection from the indoor unit to the liquid
stop valve of the outdoor unit.