8 | Charging refrigerant
Installer reference guide
44
RXTJ-A_RXTA-C_RXTM-A_RXTP-A
R32 split series
4P728168-1 – 2023.03
If pump down is needed in case of dismantling or relocating the system, see
"15.2To pump down"[460] for more details.
8.7 To check refrigerant piping joints for leaks after charging refrigerant
1 Perform the leak tests see "7.3Checking the refrigerant piping"[438].
2 Charge refrigerant.
3 Check for refrigerant leaks after charging (see below)
Tightness test of field-made refrigerant joints indoors
1 Use a leakage test method with a minimum sensitivity of 5 g of refrigerant/
year. Test leaks using a pressure of at least 0.25 times the maximum working
pressure (see "PS High" on the unit nameplate).
If a leak is detected
1 Recover the refrigerant, repair the joint, and repeat the test.
8.8 To fix the fluorinated greenhouse gases label
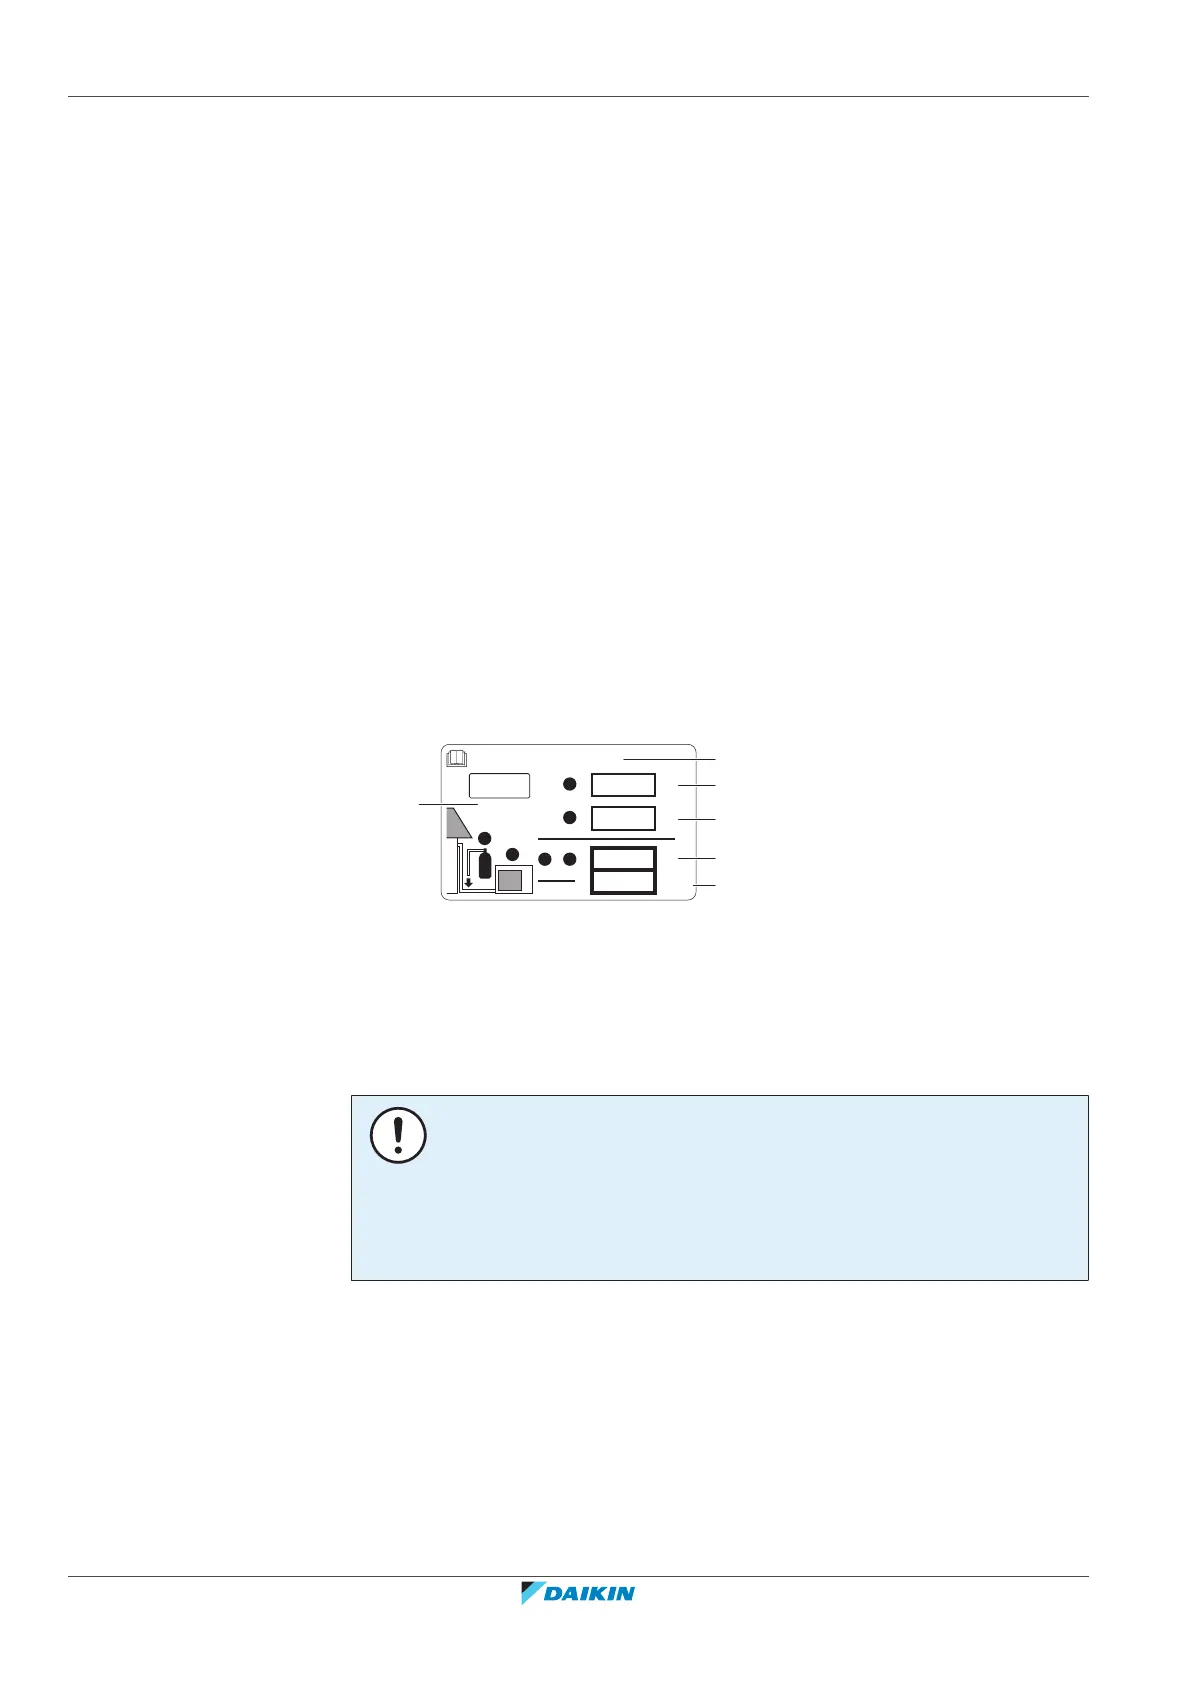
1 Fill in the label as follows:
Contains fluorinated greenhouse gases
2
1
1
1
2
2
kg
tCO
2
eq
GWP × kg
1000
=
=
+
kg
=
kg
=
GWP: XXX
RXXX
a If a multilingual fluorinated greenhouse gases label is delivered with the unit (see
accessories), peel off the applicable language and stick it on top of a.
b Factory refrigerant charge: see unit name plate
c Additional refrigerant amount charged
d Total refrigerant charge
e Quantity of fluorinated greenhouse gases of the total refrigerant charge
expressed as tonnes CO
2
equivalent.
f GWP = Global Warming Potential
NOTICE
Applicable legislation on fluorinated greenhouse gases requires that the refrigerant
charge of the unit is indicated both in weight and CO
2
equivalent.
Formula to calculate the quantity in CO
2
equivalent tonnes: GWP value of the
refrigerant × total refrigerant charge [in kg] / 1000
Use the GWP value mentioned on the refrigerant charge label.
2 Fix the label on the inside of the outdoor unit near the gas and liquid stop
valves.