21 | Finishing the outdoor unit installation
Installer and user reference guide
112
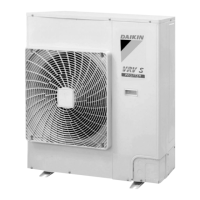
RXYSA4~6A7V/Y1B
VRV 5-S system air conditioner
4P600330-1 – 2020.01
21 Finishing the outdoor unit installation
In this chapter
21.1 To insulate the refrigerant piping........................................................................................................................................... 112
21.2 To close the outdoor unit ....................................................................................................................................................... 115
21.3 To check the insulation resistance of the compressor .......................................................................................................... 115
21.1 To insulate the refrigerant piping
After finishing the charging procedure, the piping must be insulated. Take into
account the following points:
▪ Make sure to insulate the connection piping and refrigerant branch kits entirely.
▪ Be sure to insulate the liquid and gas piping (for all units).
▪ Use heat resistant polyethylene foam which can withstand a temperature of 70°C
for liquid piping and polyethylene foam which can withstand a temperature of
120°C for gas piping.
▪ Reinforce the insulation on the refrigerant piping according to the installation
environment.
Ambient temperature Humidity Minimum thickness
≤30°C 75% to 80% RH 15mm
>30°C ≥80% RH 20mm
Between outdoor and indoor unit
NOTICE
It is recommended that the refrigerant piping between indoor and outdoor unit is
installed in a ducting or the refrigerant piping is wrapped with finishing tape.
1 Insulate and fix the refrigerant piping and cables as follows:
a Gas pipe
b Gas pipe insulation
c Interconnection cable
d Field wiring (if applicable)
e Liquid pipe
f Liquid pipe insulation
g Finishing tape
2 Install the service cover.
Inside the outdoor unit
To insulate the refrigerant piping, proceed as follows:

 Loading...