10 BC08728642552802-001001
Manual
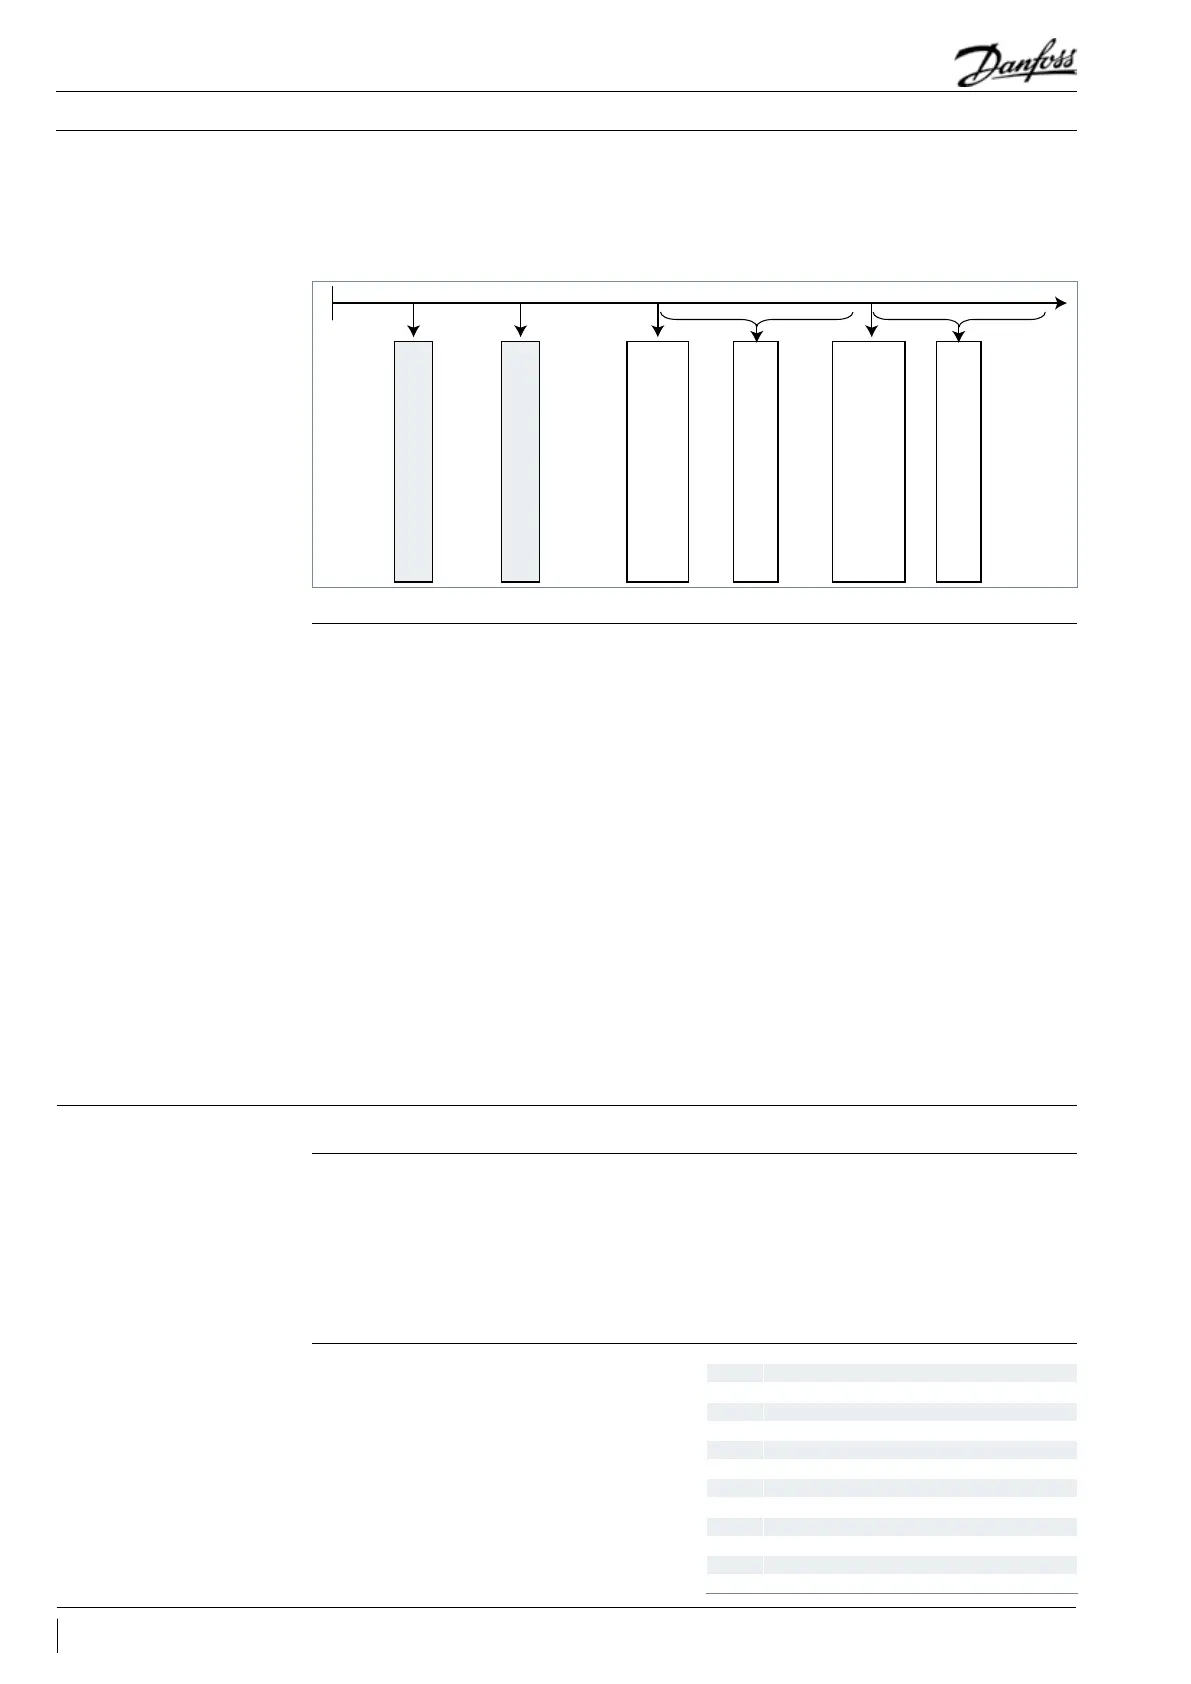
Pump Down - Function • A “pump-down” limit can be activated with the setting of parameter c33
• To avoid unwanted low pressure alarms, the setting ot this parameter should be higher than the low
pressure cut-out limit parameter c75, … e.g. below
0
Low pressure switch: Cut-In
Scroll and Recip: 0,5bar
Dierential: Parameter c76
Scroll and Recip: 0,7bar
Pump down function: Param. c33
Inverter: 2.7 bar Scroll: 1,7bar
Recip: 0,7bar
Dierential: Parameter c76
Scroll and Recip: 0,7bar
Low pressure switch: Cut-Out
Scroll and Recip: -0,3bar
Low pressure cut-out limit:
Parameter c75
Scroll: 1,4bar Recip: 0,4bar
In some areas it may be necessary to reduce noise level during night time. This is possible with the
“Day / Night” function of the Optyma
™
Plus controller which limits the fan speed for all units and the
compressor speed for INVERTER units. For activation follow the next steps …
• Activate the parameter menu (press upper button min. 5 sec.)
• Select parameter “r13” Night Offset (temperature offset related to condensing temperature setpoint
for daytime which is parameter “r29”)
• Push middle button and set the desired value, e.g. 005 for 5 Kelvin
• Confirm the value with a short press on the middle button. Do the same with the next parameters
which are required for the “Day / Night” - function …
• Select and set parameter “t17” Day start (hours), e.g. 006 for 06:00 a.m.
• Select and set parameter “t18” Night start (hours), e.g. 022 for 22:00 p.m.
• Select and set parameter “t07” Clock setting (hours), e.g. 011 for 11:xx a.m.
• Select and set parameter “t08” Clock setting (minutes), e.g. 035 for 11:35 a.m.
• Select and set parameter “t45” Clock setting (date), e.g. 010 for 10.xx.xx
• Select and set parameter “t46” Clock setting (month), e.g. 004 for 10.04.xx
• Select and set parameter “t47” Clock setting (year), e.g. 012 for 10.04.12
• All values will be stored with the middle button or after 20s without pressing any button
Day/Night - Function
• The controller displays the evaporation temperature in °C (main screen)
• It will show the readout of the condensing temperature in °C after pressing short the lower button
• Pressing short the middle button, the setpoint of the temperature difference between condensing
and ambient temperature appears which can be directly modified here by pressing the upper or
lower button.
• The display returns to main screen after a few seconds without any action on the buttons
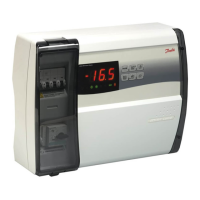
Main Display
(Evaporating and Condensing
Temperature, Setpoint Tempera-
ture Difference)
Service and Maintenance
• Operation conditions of the condensing unit
can be displayed in the parameter menu
by selecting parameters “U” … below some
examples
u01 Condensing Pressure
u10 Status of DI1 (room thermostat)
u21 Superheat
u37 Status of DI2 (frequency converter alarm)
u52 Compressor Capacity
U22 Condensing Temperature
U23 Evaporation Pressure
U24 Evaporation Temperature
U25 Ambient Temperature
U26 Discharge Temperature
U27 Suction Temperature
U44 Voltage on A01
U56 Voltage on A02
Operating Parameters
Controller Installation
 Loading...