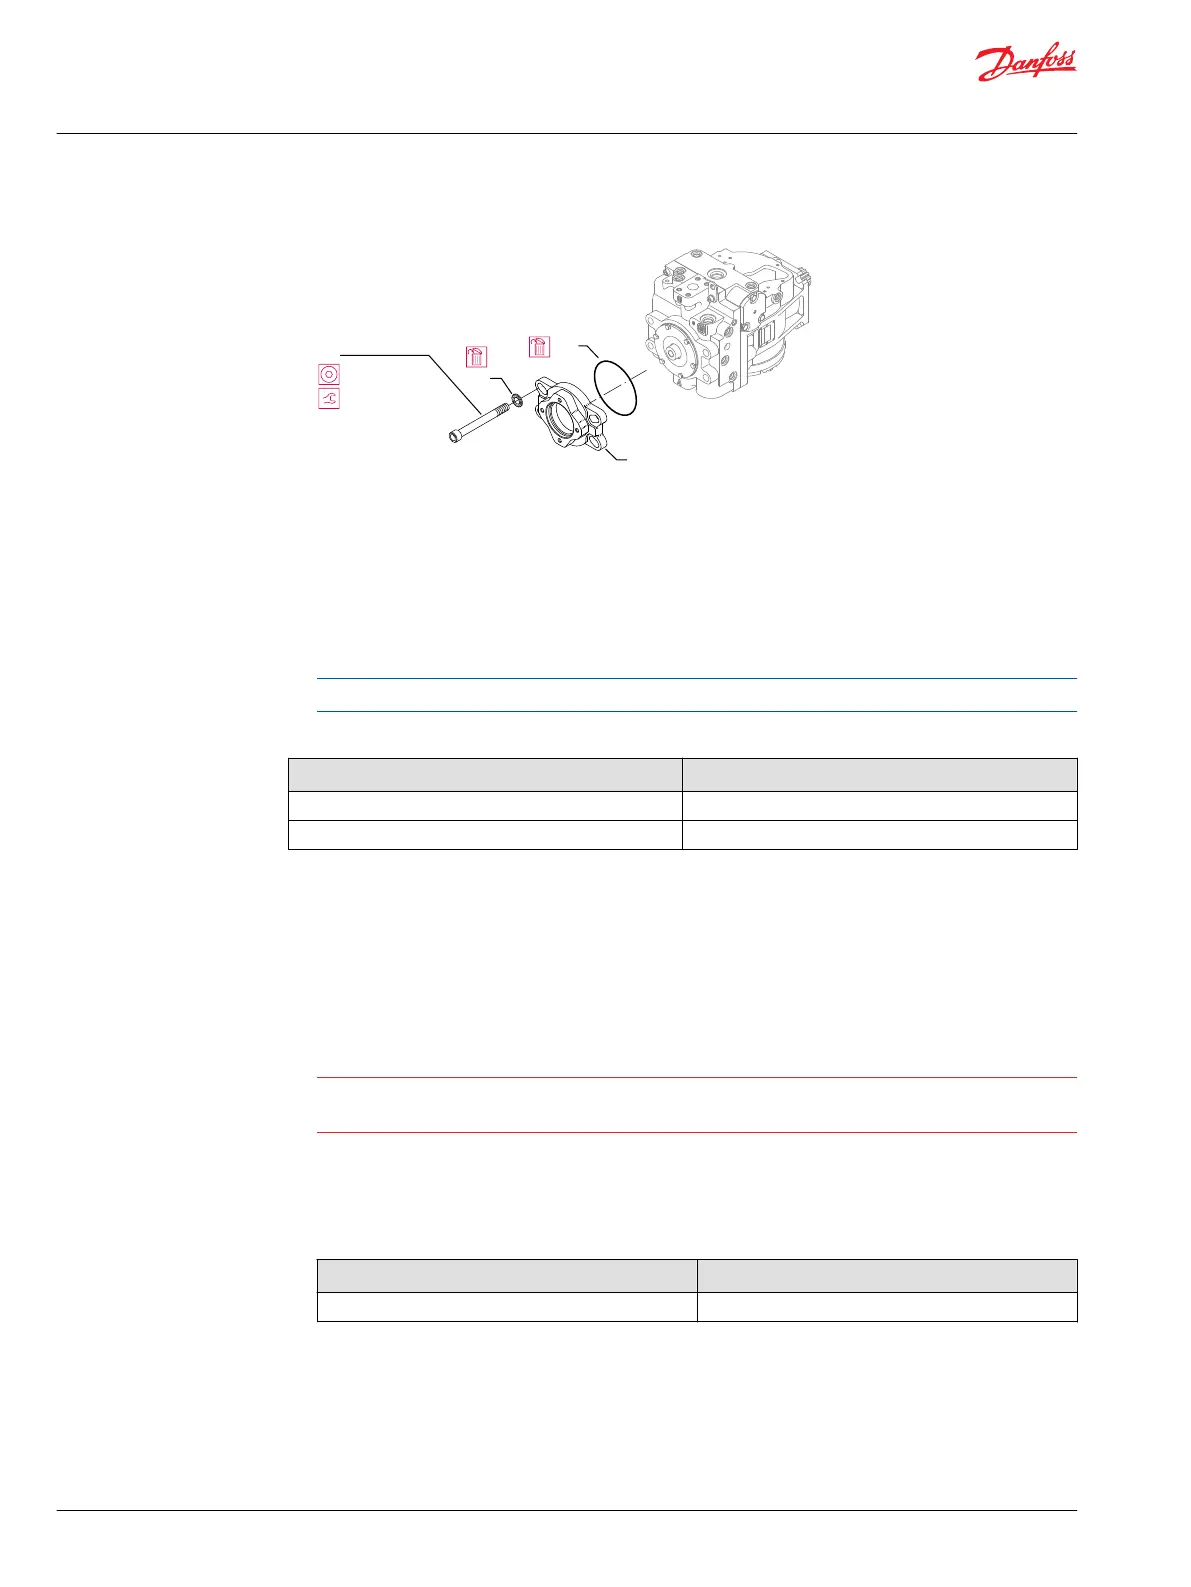
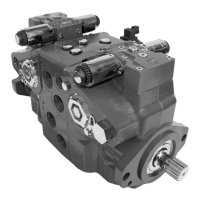
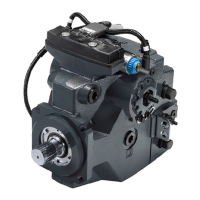
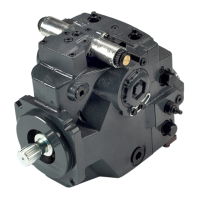
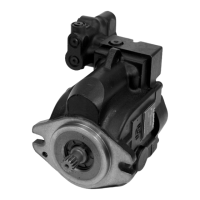
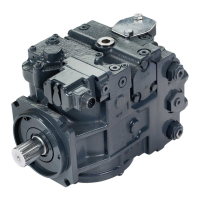
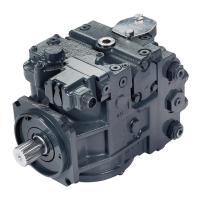
Auxiliary pad components (typical)
J70
J60
J50
J80
E101 084E
Endcap screw
Screw torque
See appropriate table for wrench size and torque
Reassembly
1. Lubricate and install O-ring (J50) on end cap pilot.
2. Install the auxiliary mounting pad (J60) on rear of endcap.
3. Install four large screws (J80) and new washers (J70) through the mounting pad and end cap into the
housing. Torque per the accompanying table.
Torque endcap screws in a criss-cross pattern
End cap screw torque
Frame size Torque
055 122 N•m [90 lbf•ft]
075 – 100 298 N•m [220 lbf•ft]
Charge pump
The following procedure shows how to remove and install a charge pump.
Removal
1. For pumps with an auxiliary mounting pad, refer to the Auxiliary Pad instructions.
Caution
On earlier production frame size 75 pumps with twin ports, secure the endcap to the pump housing
with a clamp to avoid gasket damage.
2. Remove the six screws (H80) holding the charge pump cover retainer (H70).
3. Remove the retainer (H70) and the charge pump cover (J15). Remove and discard O-ring (J40). Note
the orientation of the gerotor assembly (H05).
Retainer screw wrench size
Frame size Wrench size
055 – 100 10 mm
Service Manual
Series T90 Axial Piston Pumps
Minor repair
52 |
©
Danfoss | March 2020 AX216086485386en-000101



 To Next Page