DB-70 Automatic Wheel Balancer 43 P/N 5900261 — Rev. A1 — January 2021
r. When all of the Indicators are lit, press the Brake Pedal to hold the Wheel at that position.
s. Clamp the Weight at Top Dead Center on the Wheel (12 o’clock high) on the Outer Edge for
ALU5.
t. Release the Brake Pedal.
u. Lower the Tire Cover to spin the Wheel again.
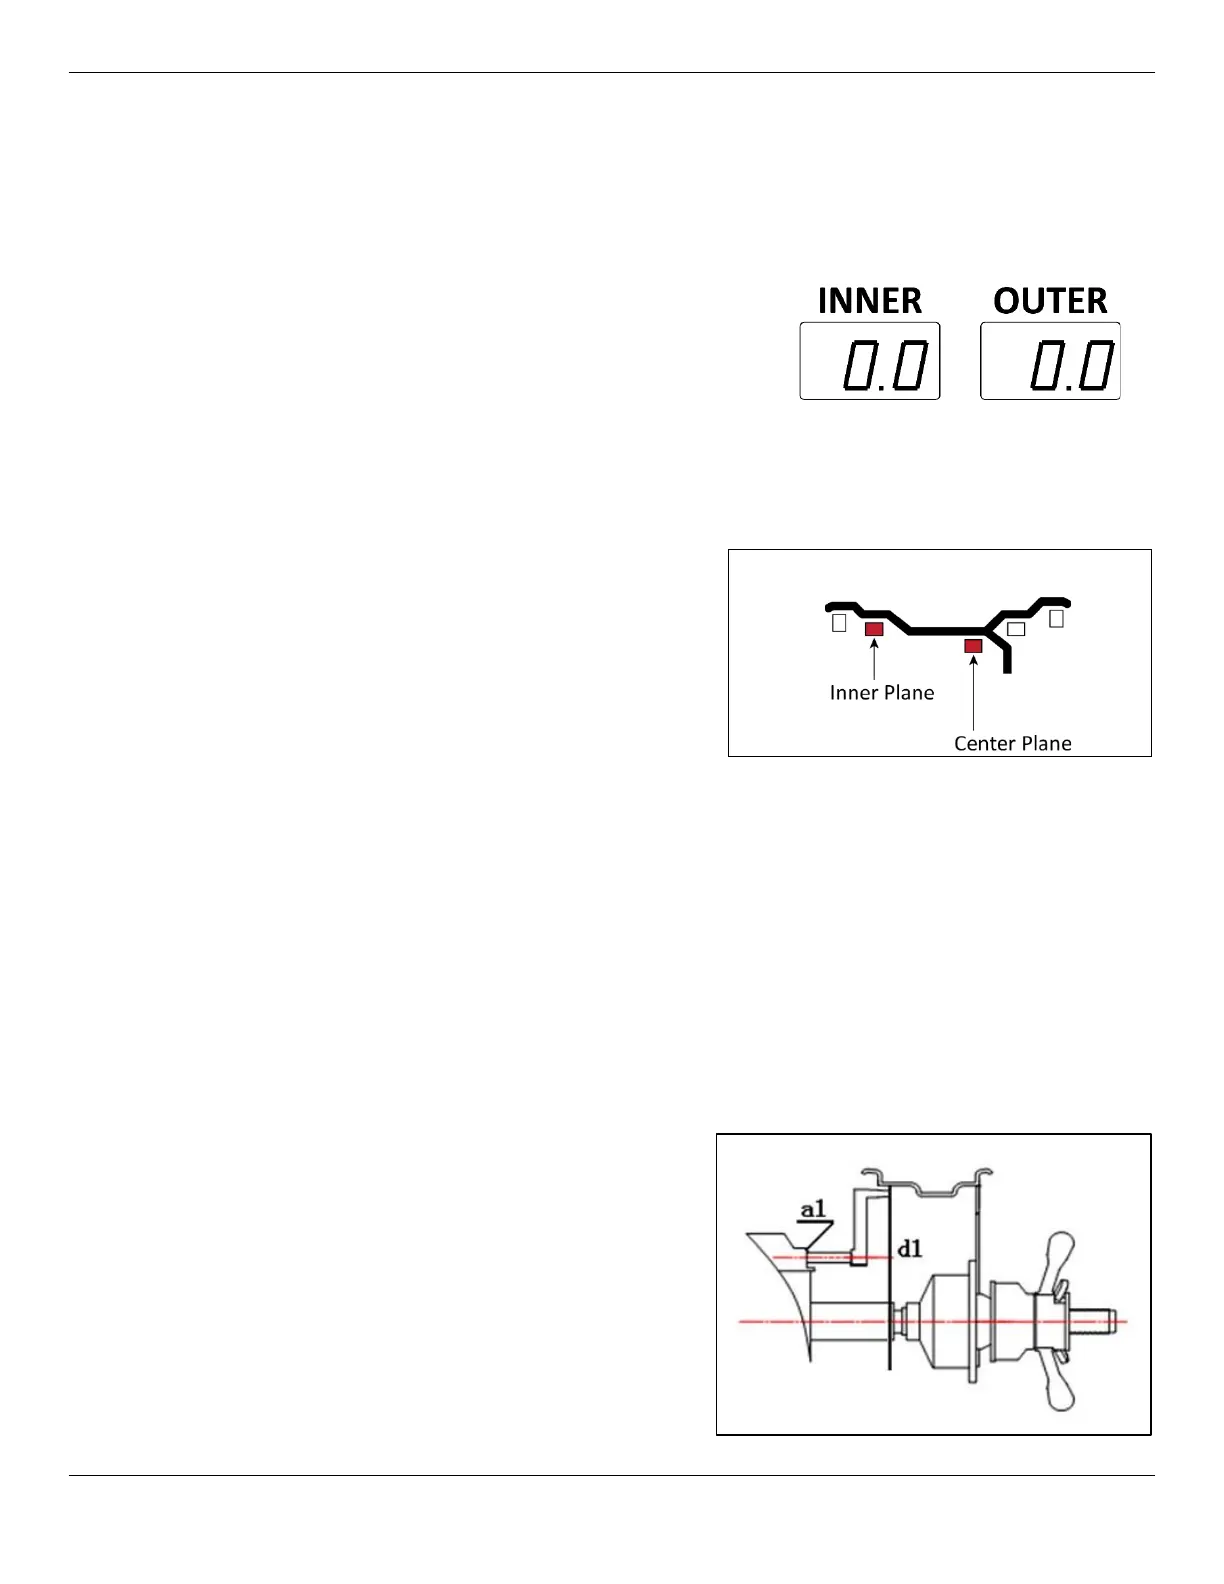
The Wheel is balanced when both the Inner and Outer
Windows show 0.0.
It may take more than one time adding weights to get to
0.0 | 0.0.
To balance a Wheel in the ALUS Mode:
In ALU 1 through 5 described above, the adhesive weights are applied to specific predetermined
wheel planes. If the wheel does not balance using any of the preset ALU weight placement modes
then use the ALUS mode. The ALUS allows the operator to choose the correction weight location.
a. Make sure you are dressed appropriately:
leather gloves, steel-toed work boots, back
belts, hearing protection, and ANSI-approved
eye protection: safety glasses, face shield, or
goggles.
If you find any issues, fix them. If there are issues
you cannot fix, refer to Troubleshooting.
b. Visually inspect the Balancer to make sure
everything is in place. The Tire Cover should be
up
,
and a Tire mounted on the shaft.
c. Make sure the Wheel you want to balance is both clean and free of any weights that may have
been put on previously. If it is dirty, clean it. Remove any existing weights.
Important: If the values appear incorrect, you can turn off the power to reset the machine and
start the process over.
d. Mount the Wheel on the Balancer.
Refer to Mounting a Wheel for mounting instructions, if needed.
e. Turn the Balancer Off and then back On, to reset, if required. The display should be flashing,
and
will appear in the Inner Display Window.
f. On the Control Panel, press the R button until the ALUS Indication is lit.
g. Choose the position for the inner correction
weights and input the a1 (Wheel Plane) and
d1 (Wheel Diameter) parameters using the
inner measuring arm held to the inner plane
until you hear a beep.
 Loading...