Do you have a question about the Danze D409012 and is the answer not in the manual?
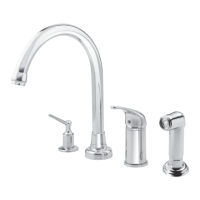
Remove the adaptor assembly from the spout shank before proceeding with installation.
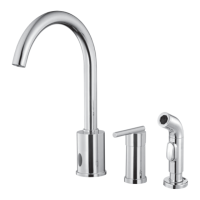
Position the spout shank in the second hole of the sink and secure it with a rubber seal, metal washer, and lock nut.
Install the adaptor onto the spout shank and secure it with the nut.
Place the faucet body into the third sink hole and secure from underneath with a washer and lock nut.
Connect quick hoses between the spout tube adapter and valves, ensuring a secure push-lock connection.
Instructions for installing quick connect fittings, including secure attachment and disconnection methods.
If not installing the vegetable spray hose, install a plug at the bottom of the shank.
Insert the spray holder through the fourth sink hole and screw the lock nut onto the shank.
Insert the spray hose down through the spray holder hole and screw the spray head onto it.
Attach the supply hoses to the spout shank adaptor.
Connect hot and cold water supply hoses to the faucet, applying pipe sealant tape.
Connect 3/8" supply hoses/tubes to the faucet's inlet ports using pipe sealant tape.
After installation, remove aerator, turn on water to flush debris, then re-assemble aerator.
Remove the chrome pump nozzle and plastic pump from the soap dispenser assembly.
Place the soap dispenser connector in the left sink hole, securing with a metal washer and lock nut.
Insert the soap dispenser bottle and tighten it with the lock nut.
Pour liquid soap or hand lotion into the dispenser bottle.
Re-assemble the chrome pump nozzle and plastic pump onto the connector.
Address leaks under the handle by tightening the lock nut or trim cap, or cleaning/replacing the O-ring.
Resolve aerator issues by unscrewing to check rubber packing or replacing the aerator.
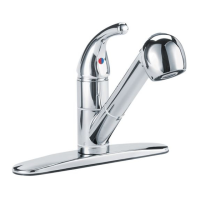
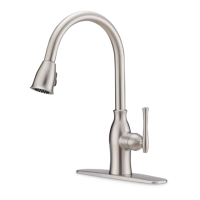
| Model Number | D409012 |
|---|---|
| Finish | Chrome |
| Number of Handles | 2 |
| Handle Style | Lever |
| Flow Rate | 1.2 GPM |
| Valve Type | Ceramic Disc |
| Installation Type | 3-Hole |
| Spout Height | 8.5 inches |
| Valve Included | Yes |
| Maximum Pressure | 80 PSI |
| Connection Size | 1/2 inch |
| ADA Compliant | Yes |
| Warranty | Limited Lifetime |
| Product Type | Faucet |