14
Hone Icon
Normally only used for edge preparation on carbide drills.
There are 3 different hone modes on the XPS-16+. Press the [HONE ICON] to toggle through
the hone options including turning the hone option off. The duration the drill edge is honed and
the position of the drill as it enters the hone is controlled in the [TOOLS] icon. This will be
covered later in the user guide.
Advance Icon
When the [Advance] feature is used, the XPS-16+ is nding the cutting edge using a single
point of alignment. The [Advance] feature is located in the upper right hand corner of the
Alignment icon and is activated by entering any value other than zero.
There are several drill types that will require an [Advance] value to be entered by the operator.
They are:
• Drills with ‘hooked’ cutting edges
• Drills smaller than .115” (3mm)
• Drills with a point angle of less than 115°
• Facet sharpened drills where the intersect line separating the primary and secondary facets are not
parallel to the cutting edge.
Tip: See “Creating a Conic-Style Drill, Set-by-Step” and “Creating a Facet-Style Drill, Set-by- Step”
for more detail on how to utilize the [ADV] function.
Tip: To align the cutting edges vertical for a standard web drill, the [ADV] is usually +15 to +22
degrees. For a thick web drill, the [ADV] is usually +2 to +8 degrees.
To conrm position, press cycle start [Green Button].
After the diameter detect routine, make sure the cutting edge of the drill is positioned
at 12:00 o’clock (vertical) just prior to the drill touching the grind wheel to conrm
position. Upon approaching the grinding wheel, a facet-style drill will rotate slightly
counter-clockwise — this is normal. If the cutting edge orientation is not correct, press
the cycle interrupt (yellow) button to halt the process. Either press the cycle interrupt button again
or press the [HOME] icon on the touch screen to return the XPS-16+ to the home position.
Using the [C] axis decal on the back of the chuck as a reference, return to the Advance [ADV]
feature in the [ALIGNMENT] icon and make a calculated estimate as to the direction and
amount of correction.
Tip: If this drill is to be ground on a continued basis, it is recommended that this information
be saved as a Drill le. This feature will be covered in the [FILE MANAGEMENT] portion of
the User Guide.
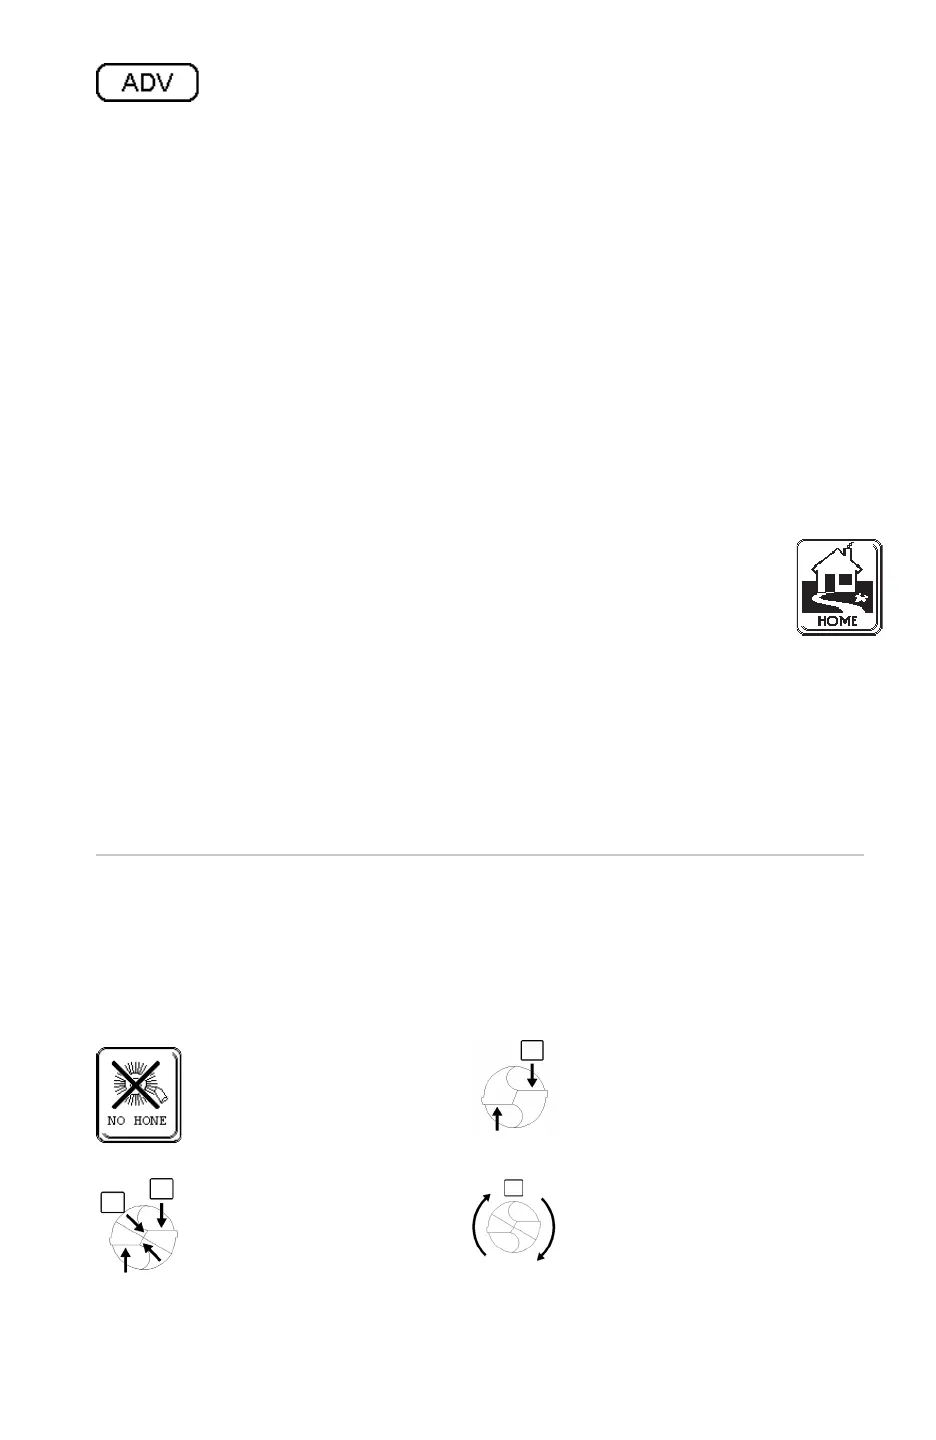
[NO HONE] is the
factory default mode..
[HONE SINGLE] – Applicable for
honing the drill cutting edges only.
[HONE DOUBLE] –
Applicable for honing both the
drill primary cutting and the
secondary cutting edge that are
created when the drill is split.
[HONE ROTATE] – The drill is
continuously rotated during the
hone process. Enter hone times in
even numbers to avoid asymmetric
honing.