22
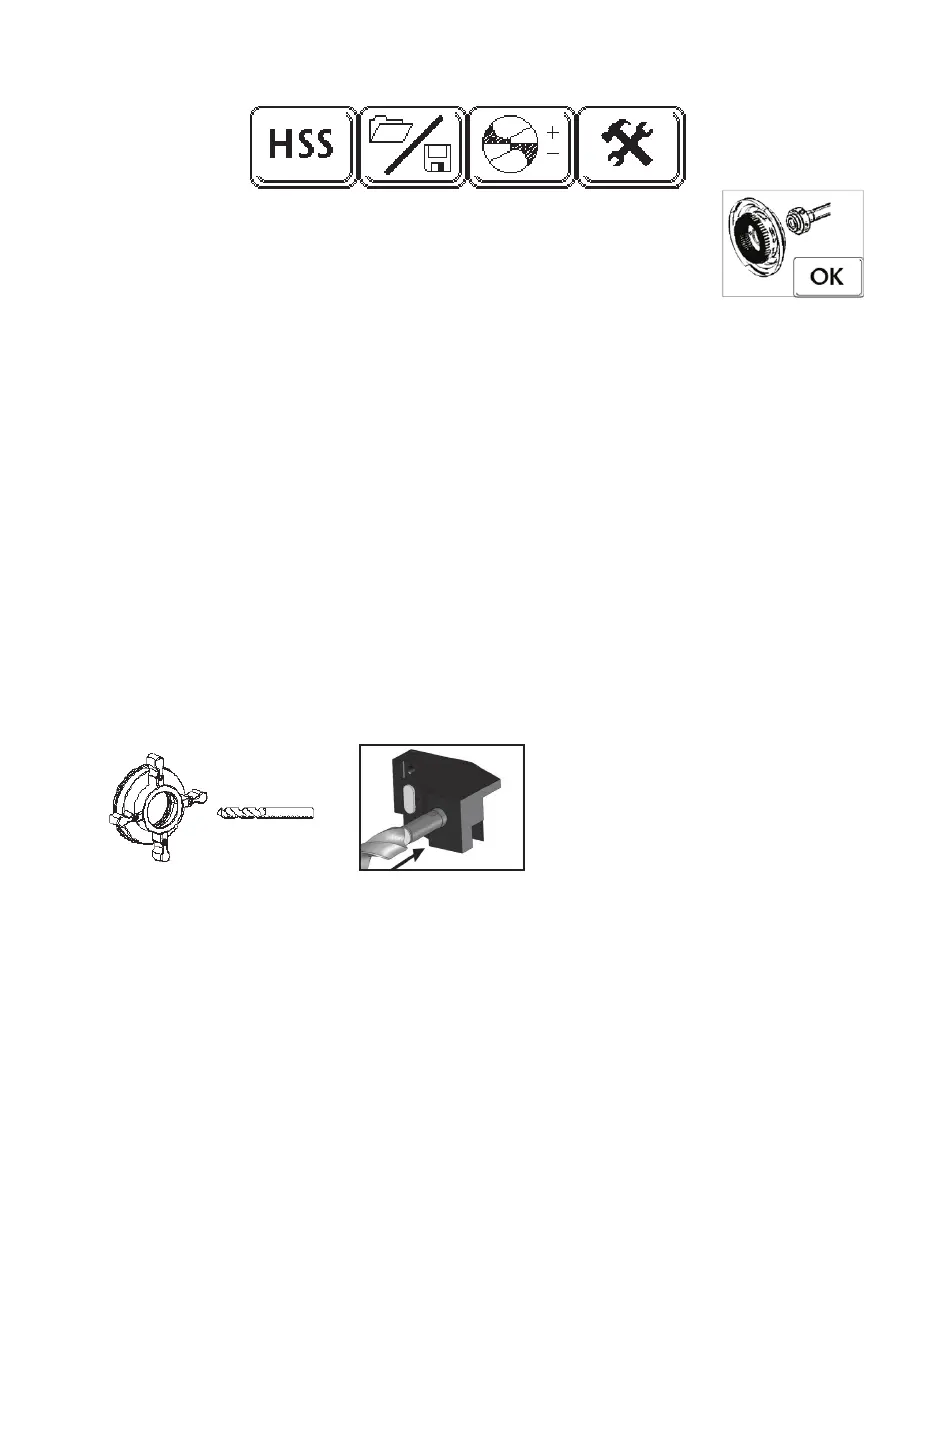
6. Bottom row of icons from the Main Operation Screen (left to right):
a. Drill Material Icon – Pushing this icon will switch from High Speed
Steel [HSS] to [CARBIDE] depending on drill material you are
grinding. An icon will appear prompting the operator to change
grinding wheels
b. File Management Icon – This icon saves and stores drill les (programs) once the
operator is satised with the geometry. Further instruction can be found on page 16.
c. Point Split Offset Icon – In the event that any Split geometry needs to be altered after
the drill is sharpened for the rst time, this icon controls these adjustments. In most
instances, it will not be necessary to deviate from the default settings. See page 17 for
further details
d. Tools Icon – this icon will take you to a secondary user menu. It will not be necessary
to make any adjustments at this time. Explanation of these icons can be found on
pages 18- 20 in the User Guide.
Sharpening Cycle
1. Open the Environmental Door.
2. Insert the drill into the rear of the chuck with one cutting edge between 12 o’clock to 2
o’clock. Tighten the chuck knob clockwise. While doing so, be sure the tip of the drill is
compressing the MTO plunger directly in front of the tip of the drill.
3. Close the Environmental Door.
4. Push the green Cycle Start button (under the Emergency Stop button). The Cycle Start button
will illuminate for the entire sharpening cycle.
Note: If the Environmental Door is not closed and/or the MTO button is not compressed, a visual
alarm will show on the touch screen.
5. The machine will execute the following:
a. Automatically measure the diameter of the drill (the value will show under the Diameter
Detect icon).
b. Automatically nd one cutting edge using ber optic technology and orient one cutting
edge straight up (12 o’ clock), unless it is a facet style drill.
c. Automatically touch the face of one cutting surface to determine the closest point of drill
to the grind wheel.
d. Sharpen the drill to the programmed specications.
e. Split the drill to the programmed specications (if required).
f. Hone the drill to the programmed specications (if required).
g. Return to the [HONE] position and lock the chuck. The light in the Cycle Start button
will go off signaling a nished sharpening cycle. Open the Environmental Door and
remove your sharpened drill.