∙ 10 ∙
∙ 11 ∙
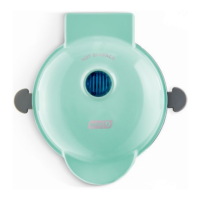
USING the Mini Donut Maker
USING the Mini Donut Maker
FPO FPOFPO FPO
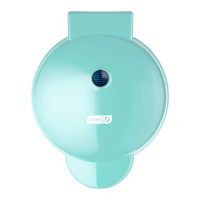
1
Place the appliance on a stable, at, heat-resistant surface.
TIP: Lay a heat-resistant lining, such as a cooking tray, beneath the
appliance to shield the countertop from any potential drips (photo A).
2
Plug the appliance into a wall socket. The Indicator Light will illuminate
upon being plugged in indicating the Donut Maker is on and heating.
3
Allow the appliance to fully preheat. The Indicator Light will turn off when
fully heated and ready for cooking.
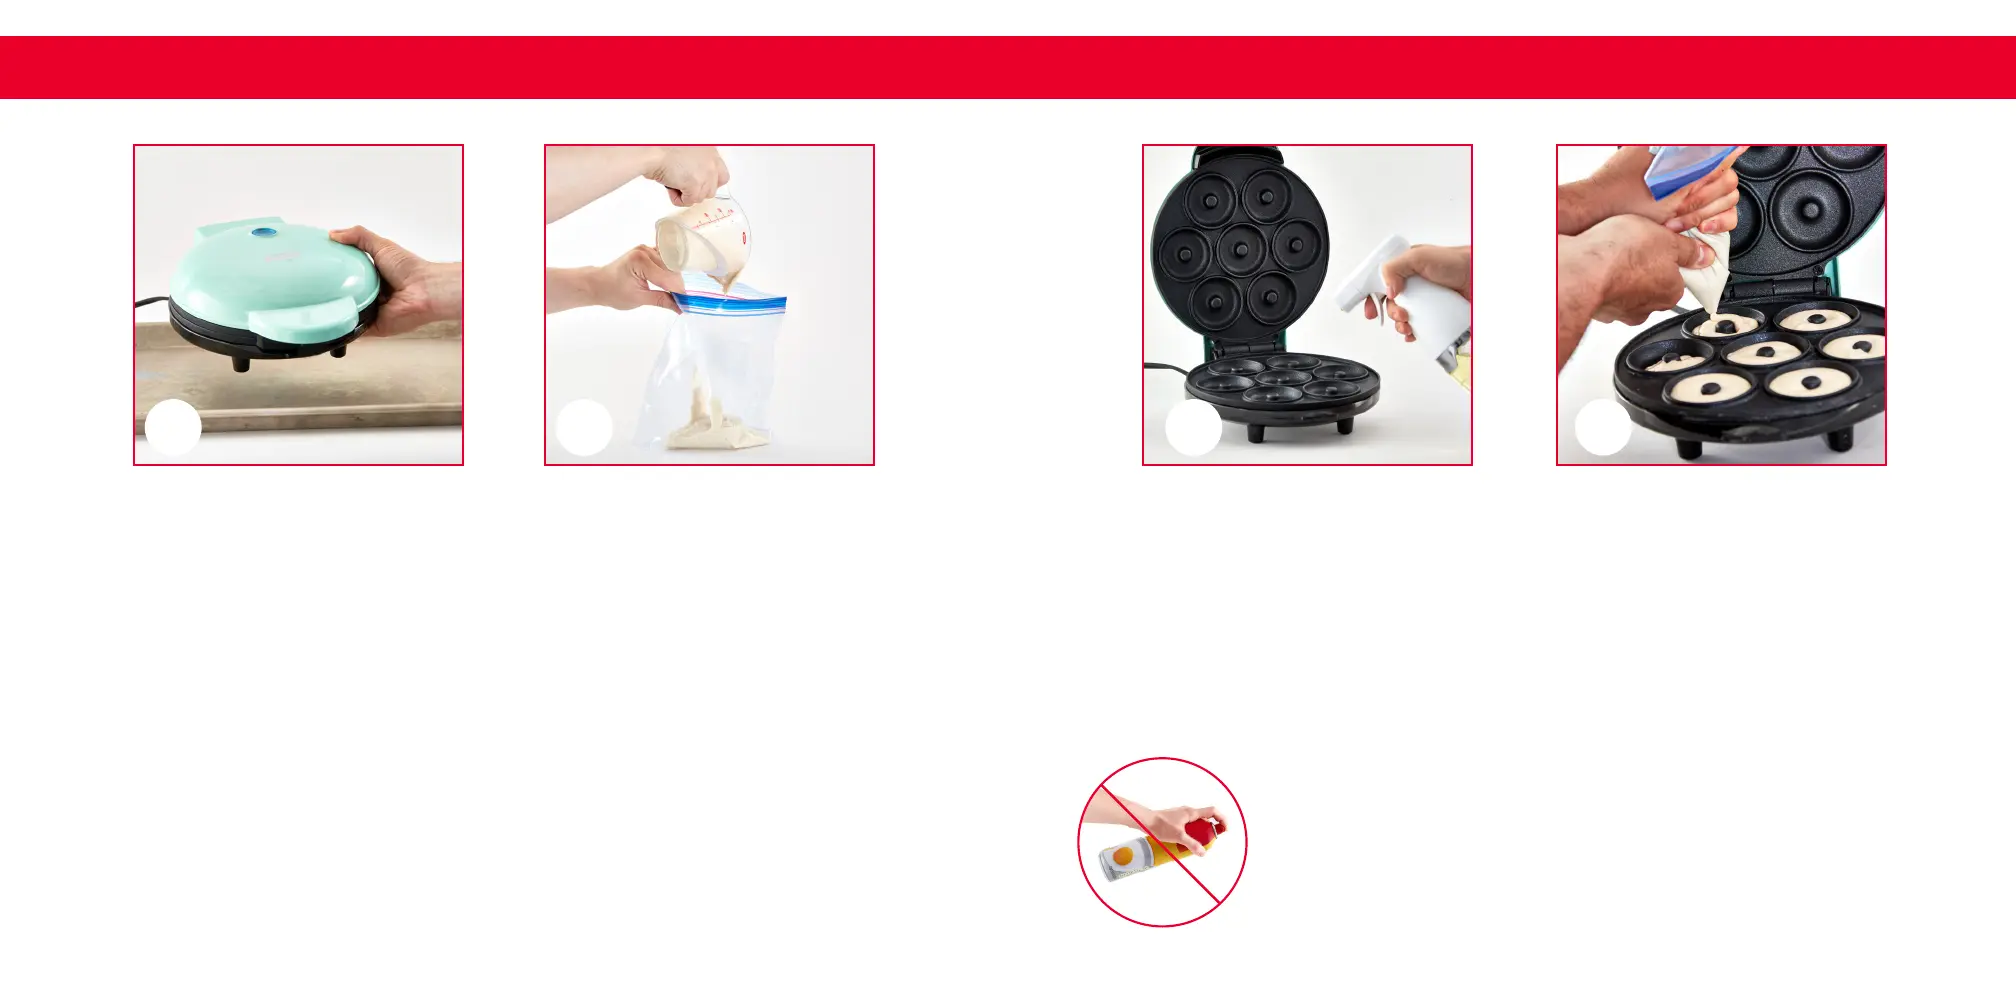
4
Prepare batter using any one of the included recipes or using a store-
bought dough. Using store-bought dough can reduce prep time.
TIP: For a more precise batter poor, place the mixture into a pastry bag or
a plastic bag with a small hole cut in the corner (photo B).
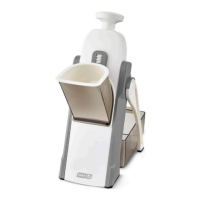
5
Carefully lift the Cover Lid.
TIP: The Donut Mold Plate has a nonstick coating that releases food easily,
but for best results, grease the cooking surfaces with a light coating of
cooking oil or melted butter (photo C).
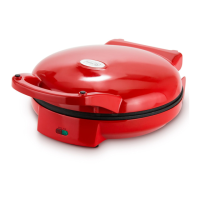
6
Add batter to Donut Molds until each is about ¾ full (photo D).
D
BA
C
Note: Aerosol cooking sprays often contain soy
lecithin, an additive that can cause nonstick surfaces
to become sticky and hard to clean over time.
To ensure the longevity of your product, avoid aerosols
and instead grease cooking surfaces using a silicone basting
brush or a non-aerosol spray bottle.