INSTALLATION AND OPERATION 9
STANDALONE INSTALLATION
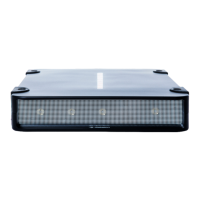
Place the unit at on its base. The base is the side of the unit showing the serial number and Dataton
logo.
INSTALLATION IN 19-INCH RACK
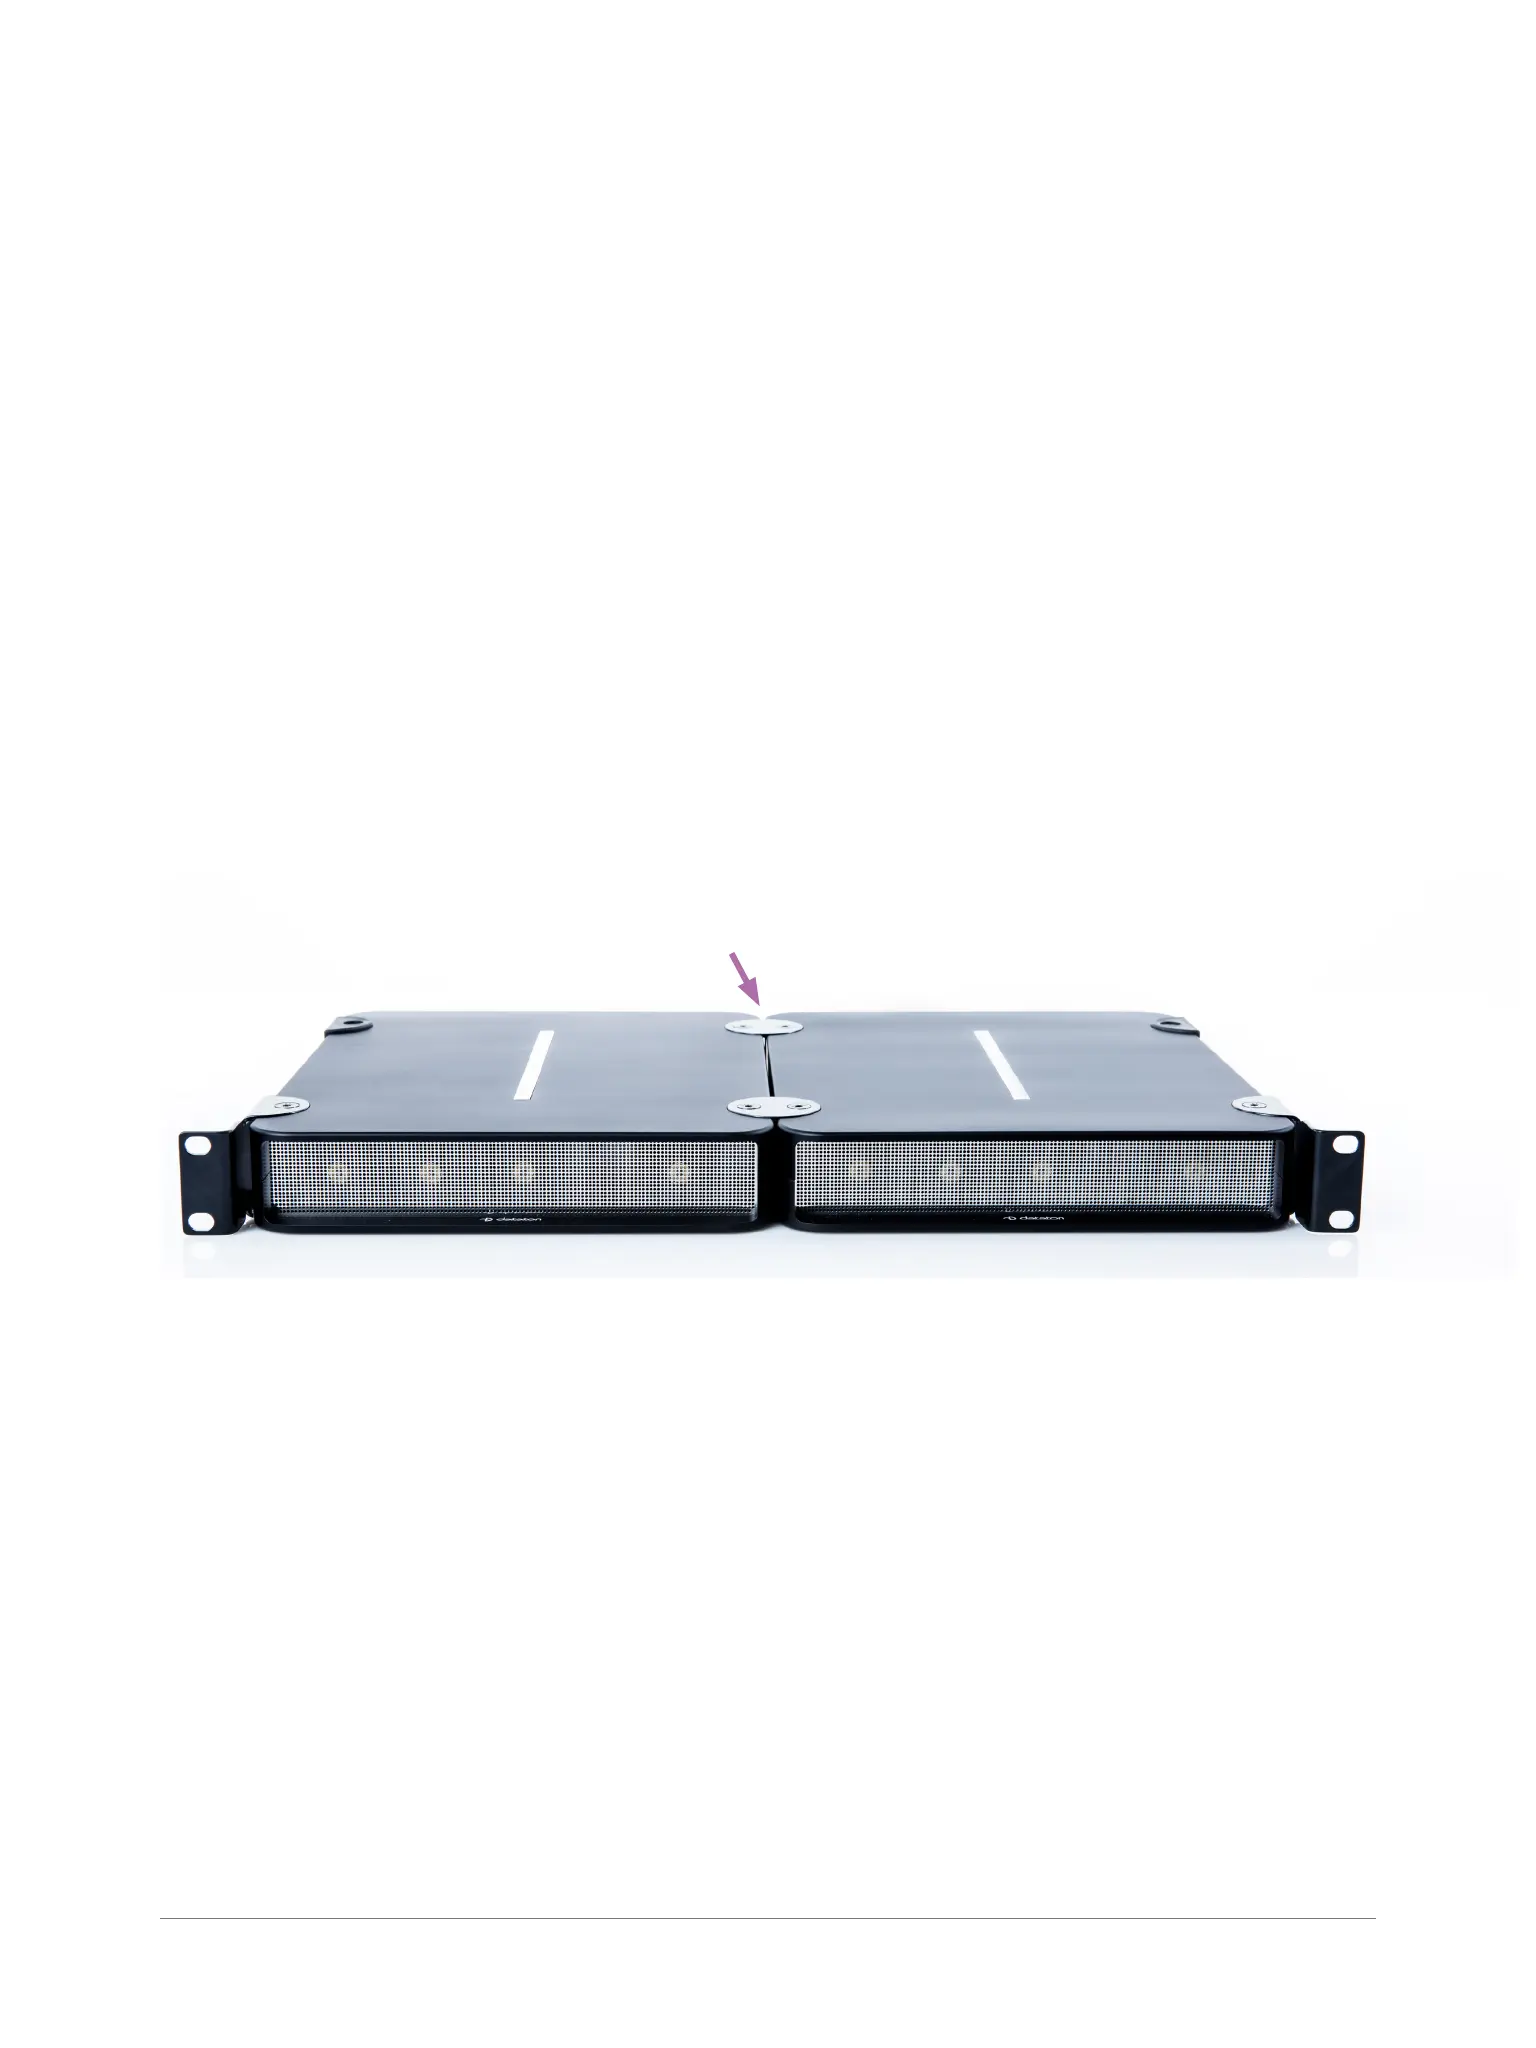
The WATCHPAX 40 unit may be mounted in a 19-inch rack by using the rack kit, “Rack Mounting Kit”
(product number 9784) which is available separately. Using the kit, two WATCHPAX 40 units are
joined and can then be inserted into a 19-inch rack.
IMPORTANT: The two WATCHPAX 40 units are attached with brackets at the front of the rack. The
rack must therefore be equipped with a shelf at the back to support the units.
• Using a hex key, remove the rubber bumpers on both units and retain the screws. Save the bumpers
in case you wish to re-mount them at a later date.
• Place the two WATCHPAX units side-by-side and join them in the middle with the connection discs.
Using the screws from the bumpers, rst mount two discs on the top of the units. Carefully turn the
unit over and mount the remaining two discs along the center line on the underside of the units.
• IMPORTANT: Always mount all four discs to ensure the units are safely joined together.
• Attach the two rack brackets (or ears) on the front corners of the joined units. These can be tted
facing forward or backward, depending on the airow, and cabling.
Connection discs,
four in total
POWER ON
There is no on/off switch on a WATCHPAX 40. The unit is turned on by inserting the power cord.
FIRST POWER ON
The rst time you power up a WATCHPAX 40 (after delivery or after a reset) the system will nalize
installation and reboot several times. This procedure will typically take about 5 minutes to complete.
IMPORTANT: Do not interrupt this procedure.
POWER OFF
Powering down should be initiated from within WATCHOUT production software.
When the power-off sequence is complete, the fans will turn off, and the power cord may be removed.
There are three ways to power off from WATCHOUT, as described in the “Manage Display Com-
puter” section in Chapter 3: Windows, in the “Dataton WATCHOUT User’s Guide.”