24
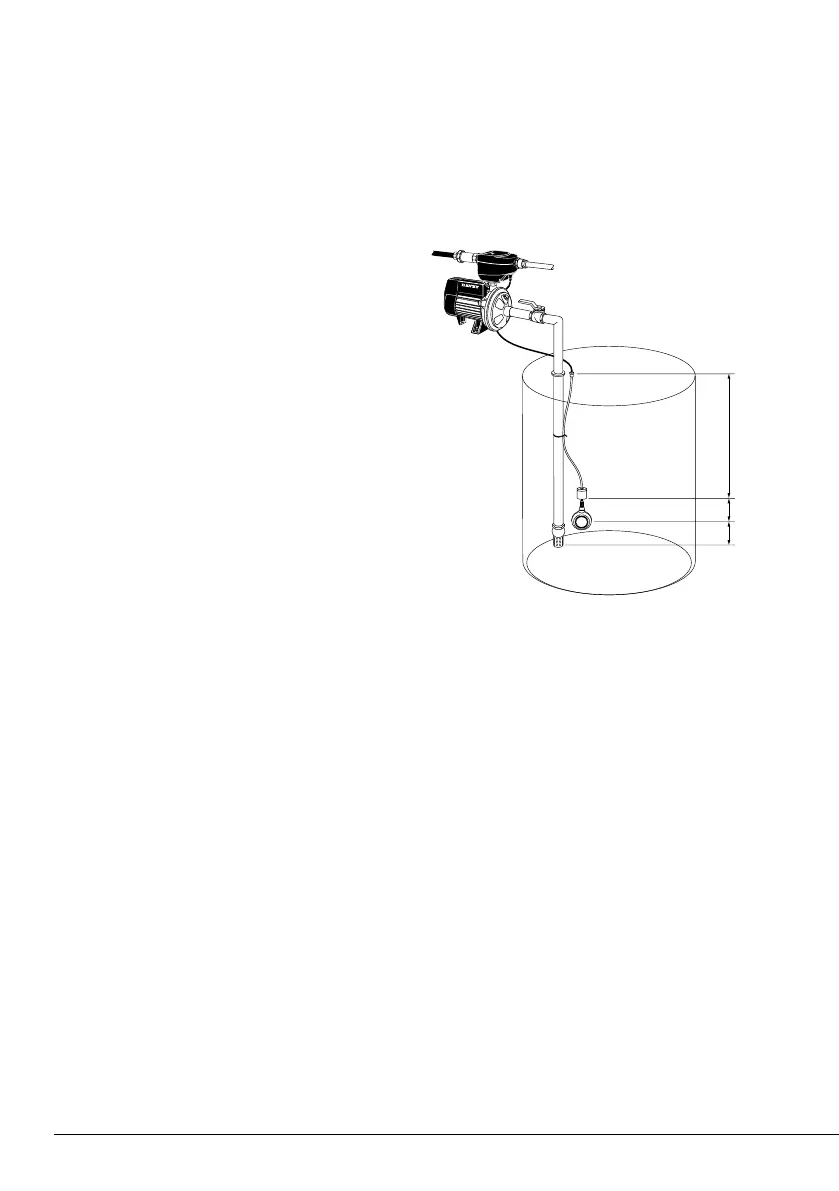
Step 3 – Plumb up your suction
plumbing ensuring that the lowest point
in the inlet pipe is at least 200mm
below the lowest water level and at least
100mm above the base of the tank.
Step 4 – Install the float switch. Check
that the float switch lead (9m long)
will reach the RainBank. For greater
distances between your rainwater tank
and pump, a 10m float switch (top and
side entry) extension lead (Davey Part No.
14186) will need to be added. Up to 4
float switch extension leads can be added
between the pump and the rainwater
float switch lead. It is recommended that
the float switch extension lead/s are in a
protective cinduit.
The float end should be set up so it can
fall no lower than 100mm above the
level of the lowest point in the inlet pipe
so the pump will always be shut off well
before it can run dry or draw in air.
This is secured to the pump suction
pipe with cable ties. Allow no more than
100mm of cable between the float and
the lowest cable tie.
The plug end should be plugged into the
float switch inlet on the underside of the
RainBank unit in Step 8.
Step 5 – Align the RainBank for easy
fitting to the plumbing.
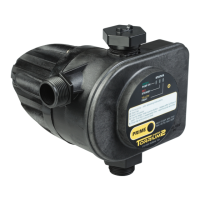
Step 6 – Connect RainBank to the pump.
Step 7 – Connect RainBank to the
plumbing.
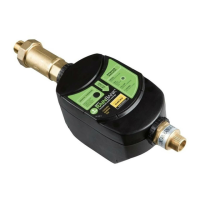
Step 8 – Connect all leads.
Step 9 – Test the unit - page 21.
100
100
A
D
E
B
 Loading...