Installing Batteries
5
3. Insert the power adapter plug into the console power jack, then plug the
other end of the adapter into an appropriate power outlet.
4. Check to make sure the console runs through a brief self-test procedure suc-
cessfully. On power up, the console displays all the LCD segments and
beeps twice. A message displays in the ticker banner at the bottom of the
console, followed by the first screen that displays during Setup Mode. Press
and hold DONE to skip the message and enter into Setup Mode.
Setup Mode guides you through steps required to configure the station. See
“Setup Mode” on page 9 for more information.
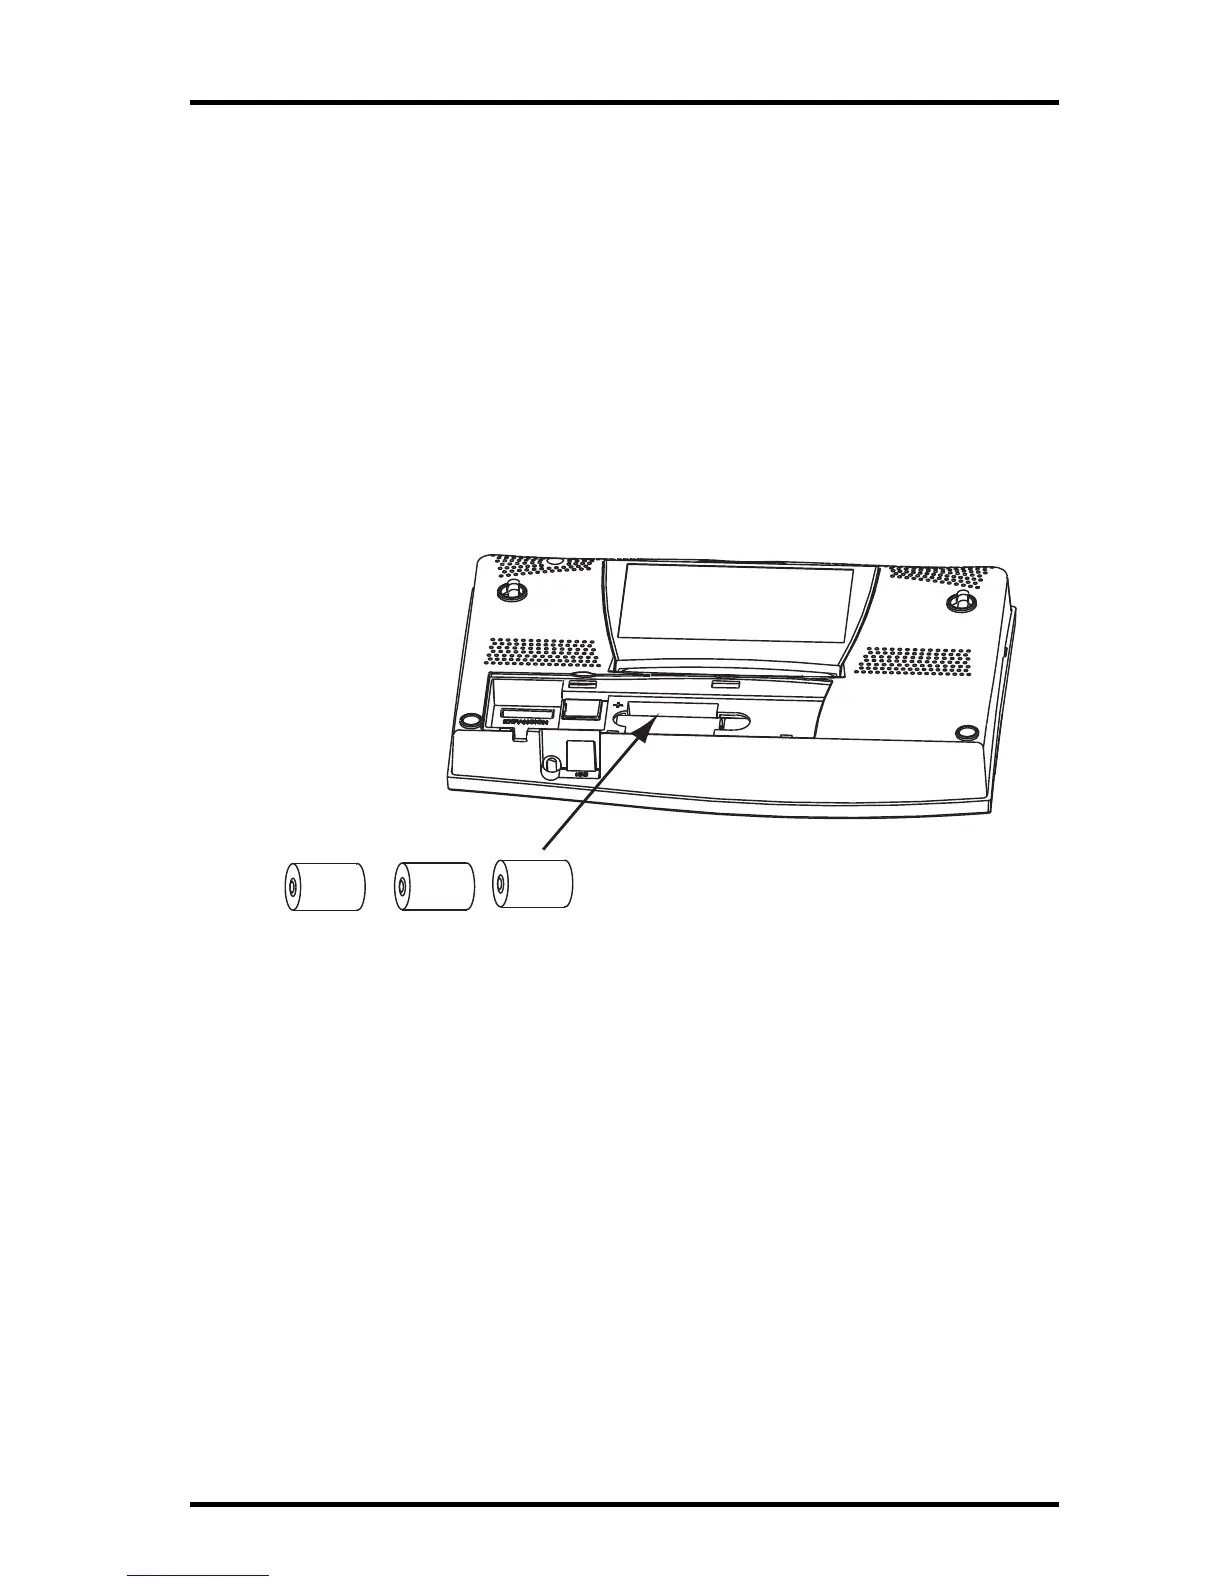
Installing Batteries
1. Remove the battery cover located on the back of the console by pressing
down on the two latches at the top of the cover.
2. Insert three C batteries into the battery channel, negative (or flat) terminal
first.
3. Replace the battery cover.
Connecting Cabled Stations
Cabled Vantage Pro2 stations come with 100 feet (30m) of cable. This cable is
used for connecting the console to the ISS. Maximum cable length from ISS to
the console using Davis Instruments cables is 1000 feet. To connect the con-
sole to the ISS:
1. Firmly insert the console end of the straight-through four-conductor wire
into the console receptacle marked “ISS” until it clicks into place. Do not
force the connector into the receptacle.