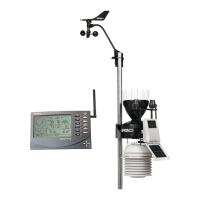
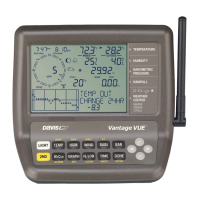
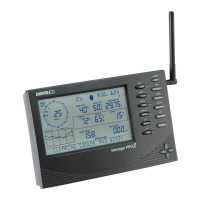
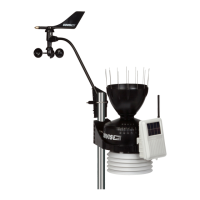
Console Location
8
Wall Mounting
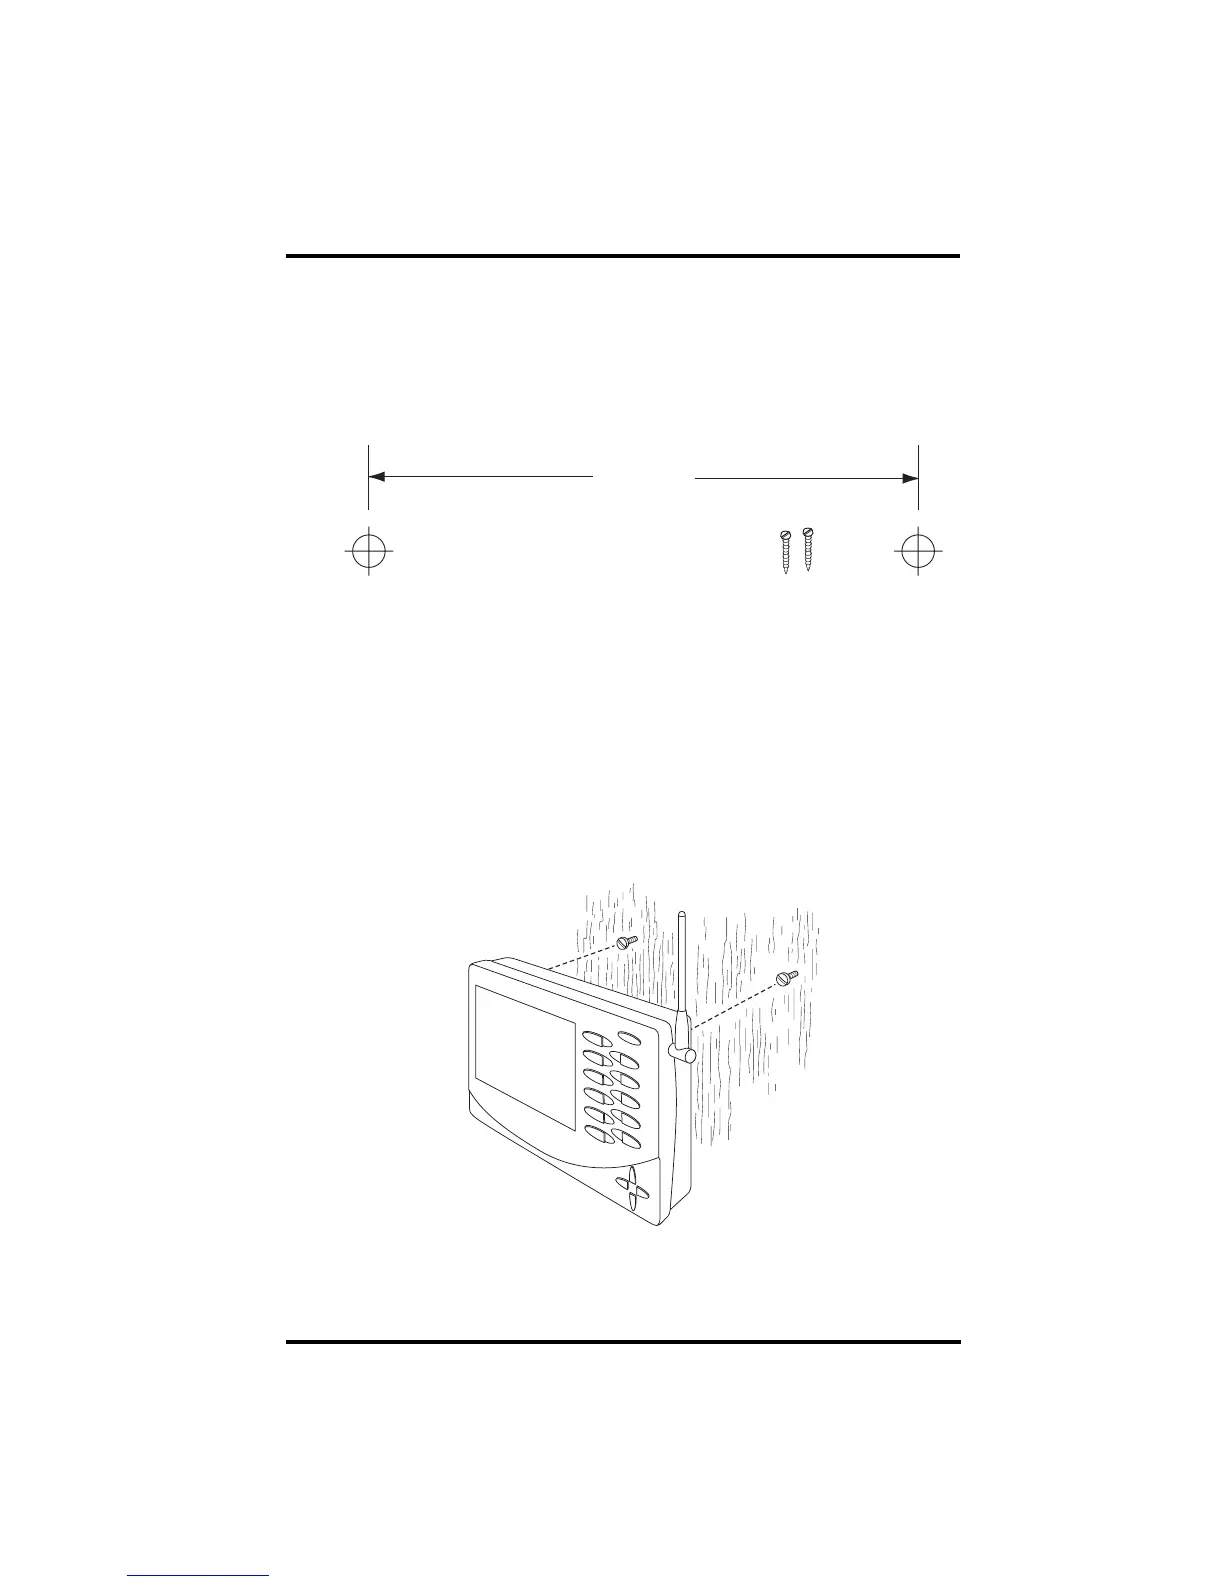
The console mounts to the wall using two keyholes located on the back of the
case.
To mount the console on a wall:
1. Use a ruler to mark two mounting hole positions on the wall 8 inches (203
mm) apart.
This is a representation for the mounting hole positions. This template is not true to size.
If installing a standard Vantage Pro2 console with sensor cable running
inside the wall, mount the console over an empty switch box.
2. Use a drill and a 3/32 or 7/64” (2.5 mm) drill bit to drill two pilot holes for
the screws.
3. Using a screwdriver, drive the two #6 x 1” pan head self-threading screws
into the wall. Leave at least 1/8” (3 mm) between the wall the heads of the
screws.
4. If the kickstand has been pulled out from the case, push it back into its
upright and locked position.
5. Guide the two keyholes on the back of the console over the two screw heads
Drill two 3/32" or 7/64" (2.4 to 2.8mm) holes
8" (203mm) apart for the #6 x 1" mounting screws.
8" (203mm)