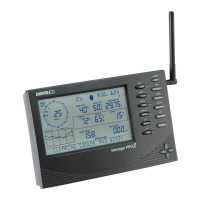
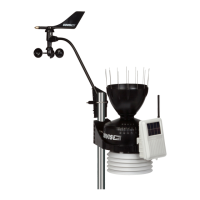
DIAGNOSTICS SET
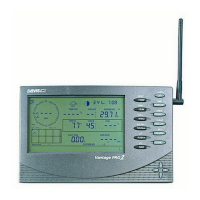
The diagnostic screen is used by our tech support staff to help diag-
nose problems. If you experiencing difficulties call us at (510) 732-7814,
Monday through Friday, 7:00 a.m. to 5:30 p.m., Pacific Time.
To check reception and/or change antenna gain:
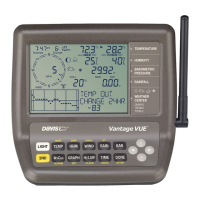
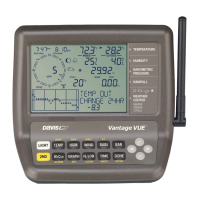
1. To enter the diagnostic screen, press and hold TEMP and then press
HUM . You will see GAIN ON or GAIN OFF in the ticker tape.
2. Look for the number with the % sign in the middle of the top row. A
number >= 70% is good or excellent. If the number you see is < 70%,
try changing the gain or relocating the console. Sometimes moving the
console just a few feet can make a big difference.
3. Press 2
ND
& CHILL to toggle between diagnostic screen displays.
4. To change antenna gain, press HI/LOW . Set GAIN OFF if there are
multiple transmitters (such as cordless phones or baby monitors) in the
area. Set GAIN ON if the transmitter and console are far apart or there
are physical barriers (trees, walls, or large appliances) between them.
5. To exit the diagnostic screen, press DONE .
To set an alarm:
1. Press ALARM to enter the alarm screen. The icon will appear on
the screen. In each field, you will either see the alarm setting or, if no
alarm has been set, a series of dashes.
2. Press 2
ND
& TIME or a weather variable key, or use ( + ), ( – ), ( < ), o
( > ) to move between weather variables. Except for the time alarm, the
graph icon displays next to the variable you have selected.
3. Press HI/LOW to switch between high and low alarms. (Note: Not
all alarms are available for all weather variables. See Vantage Pro2
Console Manual for details.)
4. Press 2
ND
& SET to enter or change an alarm setting. Use ( + ) or
( – ) to change the digit within a field. Use ( < ) or ( > ) to move to the
next field.
5. Press DONE to accept the alarm setting. Repeat steps 2–4 to set
another alarm, or press DONE again to exit the alarm screen.
The SET key is also used to enter selected daily, monthly, and
yearly totals and to calibrate selected readings. (See Console Manual.)
8 25
 Loading...


