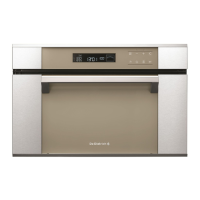
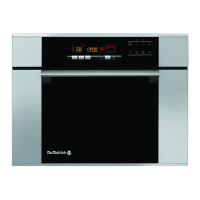
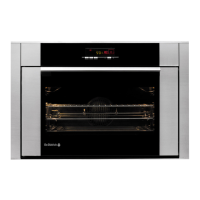
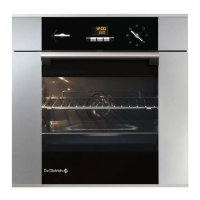
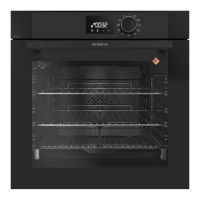
Introduction to your oven:
Programmer
Control knob
Wire shelf supports (3 positions)
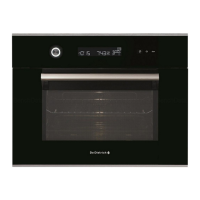
Introduction to the programmer:
Cooking mode display
Cooking time symbol
Cooking time/”minute minder”
display “Minute minder” symbol
End of cooking time symbol
Clock display
Shelf /Stop turntable symbol
Keypad locking symbol (child safety
device)
Oven power display
Using the programmer
• HOW TO SET THE TIME:
When switched on, the display flashes at
12h00 (2.1.1).
-Set the time using the control knob (2.1.2).
Example: 12.30 (2.1.3).
-Press the control knob to confirm (2.1.4). The
display stops flashing (2.1.5).
To alter the time:
-Hold down the button for a few seconds
until the display flashes, then release (2.2.1). A
beep indicates that the time may now be set.
-Adjust the time, using the knob (2.2.2). Press
the control knob to confirm (2.2.3).
Warning:
If the setting is not confirmed, it will
register automatically after a few seconds.
• IMMEDIATE COOKING:
The programmer must only display the
time. It should not be flashing.
- Use the control knob to select the chosen type
of cooking (2.3.1).
- Example: —> Power setting 1000W
(2.3.2).
• ADJUSTING THE POWER SETTING
AND COOKING TEMPERATURE:
Press the touch button until the
display flashes and then release it (2.4.1).
- When the (1000W) power setting flashes you
may adjust it (2.4.2).
- Set the power, using the knob (245.3).
- Example: 800 Watts (2.4.4).
- Confirm by pressing the knob (2.4.5).
To stop cooking, press the button for a
few seconds.
• PROGRAMMED COOKING:
Cooking with immediate start and
programmed cooking time
- Select the desired cooking mode and adjust
the power (see paragraph: “Immediate
cooking”).
- Press the button (2.5.1).
- The display flashes to indicate that a
setting may be entered (2.5.2).
- Using the knob, set the cooking time (2.5.3).
- Example: 2 minutes (2.5.4).
Press the knob to confirm (2.5.5).
2.1
a
a
2.3
2.4
a
2.5
a
A
B
C
D
E
F
G
I
A
B
C
H
 Loading...