3
Where a Cal adjustment method has not been specified, use
a 1-point method first. If measuring the included shims on your
surface reveals inaccuracies, use the 2-point method. Factory
Cal settings can be restored at any time by performing a Reset
(pg. 4), creating a NEW Cal setting (See Cal Memory, pg. 4),
or by DELETING the adjustments made to the Cal 1 calibration
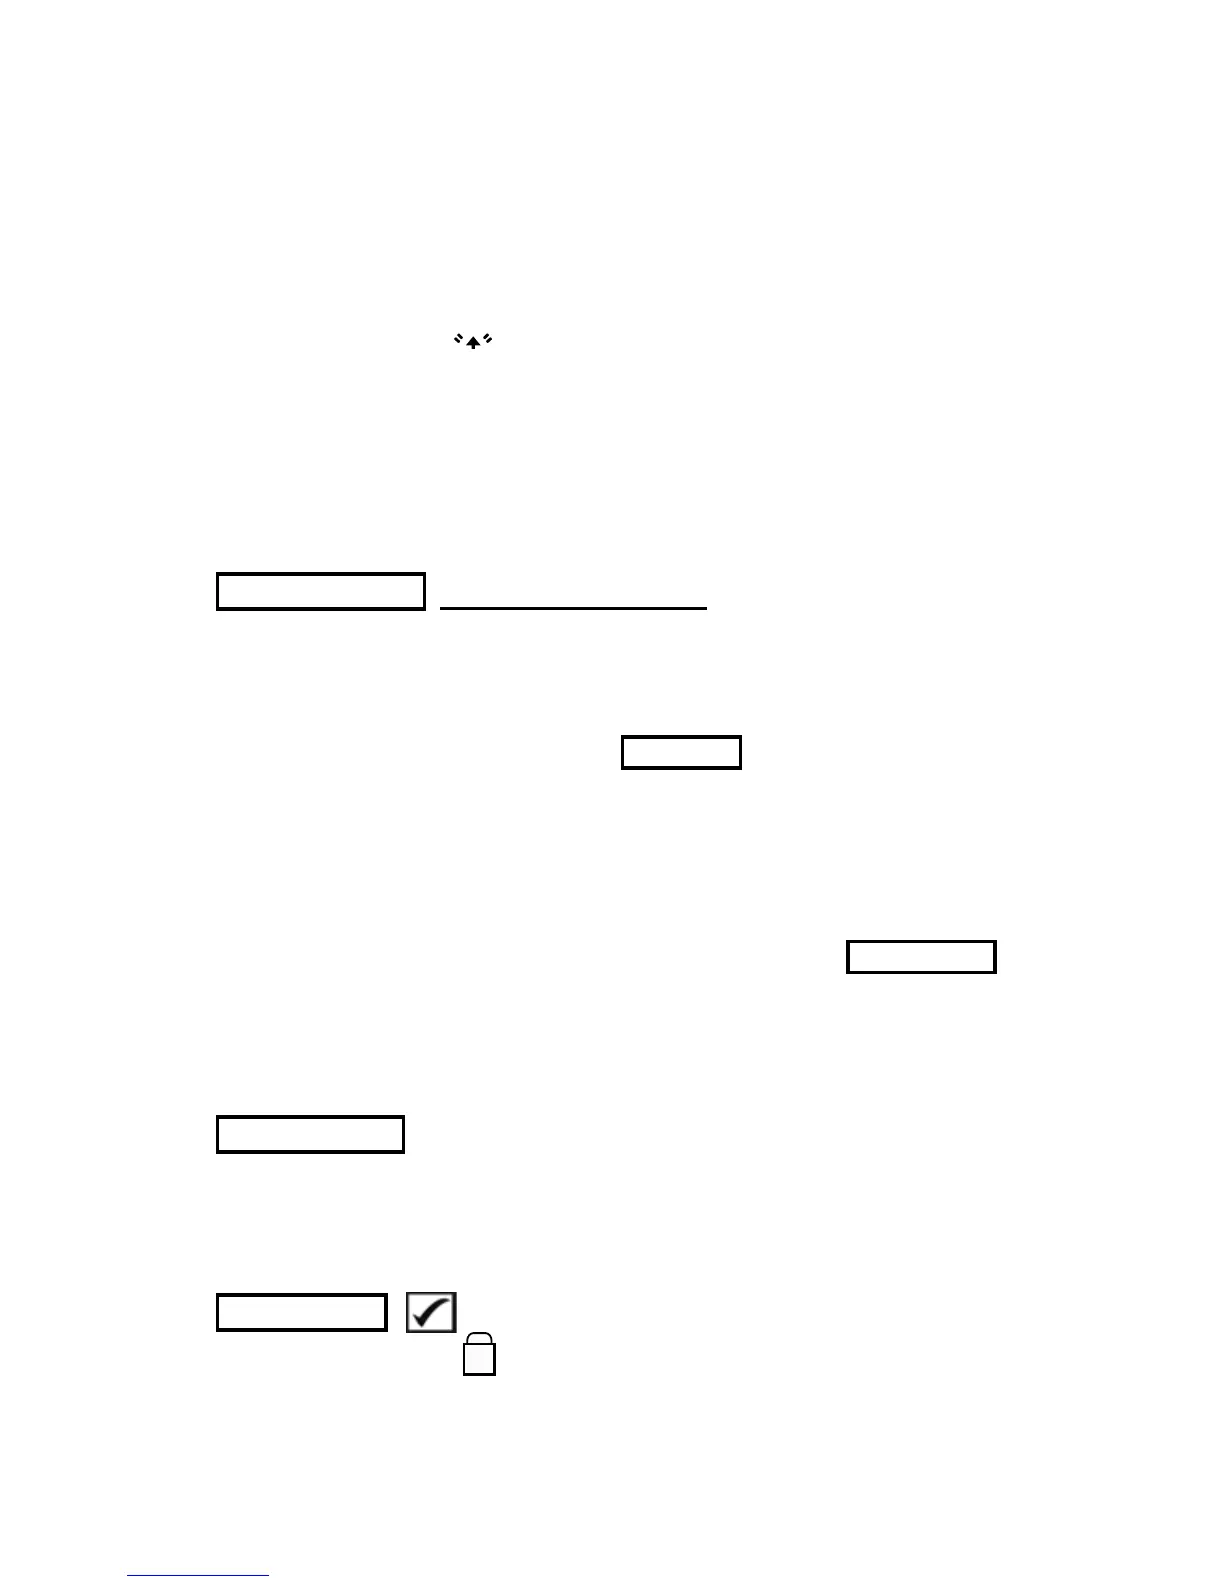
setting (pg. 4). The symbol appears on the display
whenever factory Cal settings are in use.
With “FN” Gages, calibration adjustments are made only to
the “F” or “N” mode (stored independently under a particular Cal),
whichever was measured last.
Cal Settings Menu
1-Pt Cal Adjustment- Also known as an offset
or correction value, there are 4 ways to perform this:
(i) Simple Zero Adjustment- Measure your uncoated part.
Lift the probe and adjust to "0" using the (
+
) and
(
-
) buttons.
(ii) Average Zero Adjustment A preferred method
to (i) is to average 3 to 10 measurements on the uncoated part.
(iii)
Simple Adjustment to a Known Thickness-
Measure a shim
of known thickness placed on the uncoated part. Lift the probe
and adjust to the shim thickness using the (
+
) and
(
-
) buttons.
(iv)
Average Adjustment to a Known Thickness
A preferred method to (iii) is to average 3 to 10 measurements
of a shim of known thickness placed on the uncoated part using
the (
+
) and
(
-
) buttons.
1 Pt Adjust
Zero
2 Pt Adjust
Provides greater accuracy within a limited, defined range.
Measure a thin value (often zero) and a thicker value.
These values should bracket your expected thickness range.
When checked, the icon appears and all Cal settings
are “locked” to prevent further user adjustments.
Cal Lock
1 Pt Adjust
 Loading...