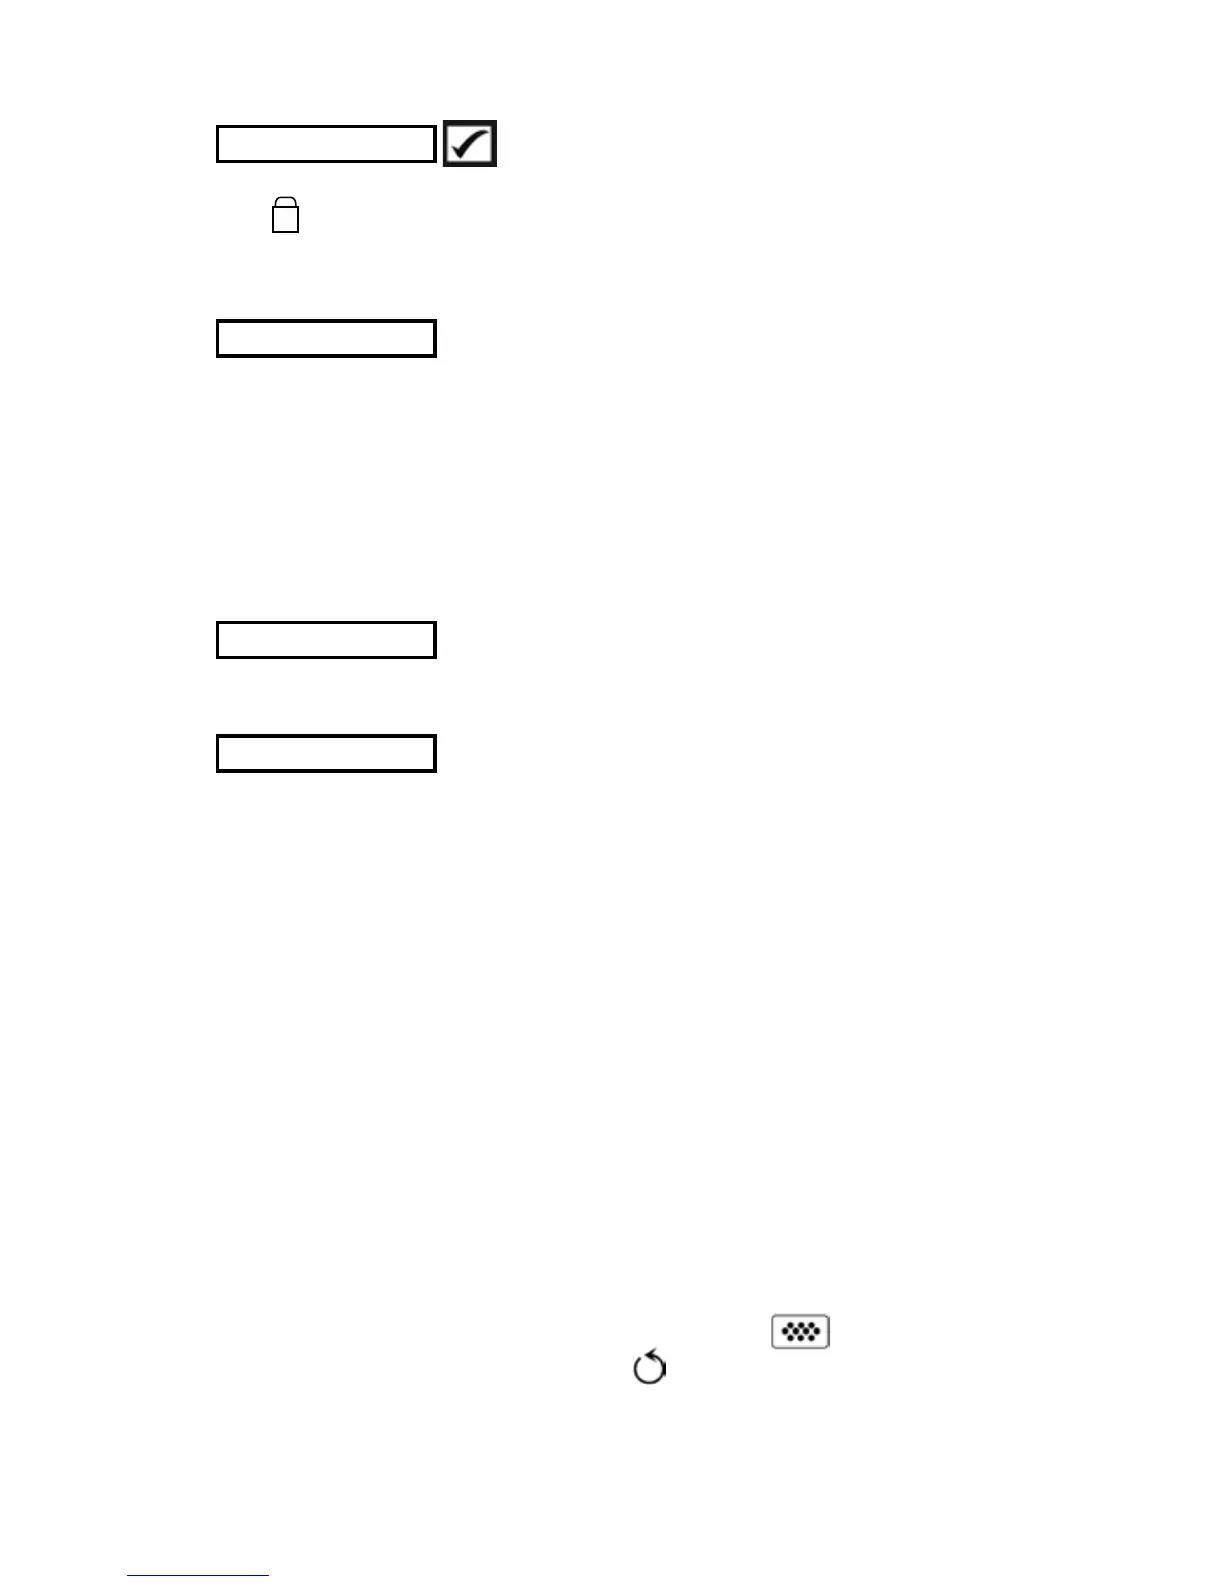
Reset (menu Reset) restores factory settings and returns the
Gage to a known condition. The following occurs:
- All batches, stored measurements, batch names and screen
captures are erased.
- Calibration adjustments are returned to factory settings.
- Menu settings are returned to the following:
Reset
Setup Menu
4
Memory = OFF
Hi Res = OFF
Statistics = OFF
Hi Lo Alarm = OFF
Scan Mode = OFF
Auto Dim = ON
Cal Lock = OFF
Bluetooth & Stream = OFF
WiFi & Access Point = OFF
Display = None
N Lock = OFF
Use when operating regularly on non-ferrous substrates.
The icon appears and the probe will only use the eddy
current principle to shorten measurement time and extend
battery life. Useful when measuring coatings over plated steel.
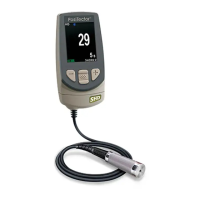
The current cal setting (ex. Cal 3) displays in the upper right
corner of the LCD. A stored cal setting can be restored when
you return to a particular part. Cal 1 can be adjusted but never
deleted, and is always made active with factory settings after a
Reset (pg. 4). A new cal setting cannot be created if a batch is
open with readings.
(FN ferrous/non-ferrous combination probes only)
Cal Memory
(Advanced models only)
N Lock
Units
Converts the display from microns to mils and vice versa.
1. Power down the Gage and wait 5 seconds.
2. Simultaneously press and hold the (
+
) and center
buttons until the Reset symbol appears.
This returns the Gage to a known, “out-of-the-box” condition.
Perform a more thorough Hard Reset as follows:

 Loading...