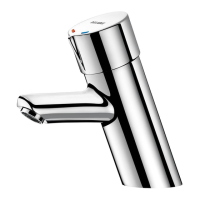
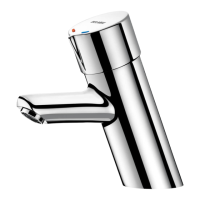
• Connect the water supply and activate the valve several times
to stabilise the timing.
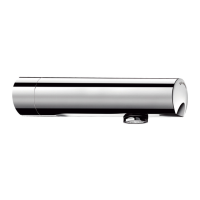
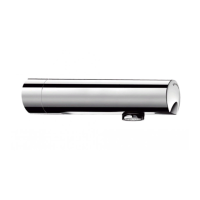
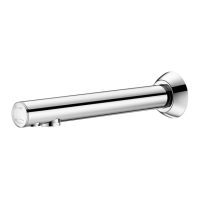
Exposed wall-mounted models (except ref. 749001)
• Fix the mixer/tap to the wall with the screw(s) supplied
(the rawl plugs should be suitable for the type of wall).
• Connect the water supply and activate the valve several times
to stabilise the timing.
Exposed shower kit (ref. 749001) (Fig. F)
• Fix the shower head so that the nozzle is 2.10m from
the shower tray or tiled floor.
• Assemble the shower column and the valve .
Place the white PVC tubes inside the column .
• Insert the whole assembly into the hole in the shower head .
Fix the shower head to the wall (the rawl plugs should be
suitable for the type of wall).
• Fix the collar over the central joint. Fix the collar
and the valve to the wall (use rawl plugs that are suitable
for the type of wall).
• Connect the water supply and check that the connections are
watertight. Activate the valve several times to stabilise the timing.
Panel-mounted models
• Drill a hole Ø 56mm.
• Insert the valve through the panel, placing the back-nut behind
the panel.
• Tighten the wall plate against the valve with the panel between
the back-nut and the wall plate.
• Tighten the 3 screws on the back-nut using a 3mm Allen key.
• Connect the water supply and activate the valve several times
to stabilise the timing.
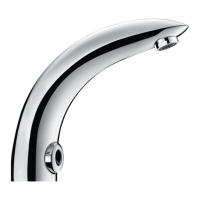
Through-the-wall models (Fig. E)
• Drill a hole Ø 21mm for the control and Ø 5.5mm
for the locking screw .
• Mount the control through the wall. Tighten and lock the nut
in place with the washer.
• T
t
• E
t
• U
o
• S
o
•
T
d
• T
• F
o
a
t
• C
t
Re
• A
f
• C
• M
b
t
a
• A
TH
• T
T
• A
(
P
NT 745 indI FR-EN-DE-PL-NL-ES-PT-RU_Mise en page 1