.
• Tighten the back-nut and the connection nut against
the nut .
• Ensure that the push-button is not activated, then cut
the control so that it fits flush against the connection nut .
• Unscrew the connection nut from the control and screw
onto the valve .
• Screw together the connection nut and the valve
onto the control .
• Retain 1mm of play between the control and the valve .
The windows on the connection washer allow the play
distance to be controlled.
• Tighten the back-nut .
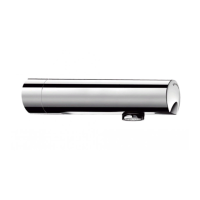
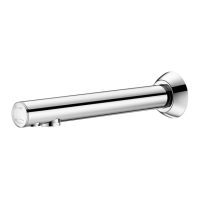
• For models with spouts or shower heads: install the spout
or shower head through the partition (drill a hole Ø 21mm
and 5.5mm for the locking screw) and tighten the nut onto
the fixing flange.
• Connect the water supply and activate the valve several times
to stabilise the timing.
Recessed model
• Allow a recessing area 90 x 90 mm. The depth can be adjusted
from 55 - 75mm.
• Connect the valve to the water supply.
• Mount the wall plate against the wall and position the silicone seal
behind the wall plate to provide a waterproof seal between
the wall plate and the wall. Leave a drainage point to allow
any residual water to drain away.
• Activate the valve several times to stabilise the timing.
THE INSTALLER MUST ENSURE THAT:
• THE SEAL AROUND THE RECESSING HOUSING IS WATERPROOF
TO PREVENT ANY INGRESS OF WATER;
• ANY WATER ACCIDENTALLY ENTERING THE RECESSING HOUSING
(E.G. CONDENSATION, RUN OFF, LEAKS, ETC.) HAS A DRAINAGE
POINT TO PREVENT ANY STAGNATION;
EN
NT 745 indI FR-EN-DE-PL-NL-ES-PT-RU_Mise en page 1