SECTION 2 INSTALLATION
HTEK 2_UM Eng_R4.0_Feb. 2016 Page 17 of 28
2.1 Unpacking the Hemotek 2
Carefully unpack and pull out Hemotek 2 from its packaging.
Check that all parts have not any sign of damages.
The equipment of Hemotek 2
is made of:
Power cord.
Bags tray.
Operator Manual.
WARNING: No modification of the equipment is allowed.
2.2 Where to Install Hemotek 2
For a proper working is important that the Hemotek 2 stand on a plane and uniform surface, to
avoid reading imperfections due to vibrations or oscillation while running. In addition, be sure a
gradient of 20 - 30 cm is present between the donor’s arm and the mixer to permit a proper flow
rate.
Never use chairs or any other unstable support.
Choose a not humid place, possibly not directly exposed to sunlight or heat generators
(radiators, fan-coils, etc.).
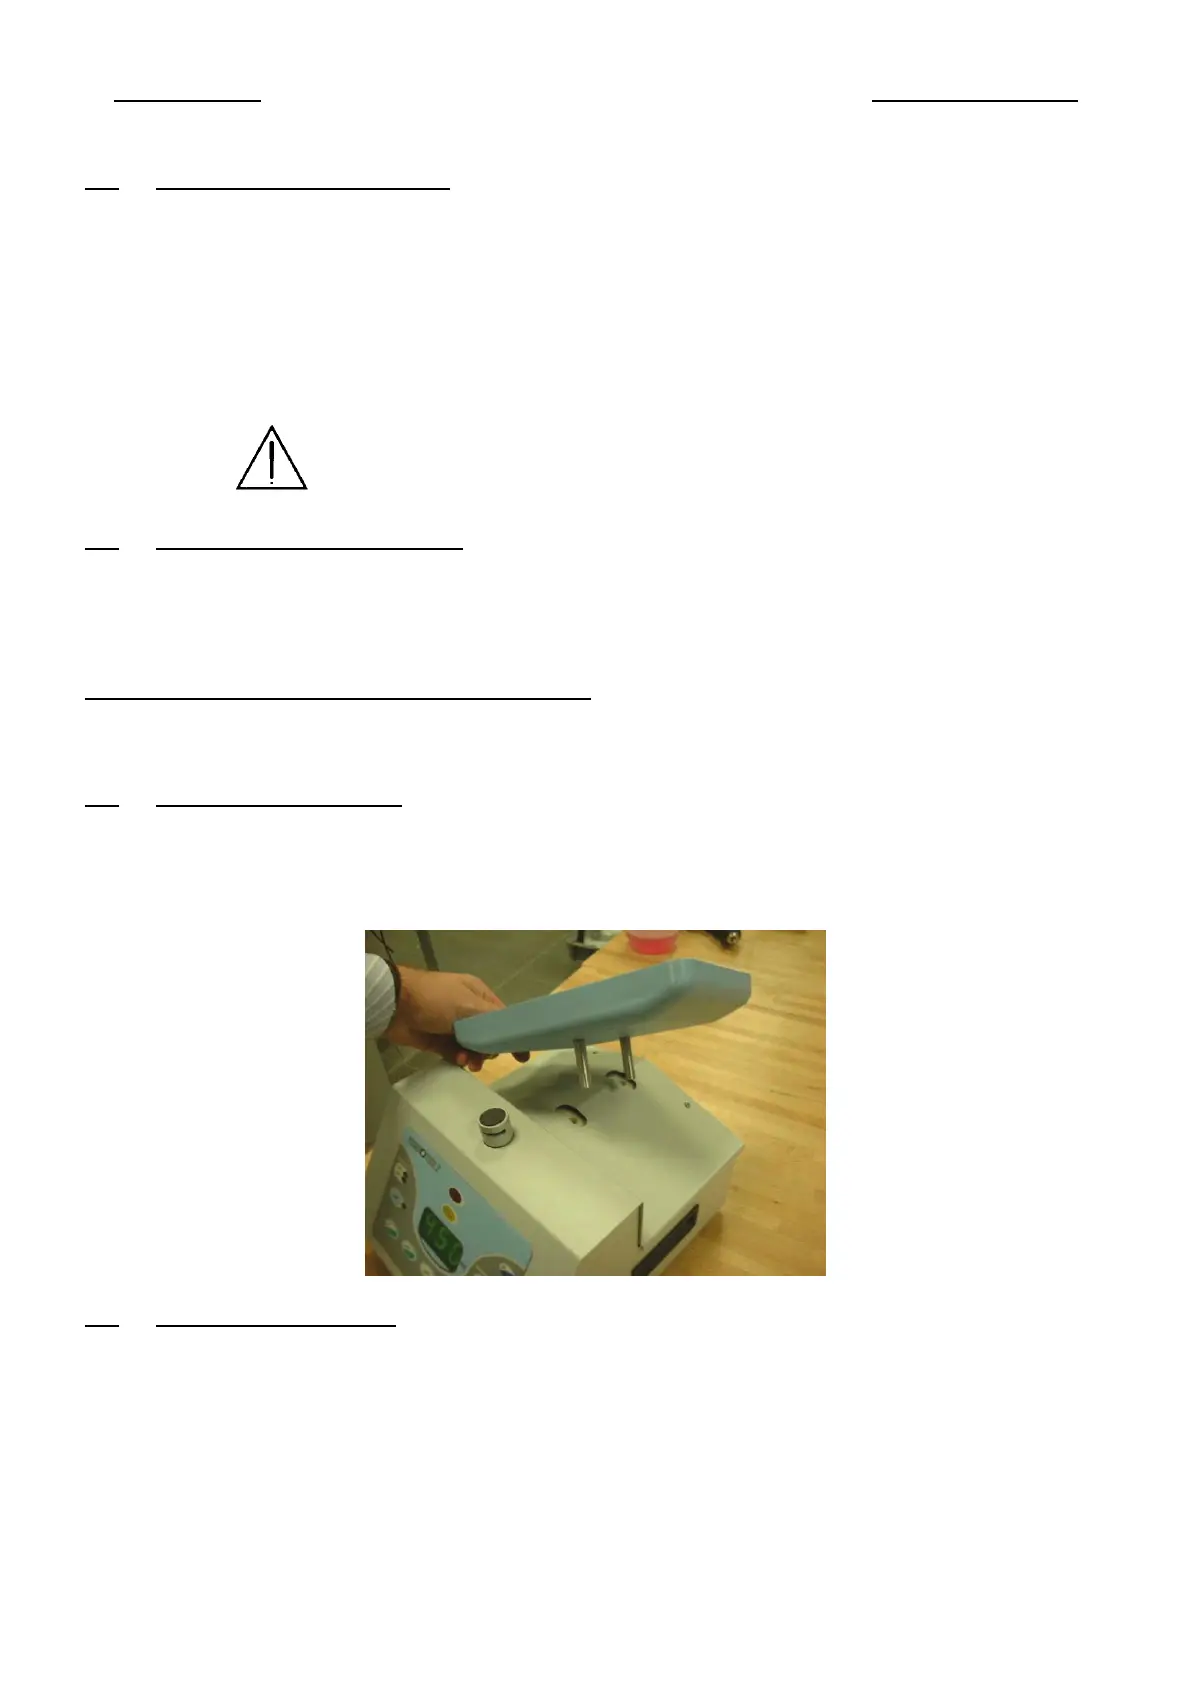
2.3 Bag Tray Assembling
The bag tray has two fitting pins. Lay carefully down the tray without pushing to fit the pins with
the female supports inside the mixer. Whenever you have to move the machine always
remove the tray first, otherwise you may damage the load cell.
2.4 Power On Hemotek 2
WARNING: To avoid the risk of electric shock, this equipment must be only connected to a
supply mains with protective earth.
WARNING
Position the device in order to access easily to the main switch, the power supply cable
and the mains plug.
 Loading...