SECTION 4 HOW TO USE HEMOTEK2
HTEK 2_UM Eng_R4.0_Feb. 2016 Page 22 of 28
4.1 Switching ON Hemotek 2
Please see also Section 2.4 to switch on the Hemotek 2.
WARNING!
When you switch on Hemotek 2,
be sure the mixer is standing on a stable surface and with the
tray completely empty.
If you miss these recommendations, Hemotek 2 cannot initialize properly itself,
introducing possible error during the collection.
4.2 Setting the volume to collect
The mixer proposes some default volume any time is switched on (normally 450 ml). This
value can be modified if your routine requires any different volume. To modify the default value
please do as follow:
1. Press MODE.
2. P1 will appear: press START/ENTER.
3. With arrow keys move to desired volume and then press START/ENTER.
4. Press STOP to quick program mode.
To modify the value only temporary simply press the arrow keys even during the donation.
This function permits the variation of the final volume without terminate the donation and
keeping under control the flow. The volume can be increased or decreased by minimum steps
of 10 ml. Once you have modified in this way any volume, the value will remain valid until you
change manually or until the machine is ON.
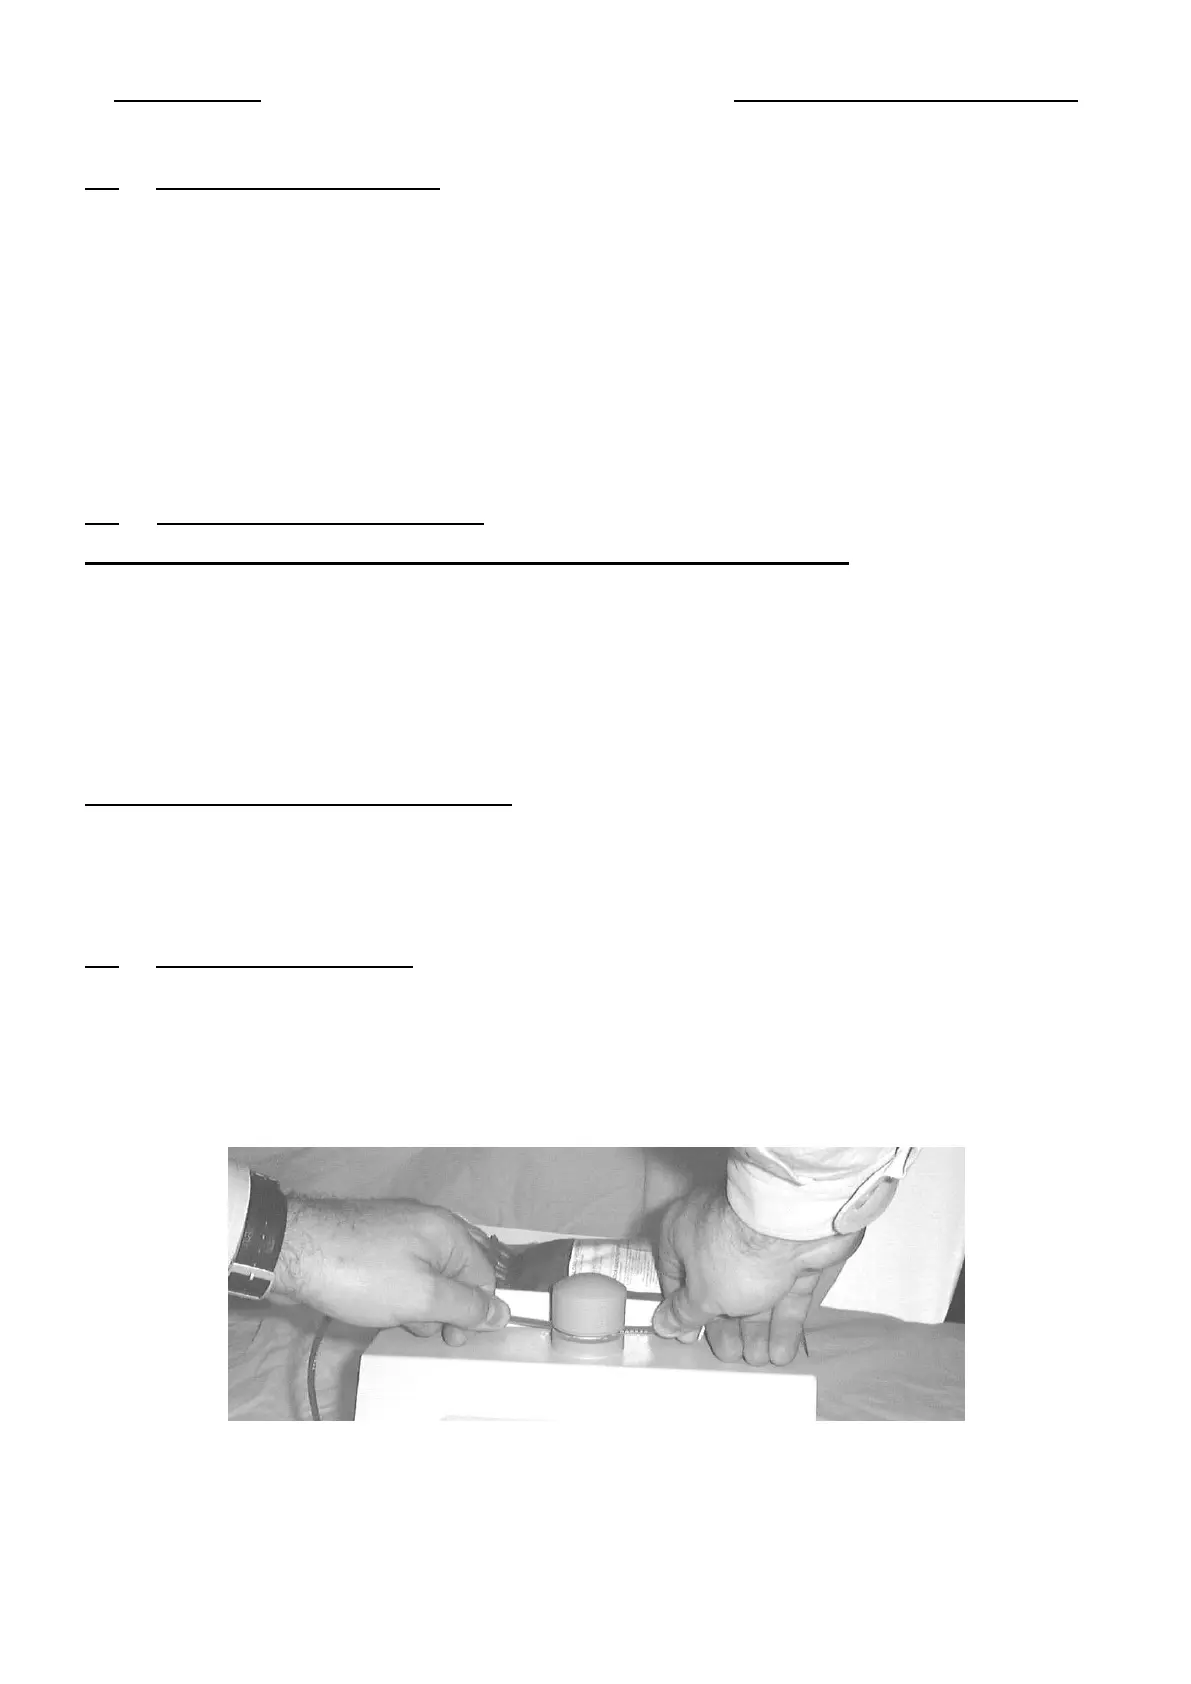
4.3 Blood Bag Positioning
The bag tray is made to receive any kind of blood bag. Lay down all the bag set onto the tray
and leave the tubing pass into the clamp (see the picture). Be sure the tubing cannot create any
fold or narrow neck. Check also that the tubing cannot become an obstacle while tray is moving.
At this point press the CLAMP key to close the pinch valve or if you wish you can leave the
clamp open.
 Loading...