8 Getting Started Guide
N1108T-ON/N1108P-ON/N1108EP-
ON Installation
Mounting an N1108T-ON/N1108P-ON Switch
Using Dell Tandem Tray
The AC power connector is on the rear panel.
WARNING: Read the safety information in the
Safety and Regulatory Information
as well as the safety information for other switches that connect to or support the
switch.
WARNING: Do not use rack mounting kits to suspend the switch from under a
table or desk, or attach it to a wall.
CAUTION: Disconnect all cables from the switch before continuing. Remove all
self-adhesive pads from the underside of the switch, if they have been attached.
CAUTION: When mounting multiple switches into a rack, mount the switches
from the bottom up.
1
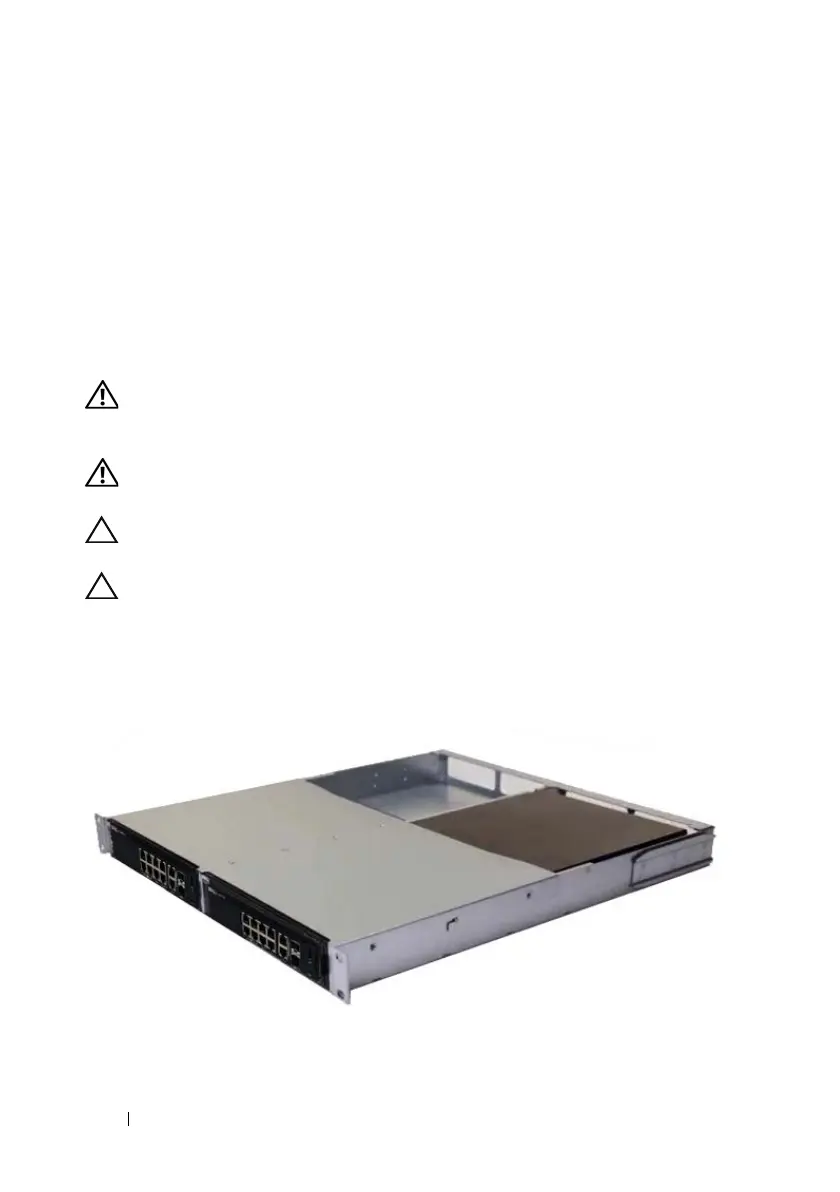
Secure the N1108T-ON/N1108P-ON switch in the Dell Tandem Tray Kit
as shown in Figure 1-1.
Figure 1-1. Dell Tandem Tray Kit
2
Insert the switch into the 48.26 cm (19 inch) rack, ensuring that the rack
mounting holes on the kit line up to the mounting holes in the rack.
2CSN11XX-QSG100-EMEA2-SAB.book Page 8 Friday, June 7, 2019 10:57 AM
 Loading...