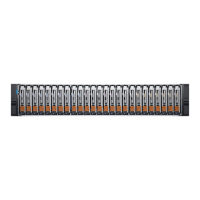
Do you have a question about the Dell EMC Unity 350F and is the answer not in the manual?
Lists essential tools, console requirements, and physical space needed for installation.
Provides procedures to prevent ESD damage to sensitive electronic components during installation.
Offers alternative precautions to minimize ESD risk when an ESD kit is unavailable.
Guides on installing the Disk Processor Enclosure (DPE) into the rack.
Details the procedure for installing cabinet rails for the DPE.
Provides steps to mount the Disk Processor Enclosure onto the installed cabinet rails.
Step-by-step instructions for powering up the Disk Processor Enclosure (DPE).
Steps for automatic IP address assignment using DHCP and DNS.
Instructions for connecting the first DAE to form back-end bus 1.
Steps for connecting a second DAE to extend back-end bus 0.
Guides on using SAS modules for creating multiple back-end buses.
| Model | Dell EMC Unity 350F |
|---|---|
| Category | Storage |
| Form Factor | 2U |
| Processors | Dual Intel Xeon |
| RAID Levels Supported | RAID 5, RAID 6, RAID 10 |
| Management Interface | Unisphere |
| Storage Type | All-Flash Array |
| Drive Types Supported | SSD |
| Supported Protocols | iSCSI, NFS |
| Host Connectivity | 10GbE iSCSI |
| Connectivity | 10 GbE, 25 GbE |
| Data Reduction | Deduplication, Compression |
| Operating System | Unity Operating Environment |


