About your monitor │ 11
Bottom view
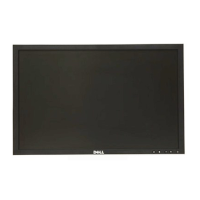
Bottom view without monitor stand
Label Description Use
1
Security lock slot
(based on Kensington
Security Slot
TM
)
Secures monitor with security cable lock (sold separately)
2 Power connector Connect the power cable (shipped with your monitor).
3 Stand lock
To lock the stand to the monitor using a M3 x 6 mm screw
(screw not included).
4 HDMI port Connect your computer with the HDMI 2.0 cable.
5 DisplayPort
Connect your computer with the DisplayPort cable
(shipped with your monitor).
6 USB Type-C
Connect to your computer using the USB Type-C cable (C
to C).
The alternate mode with DP 1.4 support the maximum
resolution of 3840 X 2160 at 60 Hz, PD 20 V/4.5 A, 15 V/3
A, 9 V/3 A, 5 V/3 A.
NOTE: USB-C is not supported on Windows versions
that are prior to Windows 10.
7
SuperSpeed USB
5Gbps (USB 3.2
GEN1) Type-A
downstream port x 4
Port with icon supports 5 V/ 0.9 A.
Connect your USB device. You can use these ports
only after you have connected the USB cable from the
computer to the monitor.
NOTE: To avoid signal interference, when a wireless USB
device has been connected to a USB downstream port, it
is NOT recommended to connect any other USB devices
to the adjacent port(s).
8 RJ-45 connector
Connect Internet. You can surf Internet via RJ45 only after
you have connected the USB cable (A to C or C to C) from
the computer to the monitor.