Back to Contents Page
Setting Up Your Monitor
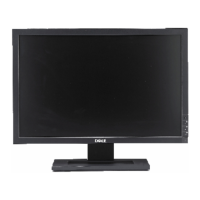
Dell™E198FPFlatPanelMonitor
Connecting Your Monitor
Using the Front Panel Buttons
Using the OSD
Using the Dell Soundbar (Optional)
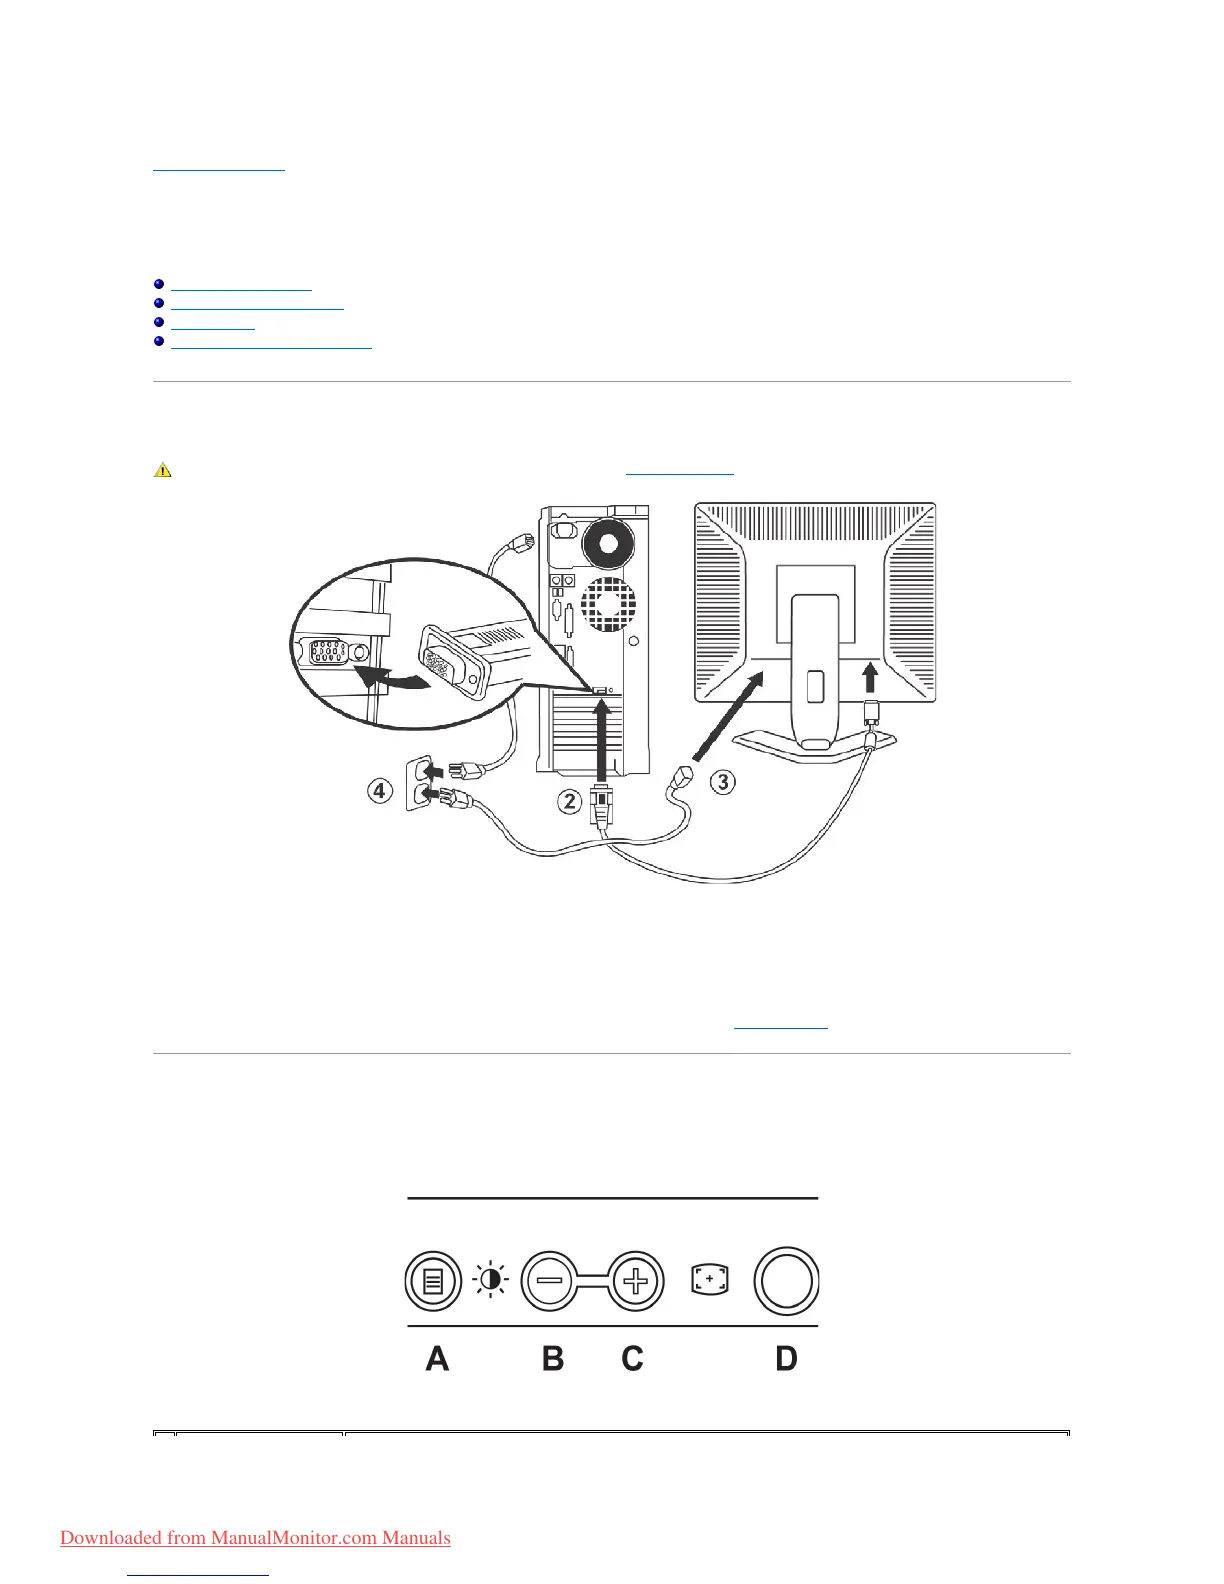
Connecting Your Monitor
1. Turn off your computer and unplug its power cable.
2. Connect the blue (analog D-sub)displayconnectorcabletothecorrespondingvideoportonthebackofyourcomputer.(Thegraphicisforillustration
only. System appearance may vary).
3. Connect the power cable for your display to the power port on the back of the display.
4. Plug the power cables of your computer and your display into a nearby outlet. Your monitor is equipped with an automatic power supply for a voltage
range from 100 to 240 Volt at a frequency of 50/60 Hz. Be sure that your local power is within the supported range. If you are unsure, ask your
electricity supplier.
5. Turn on your display and computer.
If your monitor displays an image, installation is complete. If it does not display an image, see Troubleshooting.
Using the Front Panel Buttons
Use the control buttons on the front of the monitor to adjust the characteristics of the image being displayed. As you use these buttons to adjust the controls,
an OSD shows their numeric values as they change.