EasyManuals Logo

Dell EMC PowerEdge MX7000 Quick Start Guide

Dell EMC PowerEdge MX7000
9 pages
To Previous Page IconTo Previous Page
Page #9 background imageLoading...
Page #9 background image
Figure 6. Tighten the threaded screw on the -48V side
20. Open the clamp-on ferrite (like a clam-shell), wrap it around both -48V and RTN cables.
21. Place the ferrite as close as possible to the strain-relief bar, and then close the ferrite. Ensure the latch snaps into locked
position.
Figure 7. Attaching the ferrite clamp
Assembling the -48V DC power input connector and cables
9

Other manuals for Dell EMC PowerEdge MX7000

Questions and Answers:

Question and Answer IconNeed help?

Do you have a question about the Dell EMC PowerEdge MX7000 and is the answer not in the manual?

Dell EMC PowerEdge MX7000 Specifications

General IconGeneral
Form FactorModular Enclosure
Power SuppliesUp to 6 hot-plug power supply units (PSUs)
ManagementDell EMC OpenManage Enterprise Modular Edition
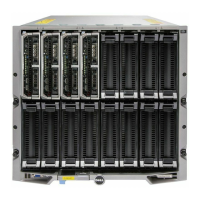
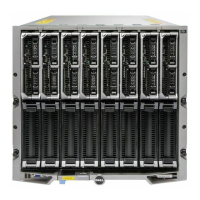
Enclosure TypeModular Enclosure
Number of Slots8 slots
Maximum Number of Compute Sleds8
Maximum Number of Storage Sleds8
Maximum Number of Fabric Switching Modules8
Management Module Slots2

Related product manuals