Installing the Hardware 5
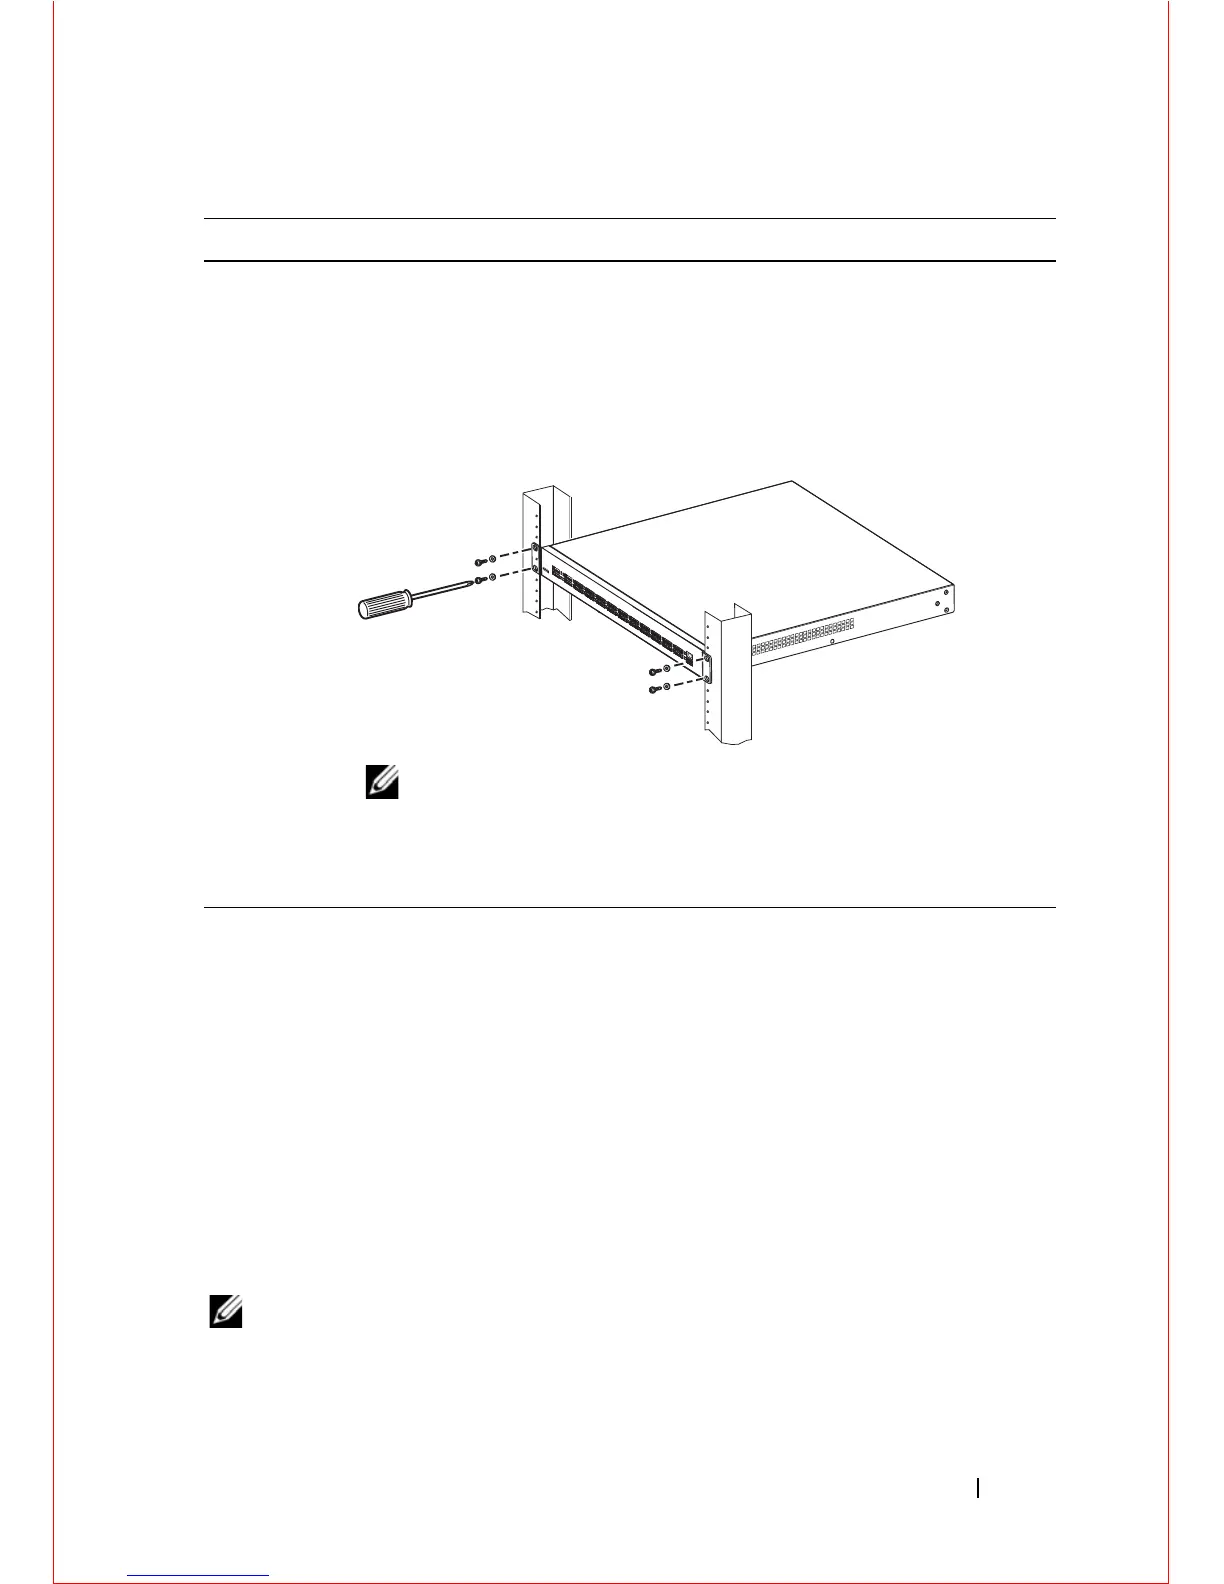
Install chassis into 2-post rack or cabinet
Ground Connector
You will need two grounded AC power sources.
Use the supplied AC power cords to connect the S2410 to the AC power source
Ideally, the power sources are on separate circuits.
Connect the plug to the AC receptacles at the rear of the S2410, making sure the
cords are secure at both ends. Connecting either power cord starts the system
(no on/off switch).
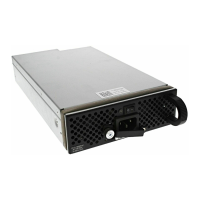
Supplying Power to the System
NOTE: The power cords shipped by default with the S2410 chassis are for the
United States. Several versions of the power cord are available, based on country
requirements.
Step Task
1 Dell Force10 recommends that one person hold the S2410 chassis in
place while a second person attaches the brackets to the posts.
2 Position the S2410 chassis in the rack.
Attach the bracket "ears" to the rack or cabinet posts, using the supplied
screws for each bracket. Ensure the screws are tightened firmly.
NOTE: The rack ears supplied with the S2410 have a hole in the
middle to accommodate the vent in the S2410.
3 Secure the chassis with two screws through each bracket and onto the
front rack post.

 Loading...