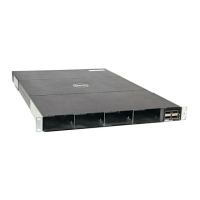
Installing AC Power Supplies
1. Remove the PSU from the electro-static bag.
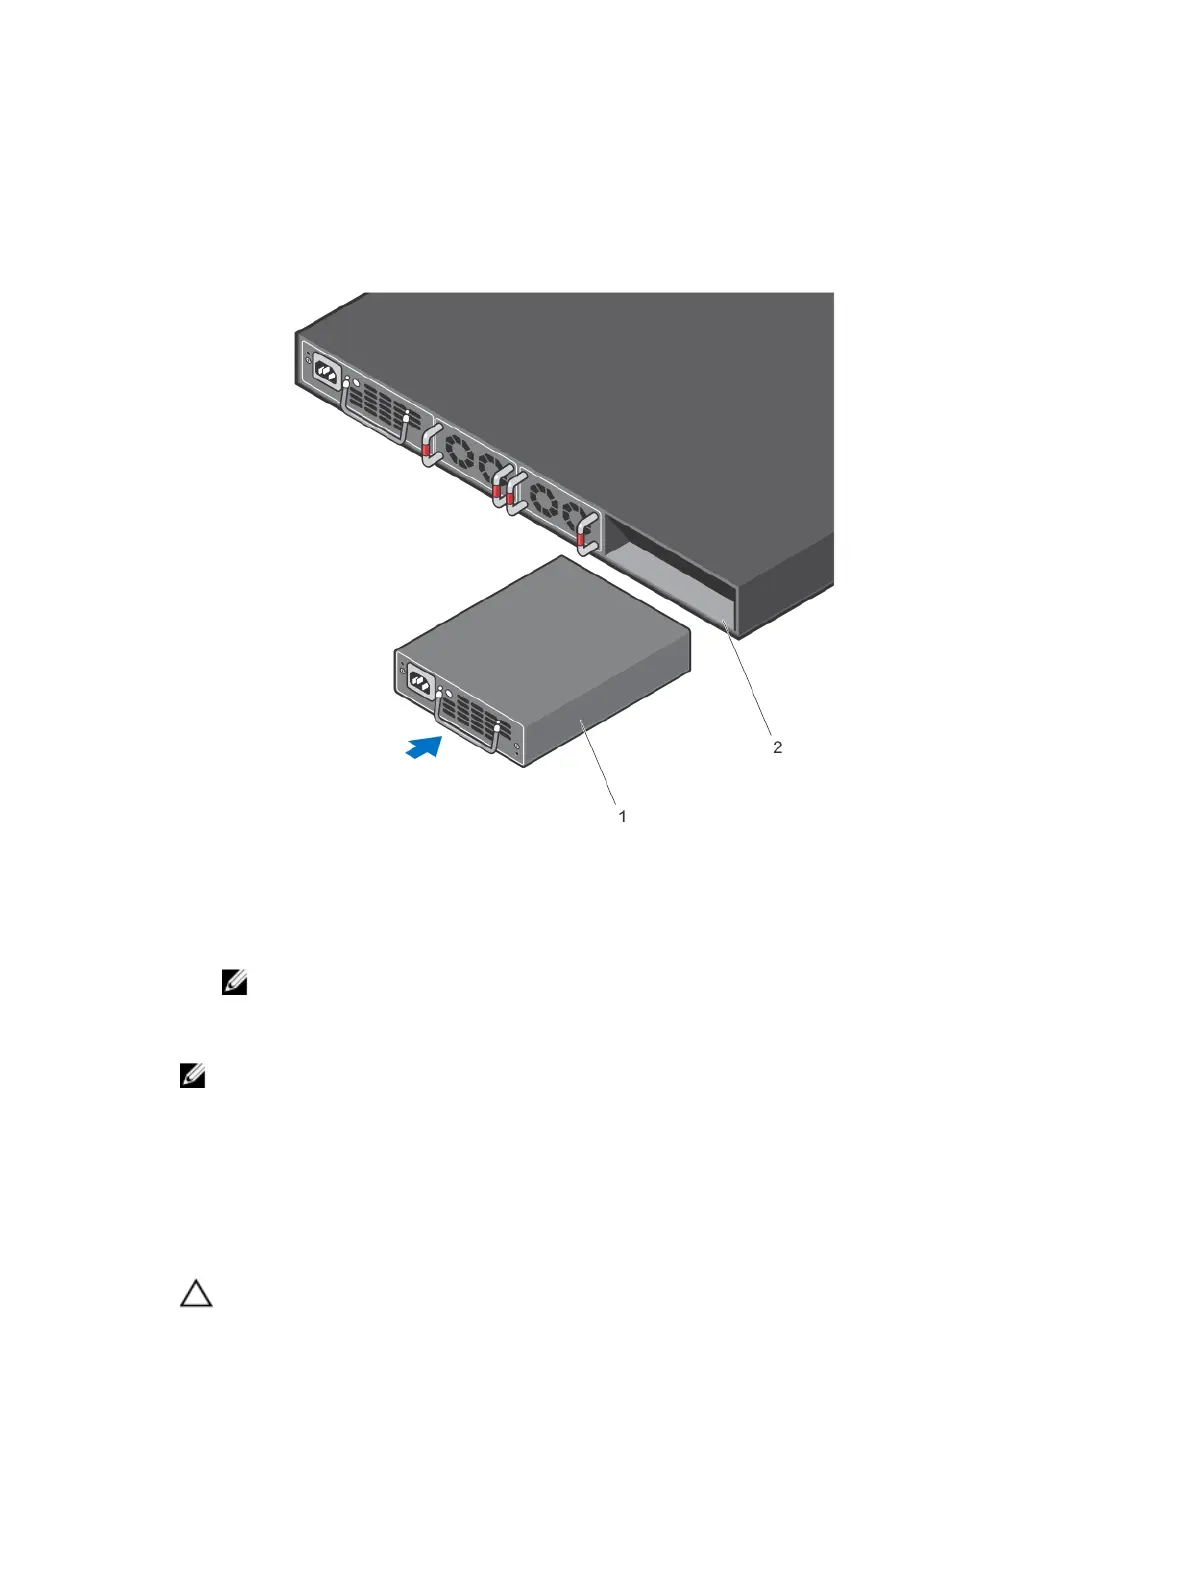
2. Use the grab handle to slide the PSU into the switch PSU slot.
Figure 4. Install the AC Power Supply Unit
3. Tighten the securing screws on the PSU.
4. Attach the power cables.
NOTE: The system is powered-up as soon as you connect the power cord between the system
and the power source.
5. Repeat steps 1 through 4 for the second PSU.
NOTE: Ensure that the PSU is correctly installed. When you correctly install the PSU, the power
connector is on the left side of the PSU.
Installing a Fan Module
1. Remove the fan module from the shipping box.
2. Use the grab handle to slide the module into the switch fan slot.
3. Tighten the securing screws on the fan module.
CAUTION: DO NOT mix airflow directions. Both fans must use the same airflow direction (I/O to
Utility or Utility to I/O).
Install the Hardware
11

 Loading...