64 Installing System Components
3
To remove the existing hard-drive carrier, see step 4 of "Removing a 2.5-
Inch Hard Drive (When Available)" on page 61.
4
Secure the hard drive to the hard-drive carrier using the four screws. See
Figure 3-13.
5 Slide the hard-drive carrier back in the hard drive bay
.
6
Slide the hard drive into the drive bay until it snaps into place.
7
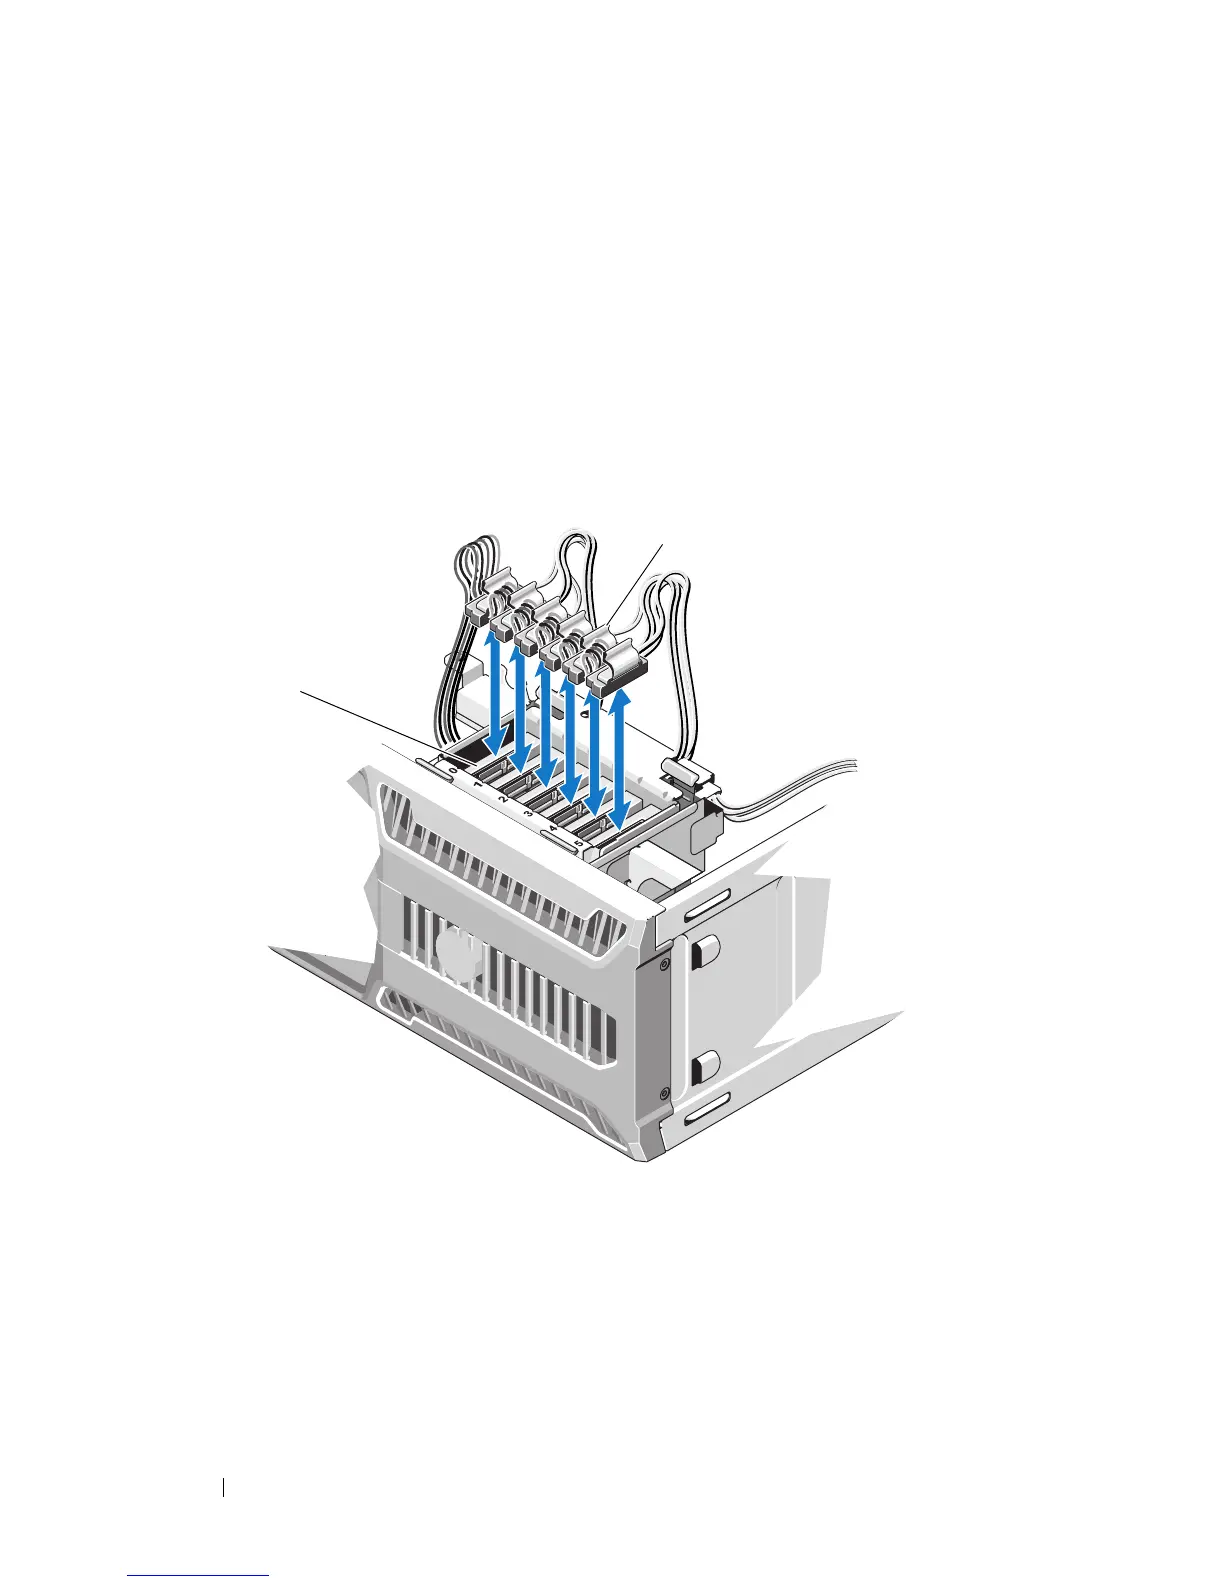
Connect the power/data cable to the hard drive. See Figure 3-14
Figure 3-14. Attaching Power/Data Cable to the Hard Drive
8
Close the system. See "Closing the System" on page 46.
9
Enter the System Setup program and ensure that the hard drive’s
controller is enabled. See "Entering the System Setup Program" on
page 24.
1 power/data cables 2 hard drives