Installing Enclosure Components 27
Removing Drives from the Enclosure
NOTICE: To avoid damage, never leave a drive carrier partially removed from the enclosure. Rotating a carrier
handle next to an unseated drive carrier will result in serious damage to the unseated drive carrier.
NOTICE: To avoid data loss when removing a drive, Dell recommends that you use Server Administrator to prepare
the drive for removal. See your Server Administrator documentation for more information.
CAUTION: Always wear a wrist grounding strap when handling equipment with static-sensitive components.
1
Use Server Administrator to prepare the drive for removal.
2
Wait until the LED indicators on the drive carrier stop flashing.
3
Squeeze the release mechanism on the front of the drive carrier (see Figure 3-2).
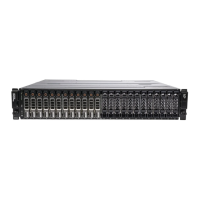
Figure 3-2. Installing and Removing Drives
4
Open the drive carrier handle by rotating it downward.
5
Gently but firmly pull the drive carrier from its slot while supporting the weight of the drive from the
bottom.
1 carrier release mechanism 2 drive carrier handle
1
2
 Loading...