6. Repeat the steps 3 to 5 to remove the second mini-hard drive, if available.
Installing the Mini-Hard Drive (Optional)
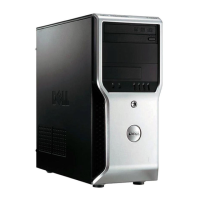
1. Insert the mini-hard drive into the hard-drive bracket.
2. Tighten the screws to secure the mini-hard drive to the drive cage.
3. Press the securing tabs inward and slide the mini-hard drive bracket into the bay.
4. Connect the data and power cables to the back of the mini-hard drive.
5. Install the cover.
6. Follow the procedures in
After Working Inside Your Computer
.
Removing the Optical Drive
1. Follow the procedures in
Before Working Inside Your Computer
.
2. Remove the:
a) cover
b) front panel
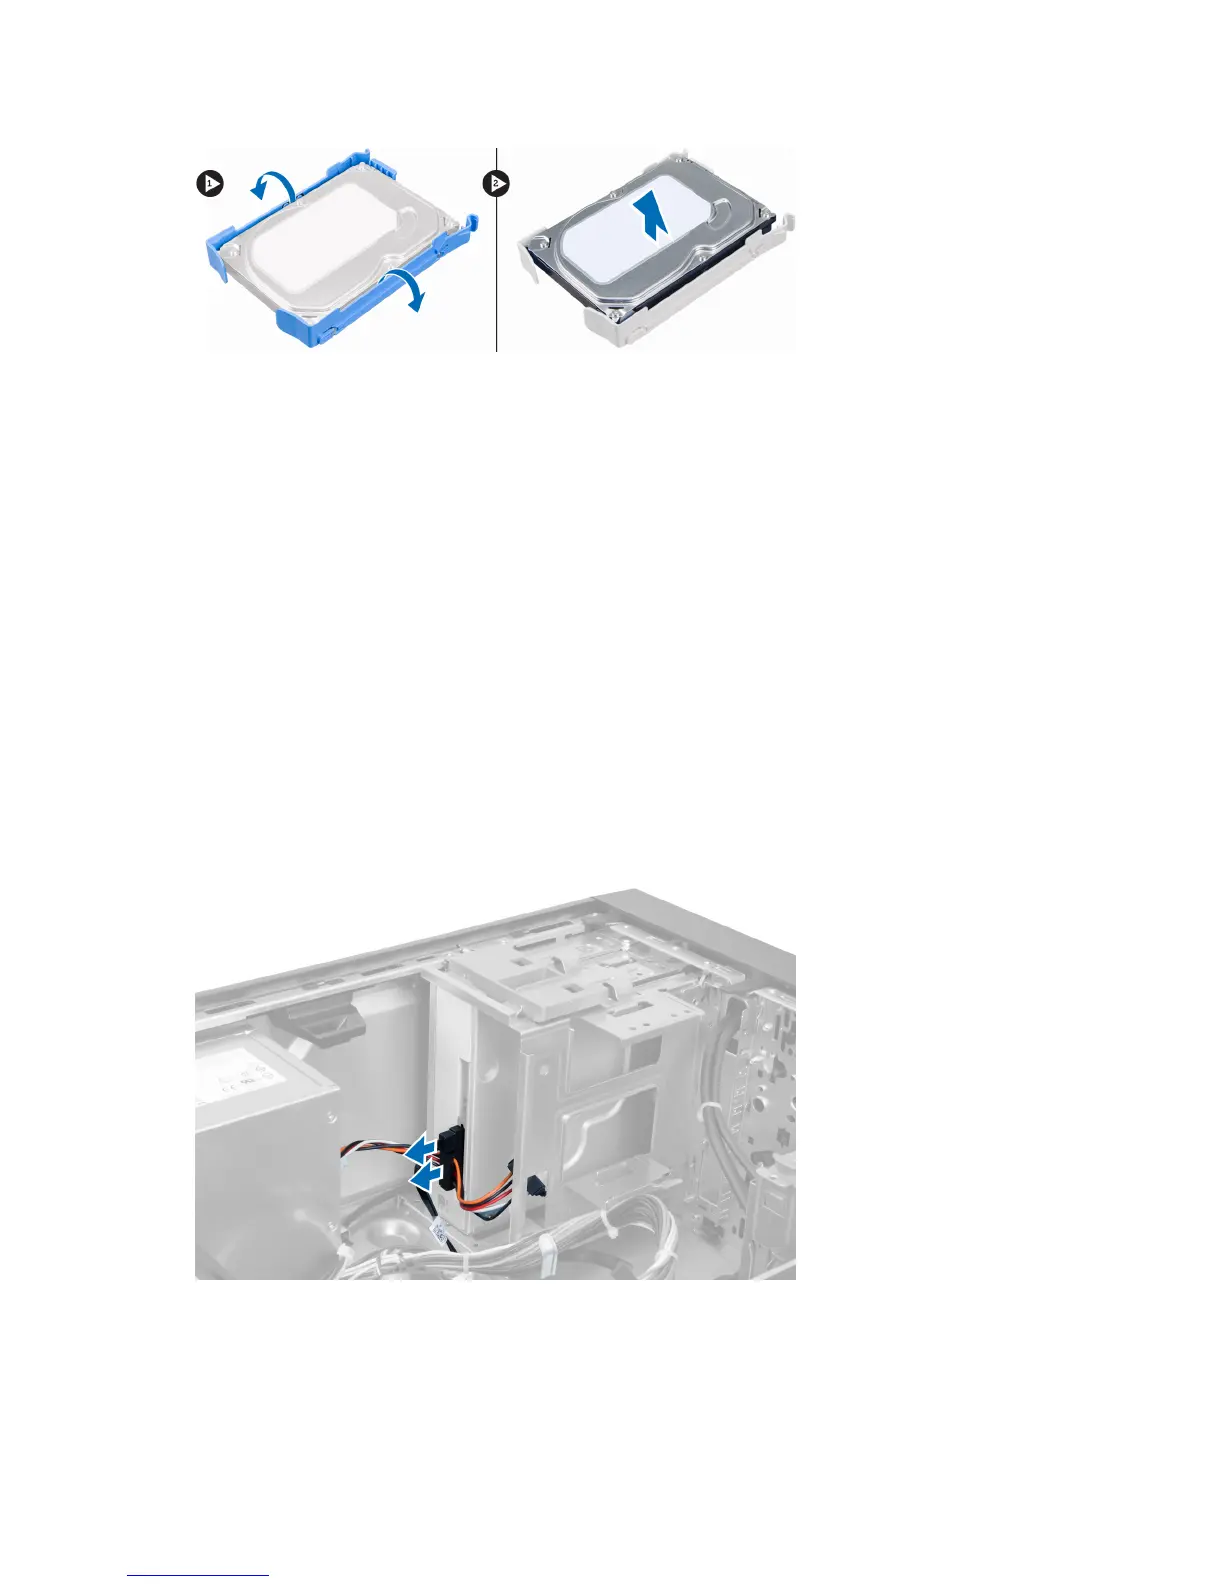
3. Disconnect the data cable and the power cables from the back of the optical drive.
Figure 10.
4. Slide down the optical drive latch to release the optical drive.
16