Back to Contents Page
Front I/O Panel
Dell™Vostro™430ServiceManual
Removing the Front I/O Panel
1. Follow the procedures in Before Working Inside Your Computer.
2. Remove the Cover.
3. Remove the Front Panel.
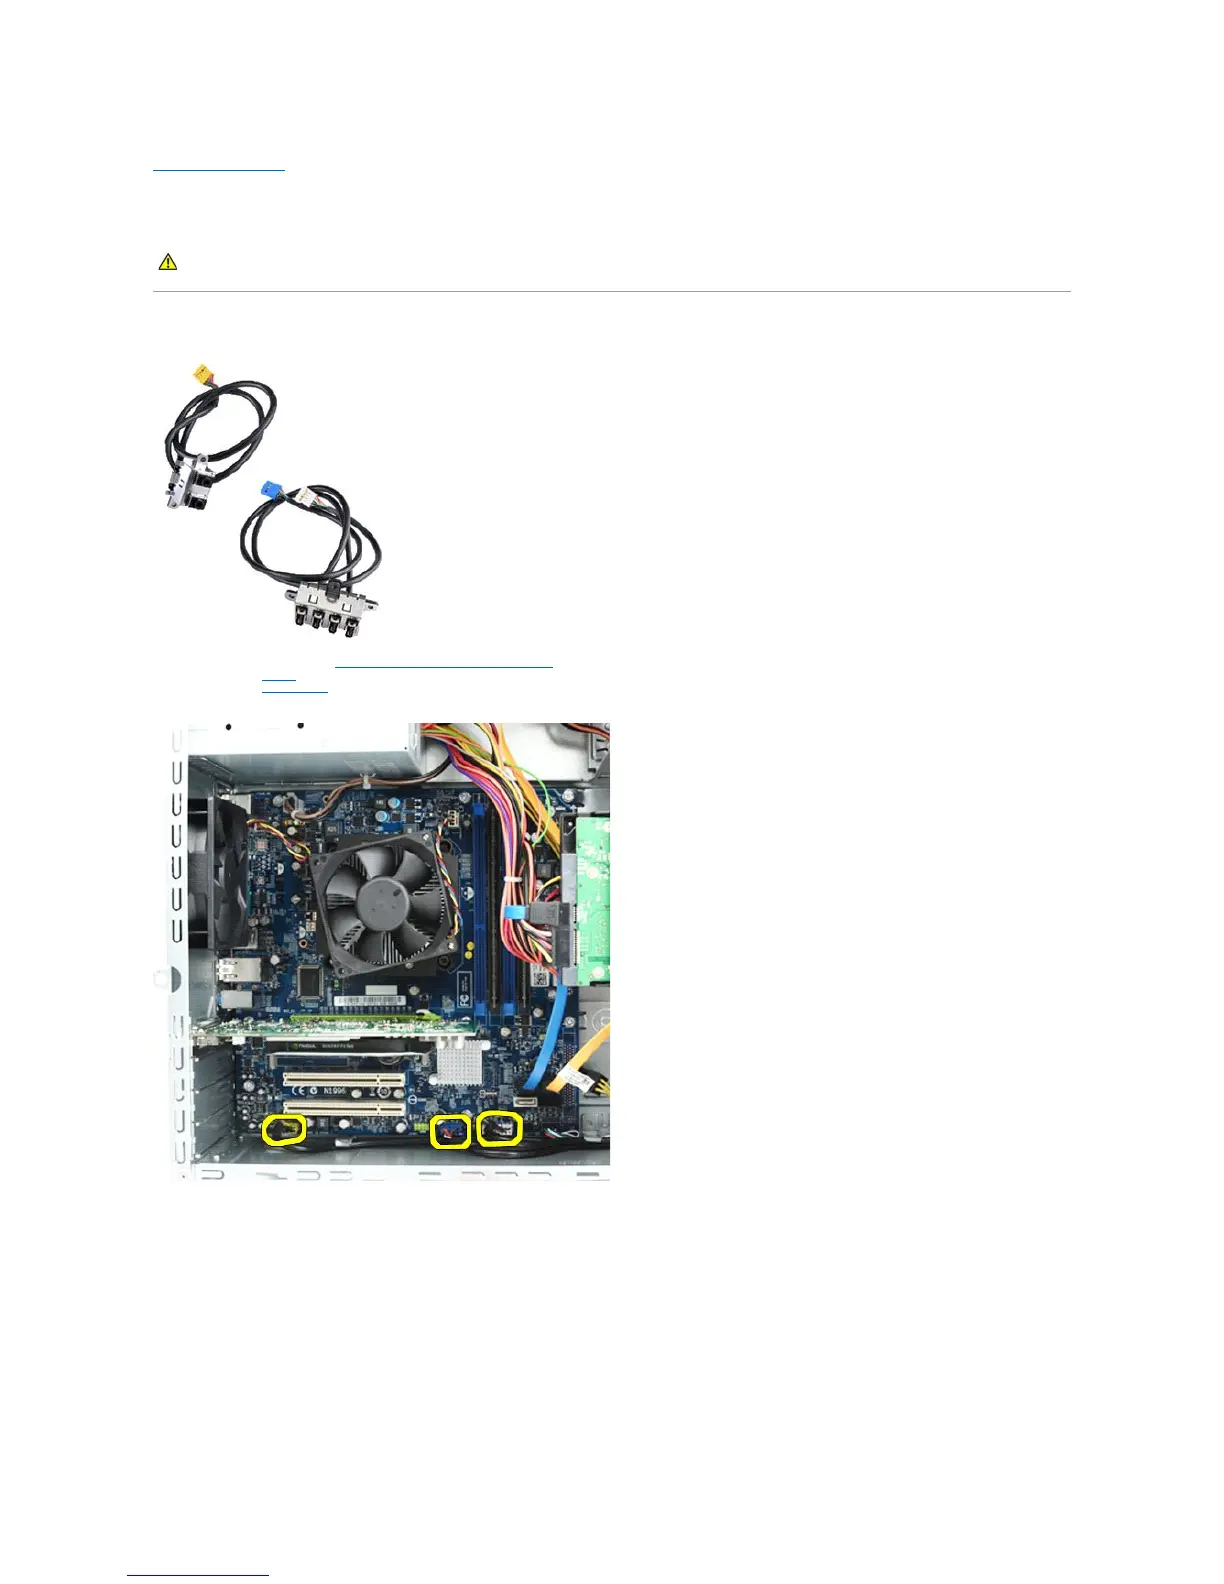
4. Disconnect the three front I/O cables from the system board.
5. Remove the cables from the guides along the inside of the chassis.
6. Using a Phillips head screwdriver, remove the screw that secures the front I/O panel to the chassis.
WARNING: Before working inside your computer, read the safety information that shipped with your computer. For additional safety best
practices information, see the Regulatory Compliance Homepage at www.dell.com/regulatory_compliance.