EasyManua.ls Logo

Dell XPS 210 - Installing a Floppy Drive

Dell XPS 210
52 pages
To Next Page IconTo Next Page
To Previous Page IconTo Previous Page
Loading...
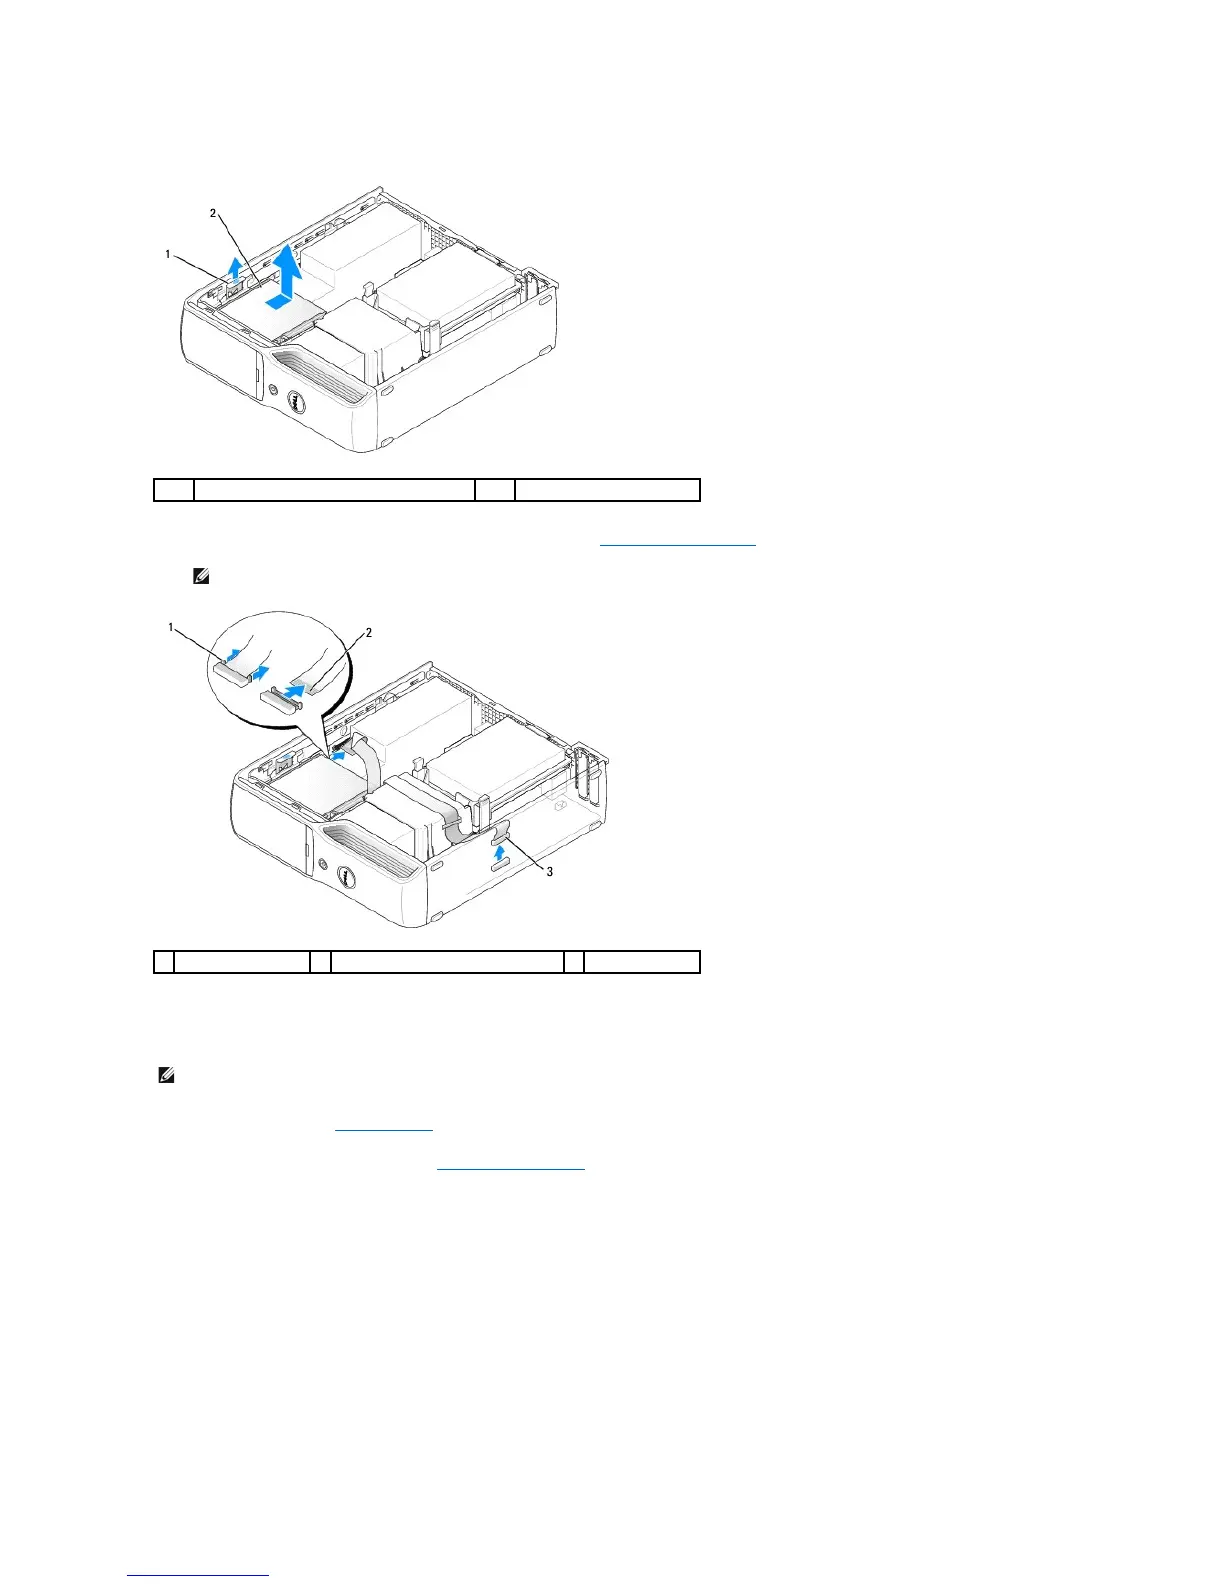
4. Carefully, lift the drive away from the computer.
5. Disconnect the floppy drive interface cable from the system board (see System Board Components).
Installing a Floppy Drive
1. Follow the procedures in Before You Begin.
2. Remove the CD/DVD drive, if installed (see Removing a CD/DVD Drive).
3. Gently slide the floppy drive into place until you hear a click or feel the drive securely installed.
1
drive release latch
2
floppy drive
NOTE: The interface cable is held in place by the metal drive bracket and does not need to be removed from the drive.
1
cable release tab
2
interface cable edge connector
3
interface cable
NOTE: If the replacement or new floppy drive does not have the shoulder screws, use the screws in the drive panel insert.

Table of Contents

Other manuals for Dell XPS 210

Related product manuals